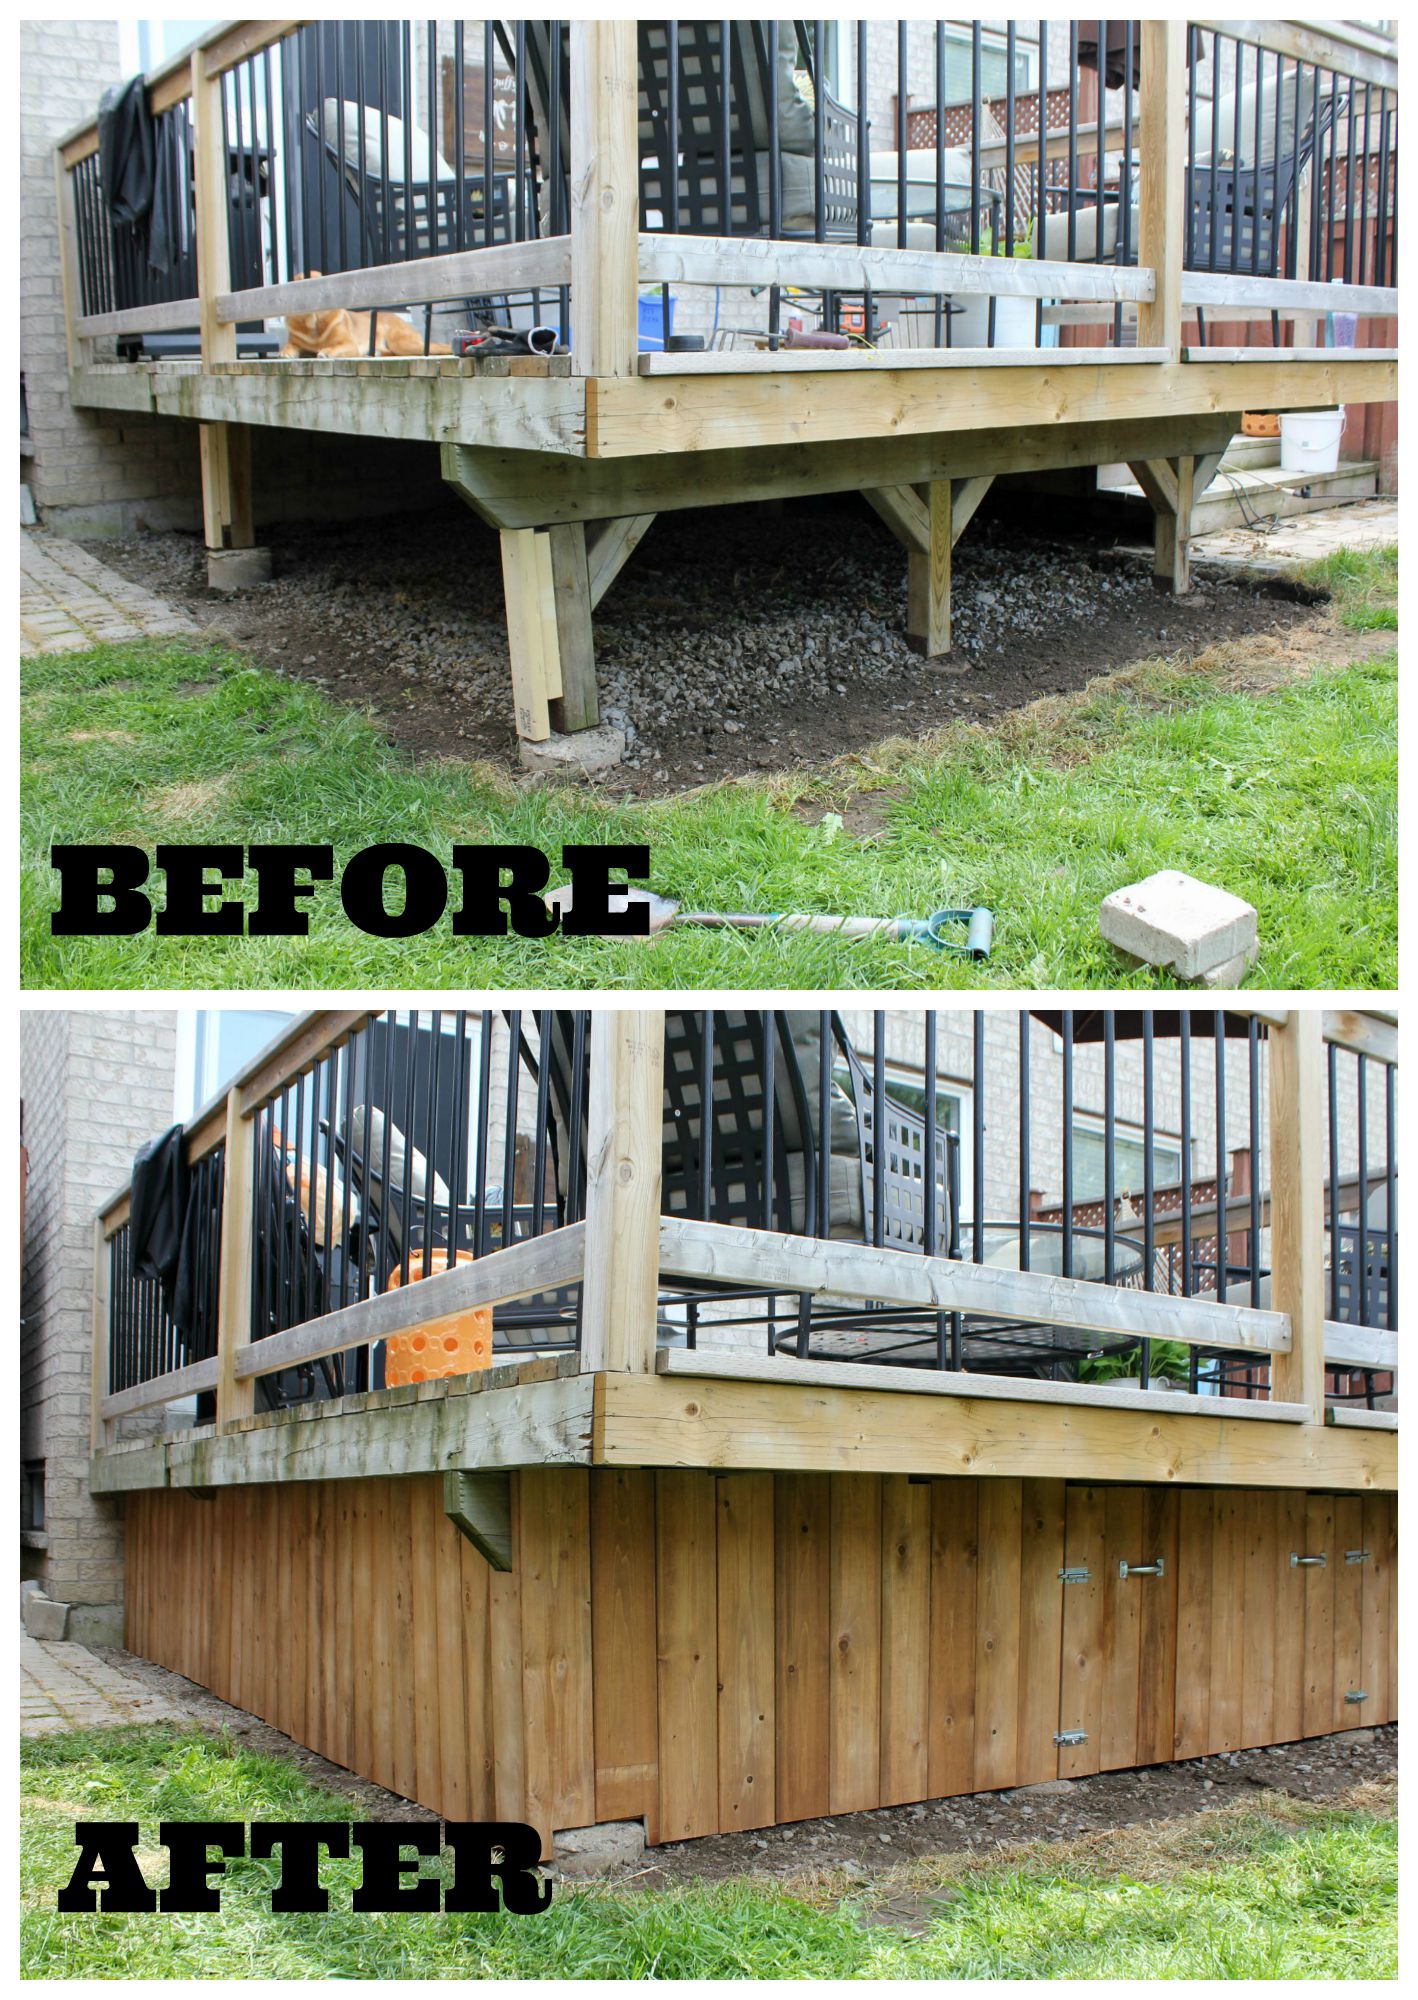
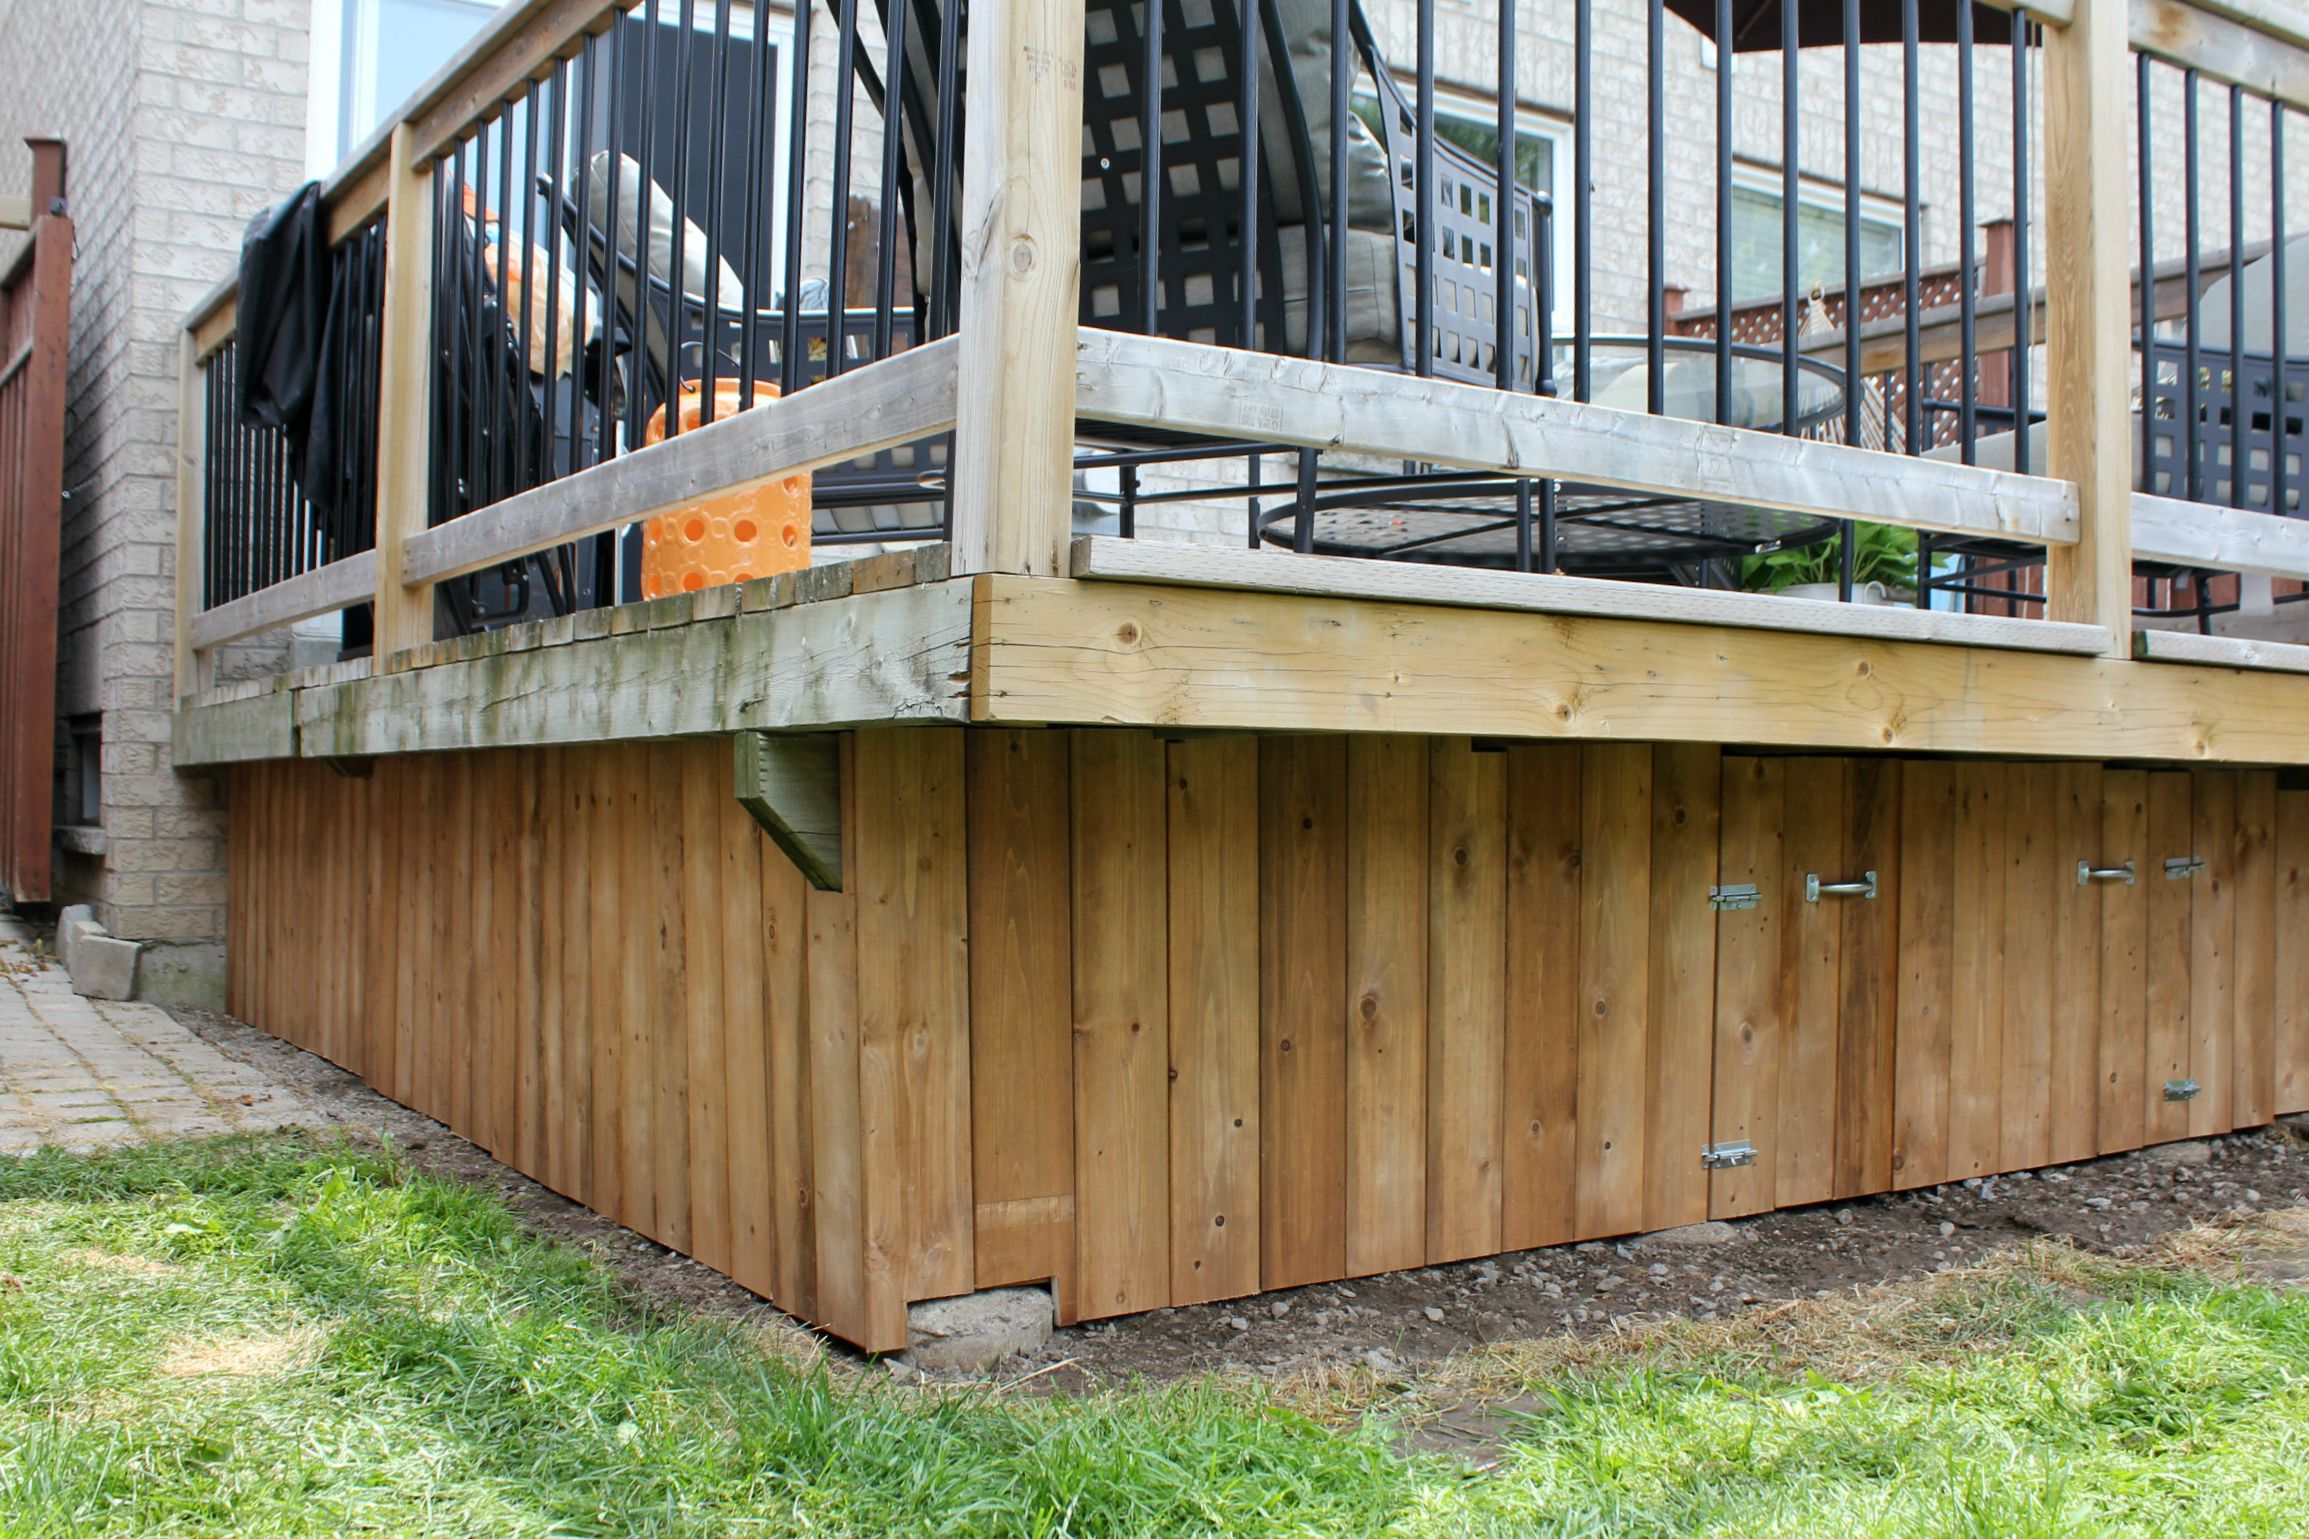
How about a little before and after?
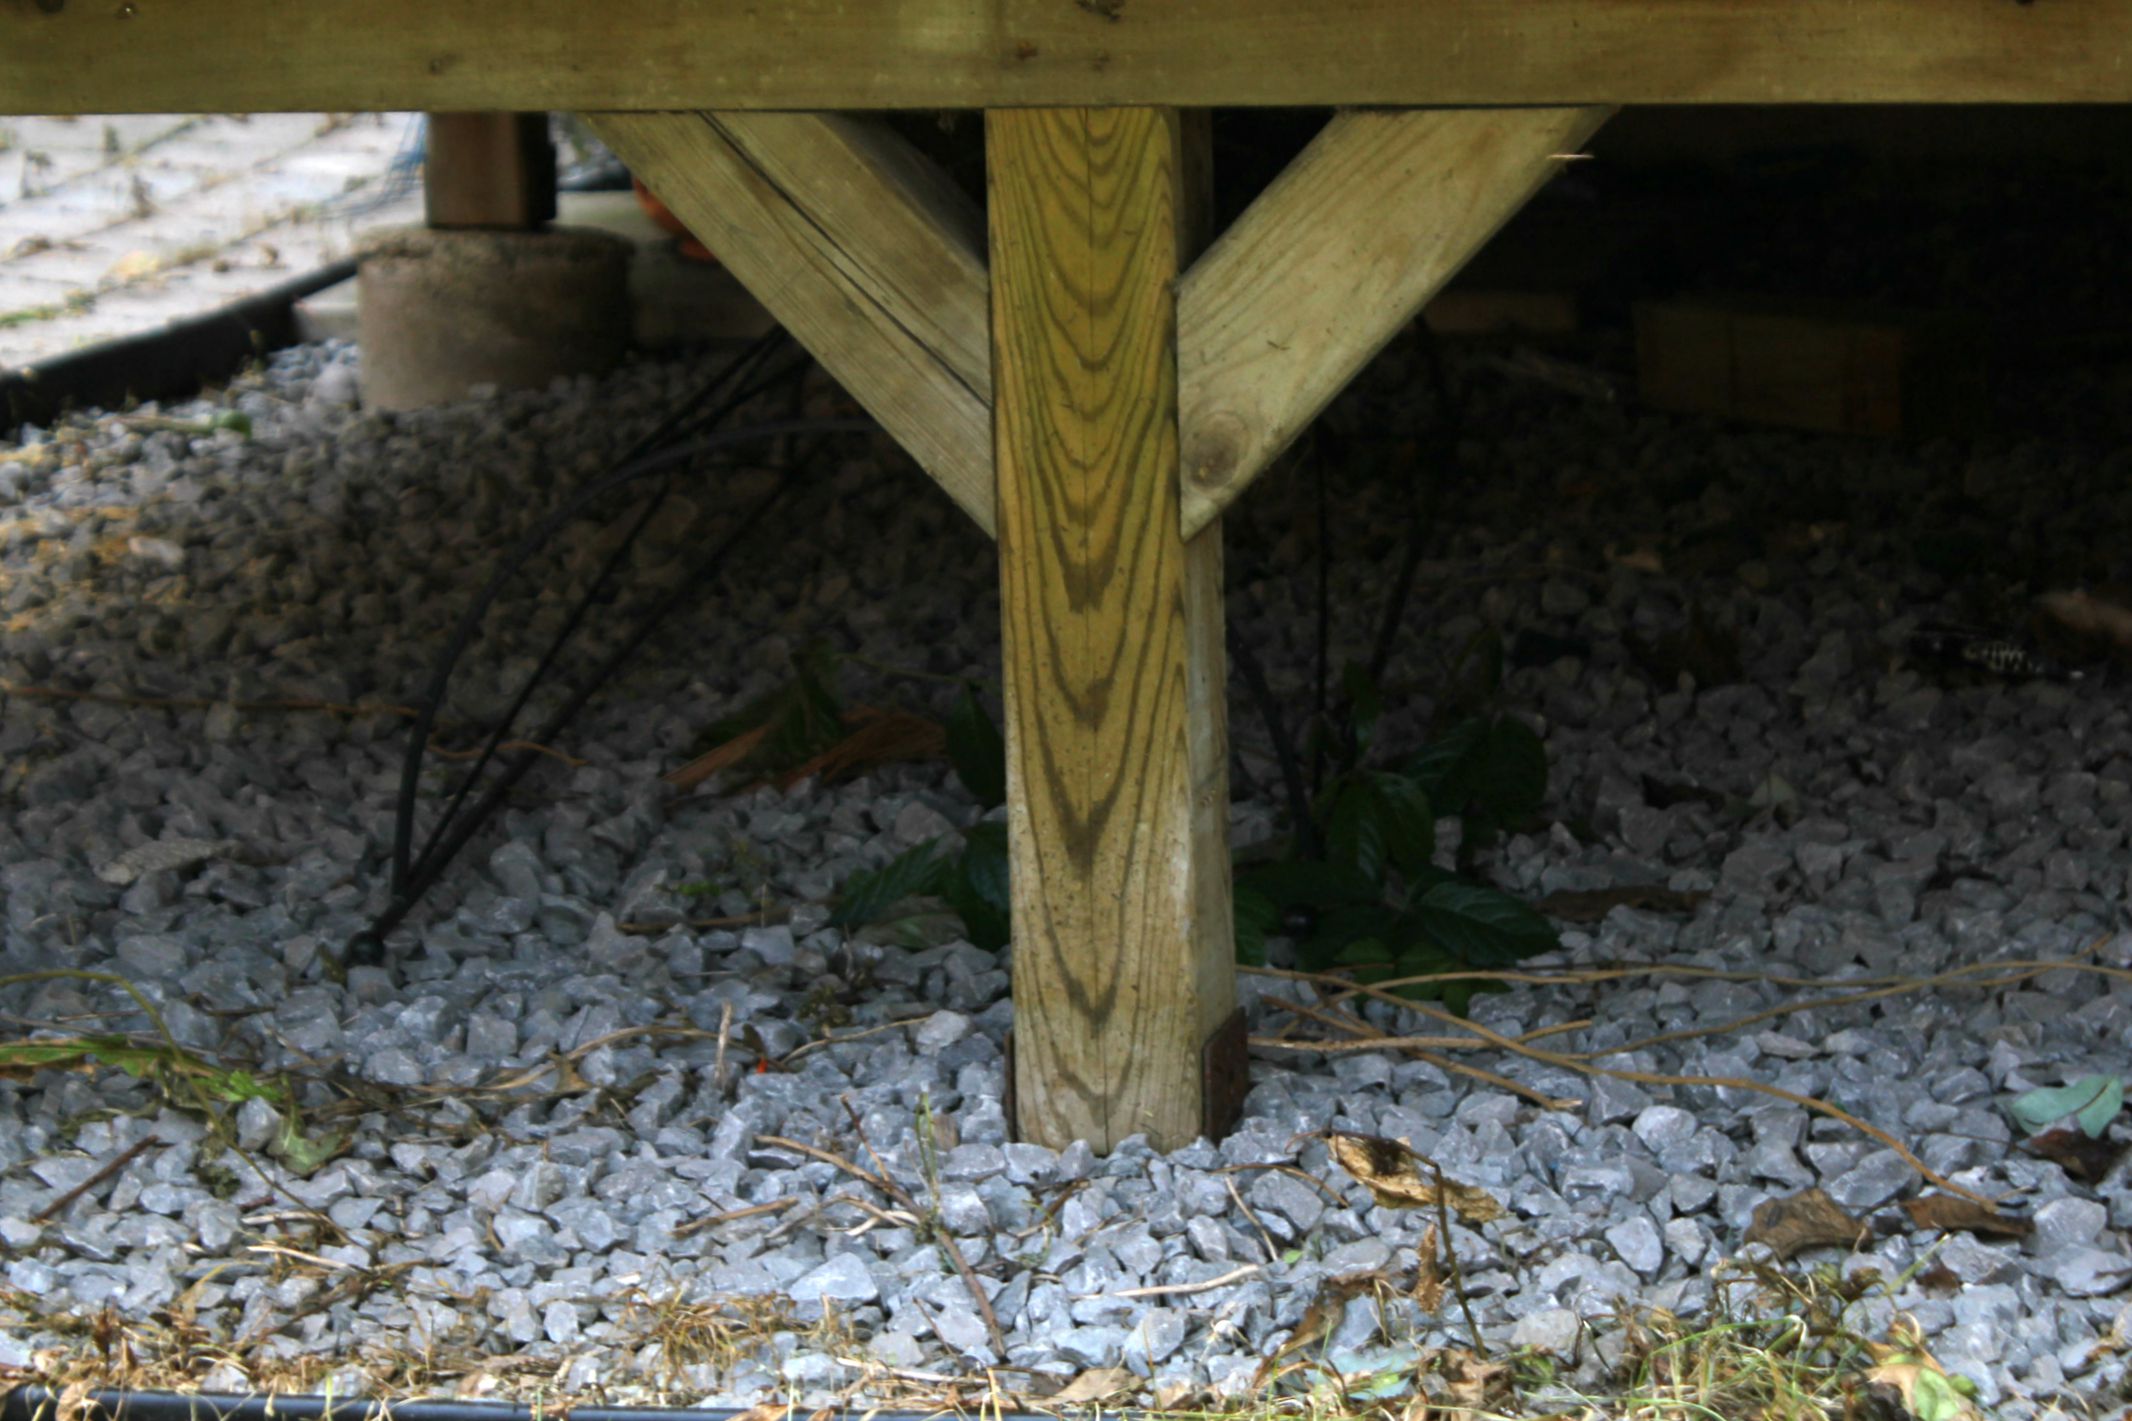
We chose to have the enclosure inset from the edge of the deck so that we could attach it directly to the support posts and give it more stability. There was a layer of gravel under the deck the went right out to the edge. We want the grass to eventually run right up to the enclosed part, so that meant digging up and pushing back the gravel that was in front of the posts. I was voluntold for that job as I was the one who pressed for the extra grass.
What a miserable job. I had to switch to a gardening hand cultivator to dig up the gravel because just digging with my hands wasn't getting it done. There is still some gravel left behind, but we'll dig it out when we put in the new soil and sod.
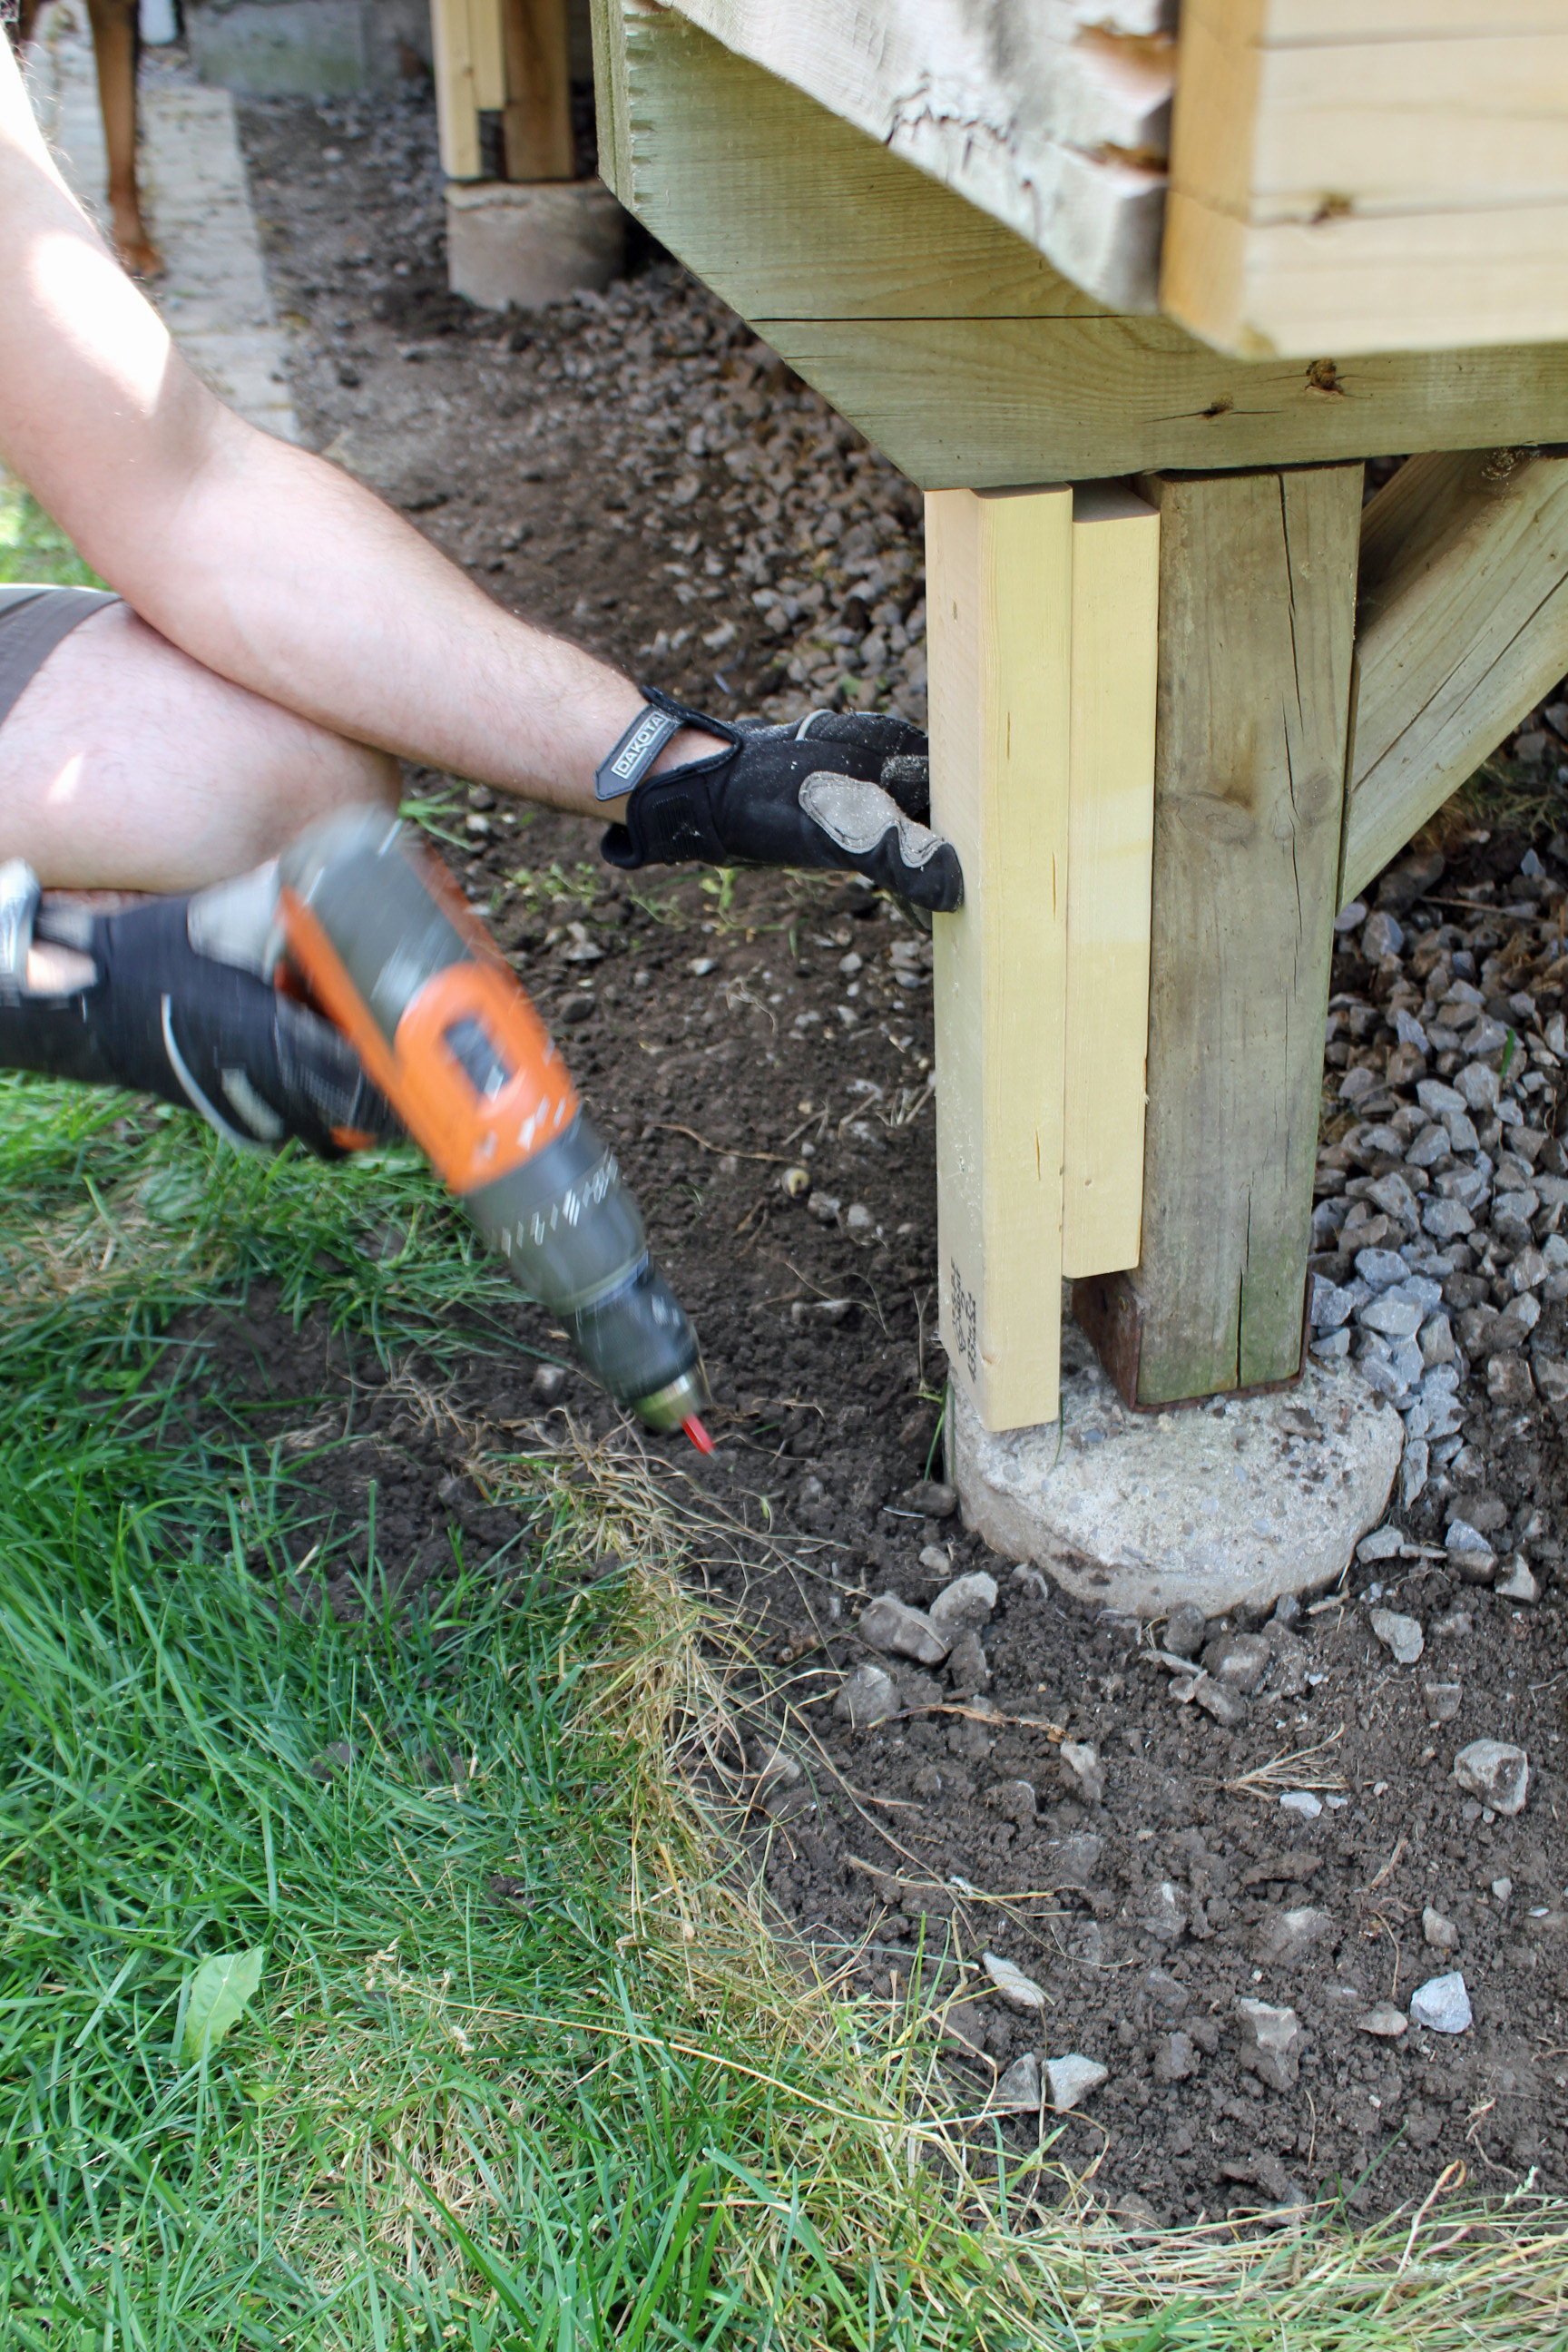
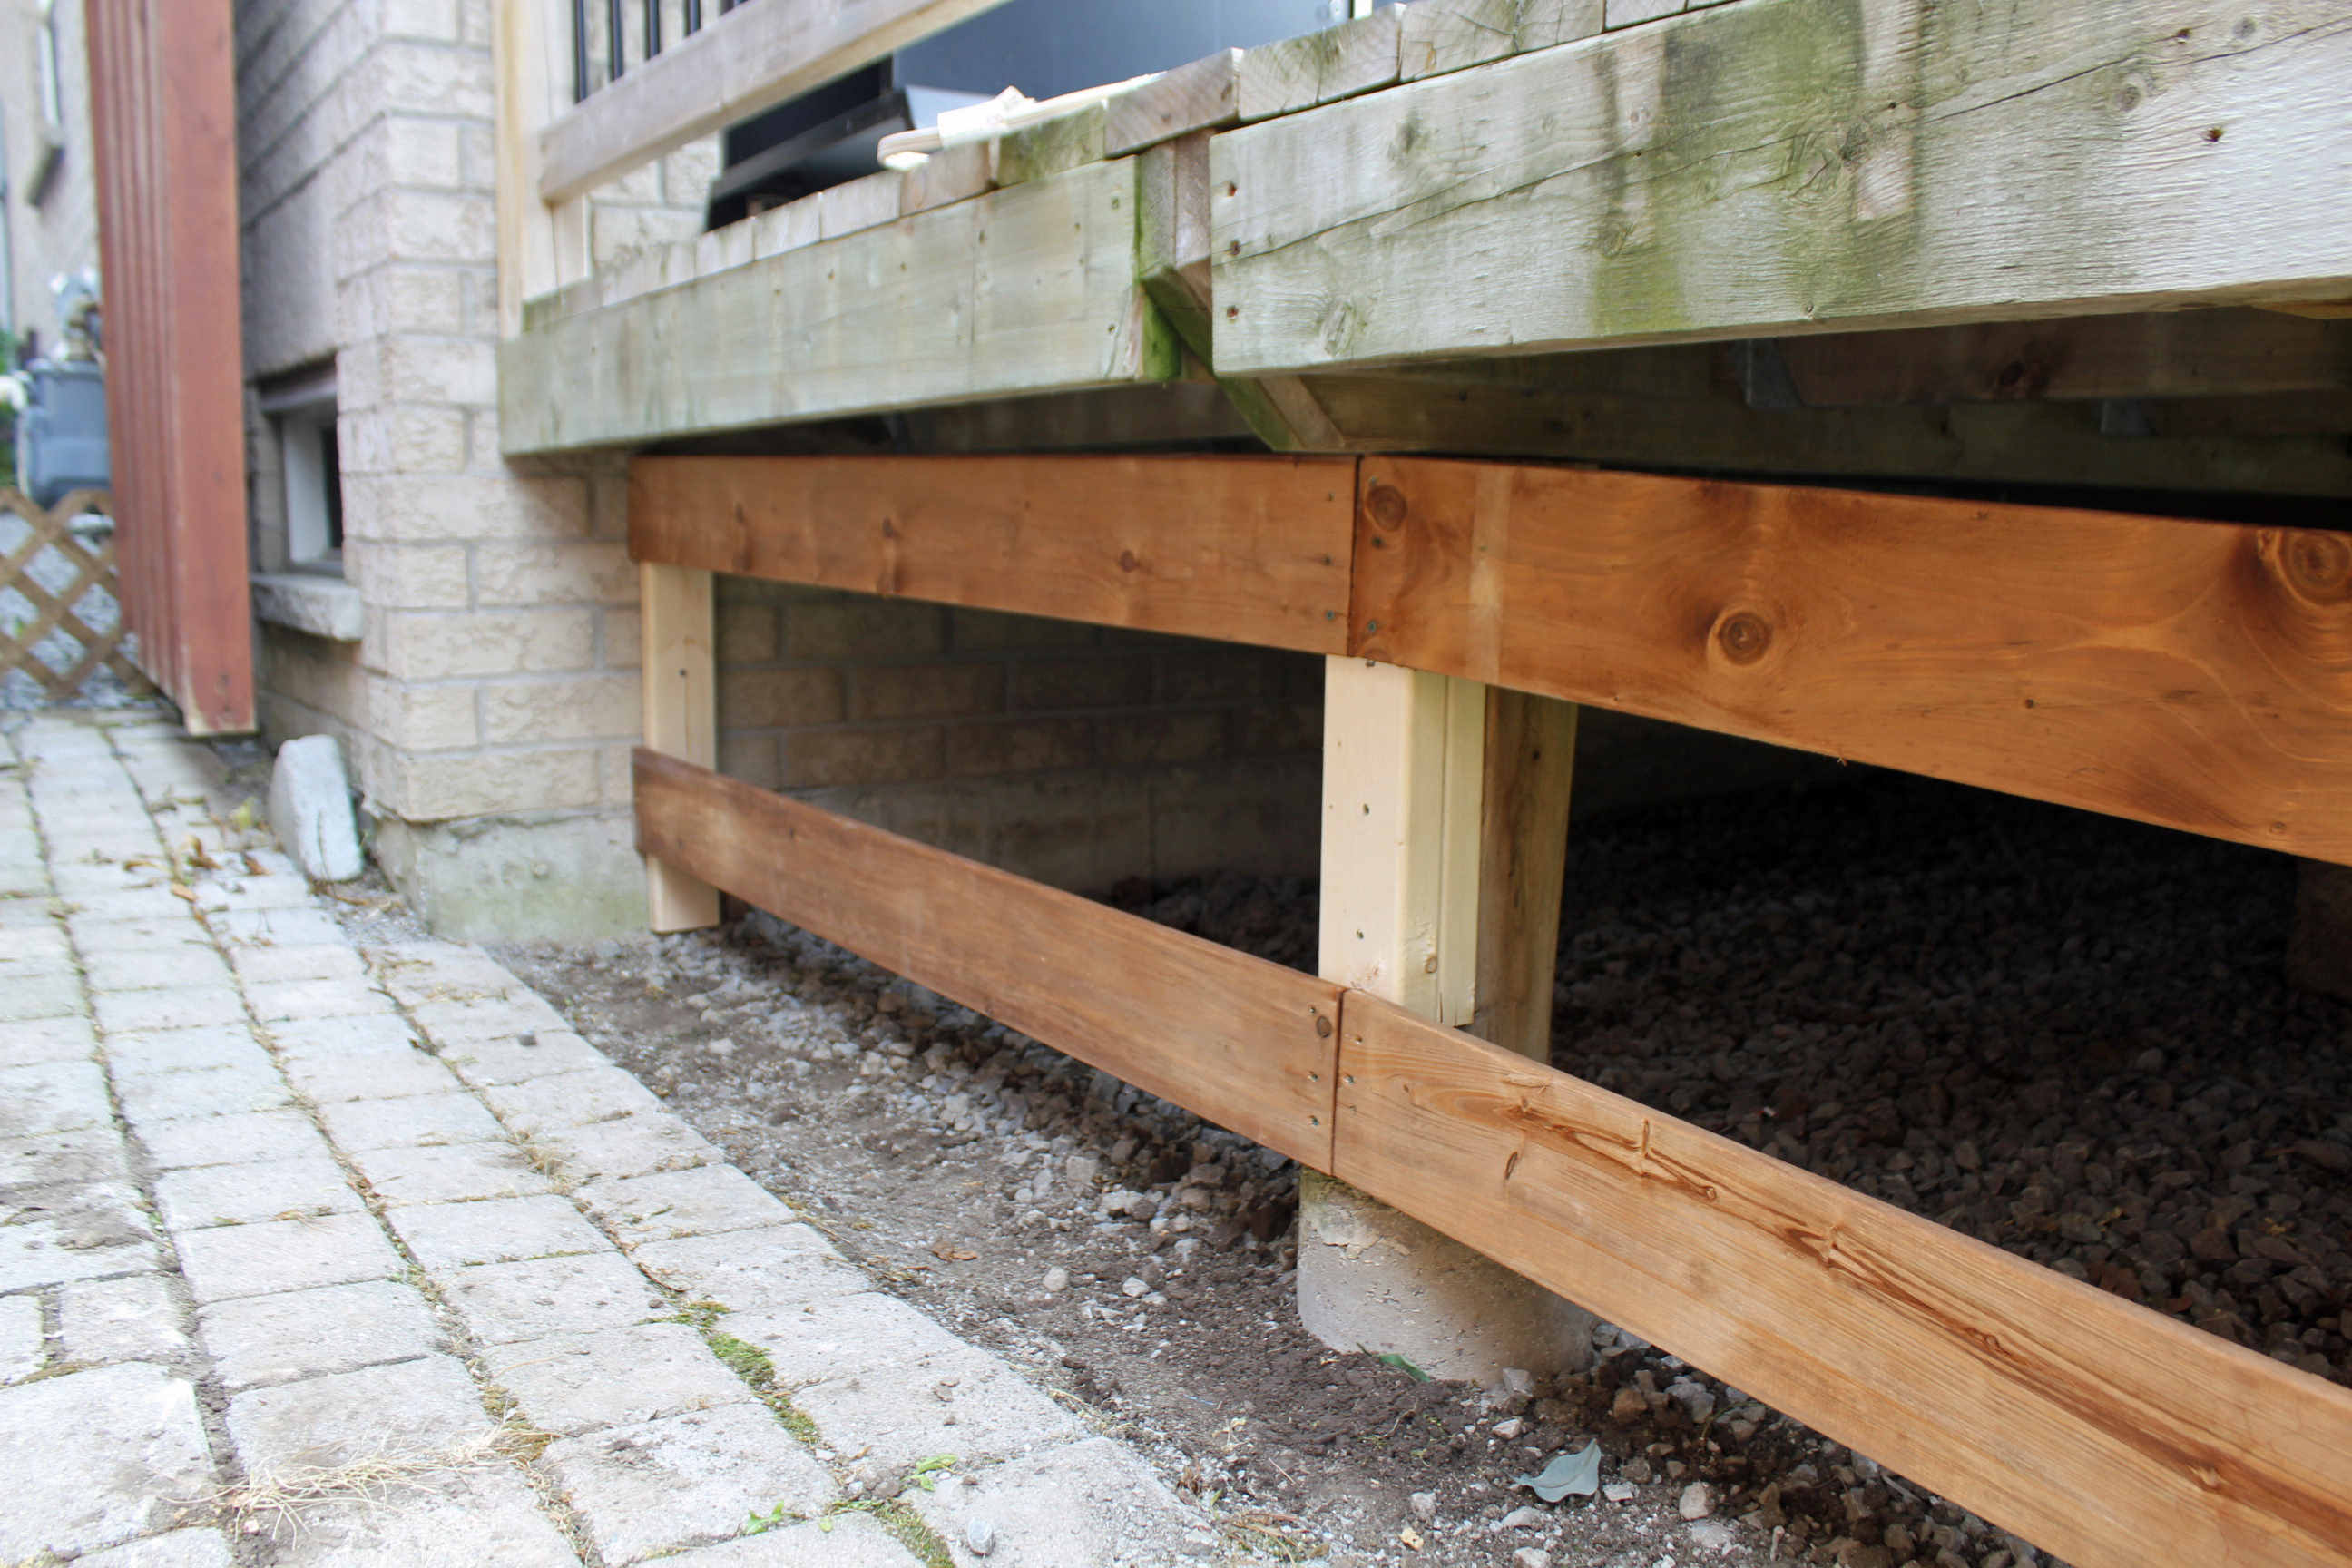
We started the enclosure by building out the posts on the left hand side with some scrap 2x4s so that the vertical boards would cover the concrete at the bottom. We decided not to do the same at the front since the amount visible was pretty small (our ground is really uneven.) Once the new dirt and sod are in the concrete will probably be covered anyway.
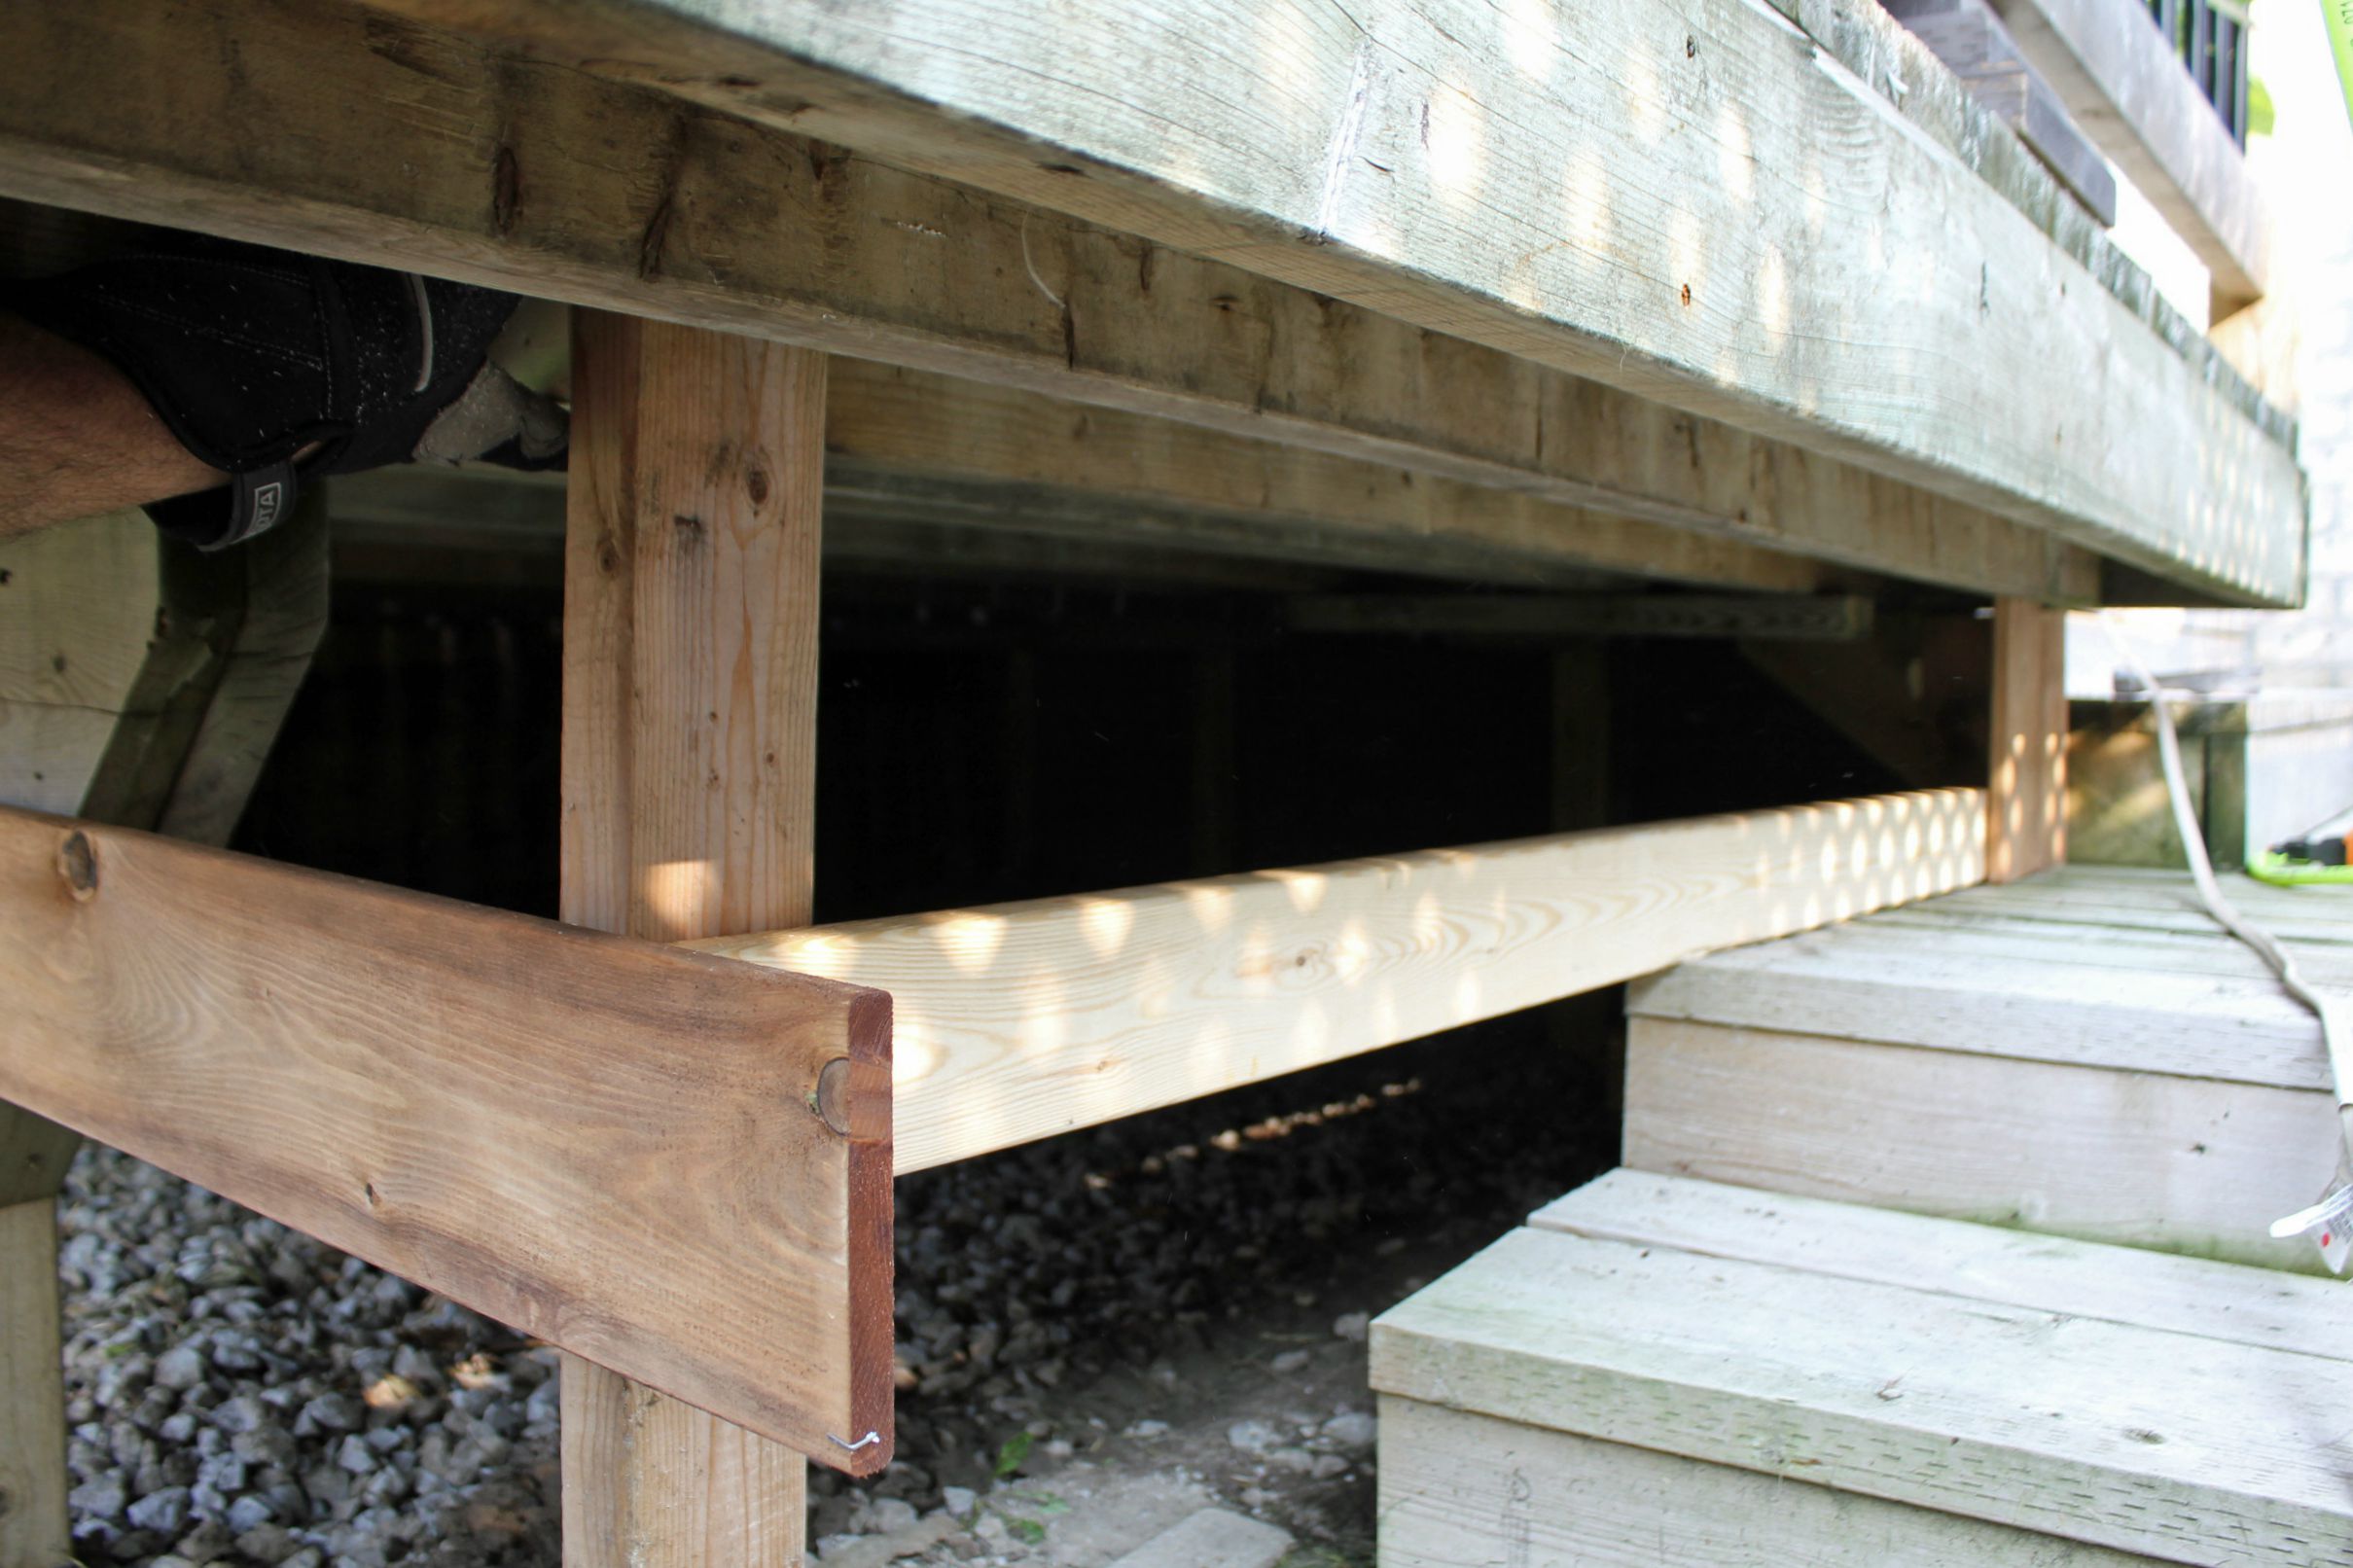
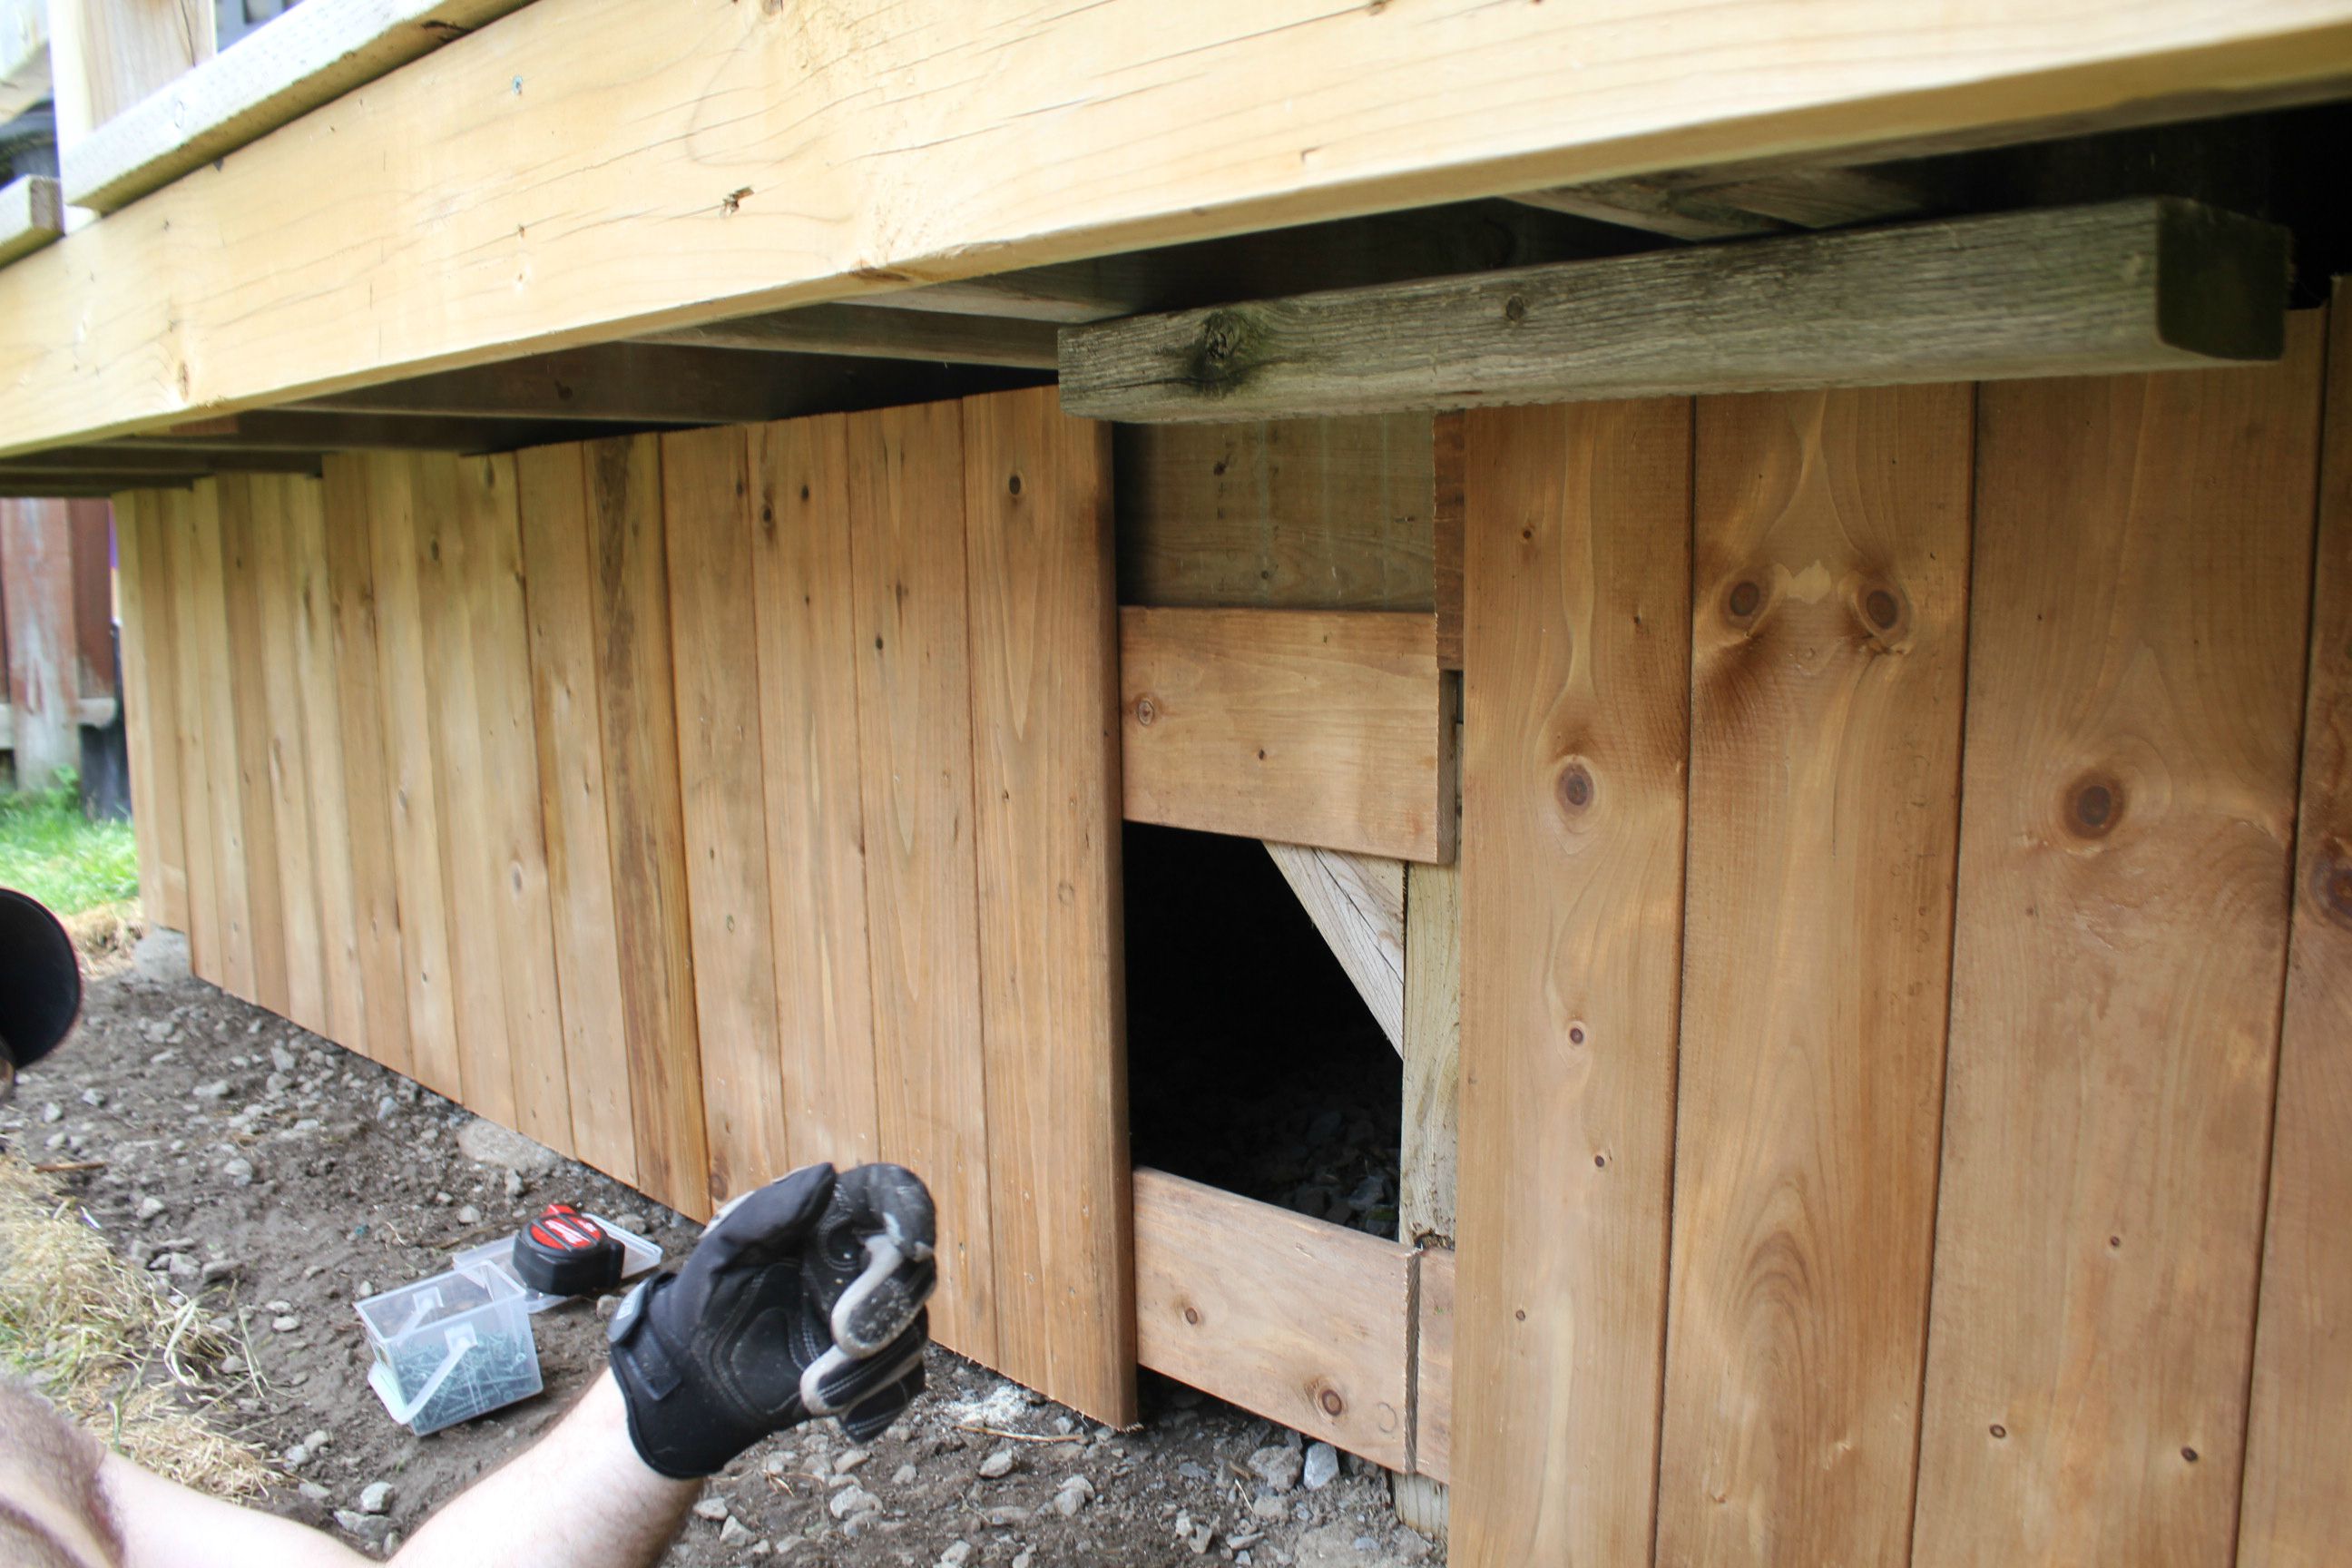
We ran boards horizontally from the house to the corner post to give a support framework for the vertical boards. Tom attached a length of 2x4 to the house to give a starting point for the support boards.
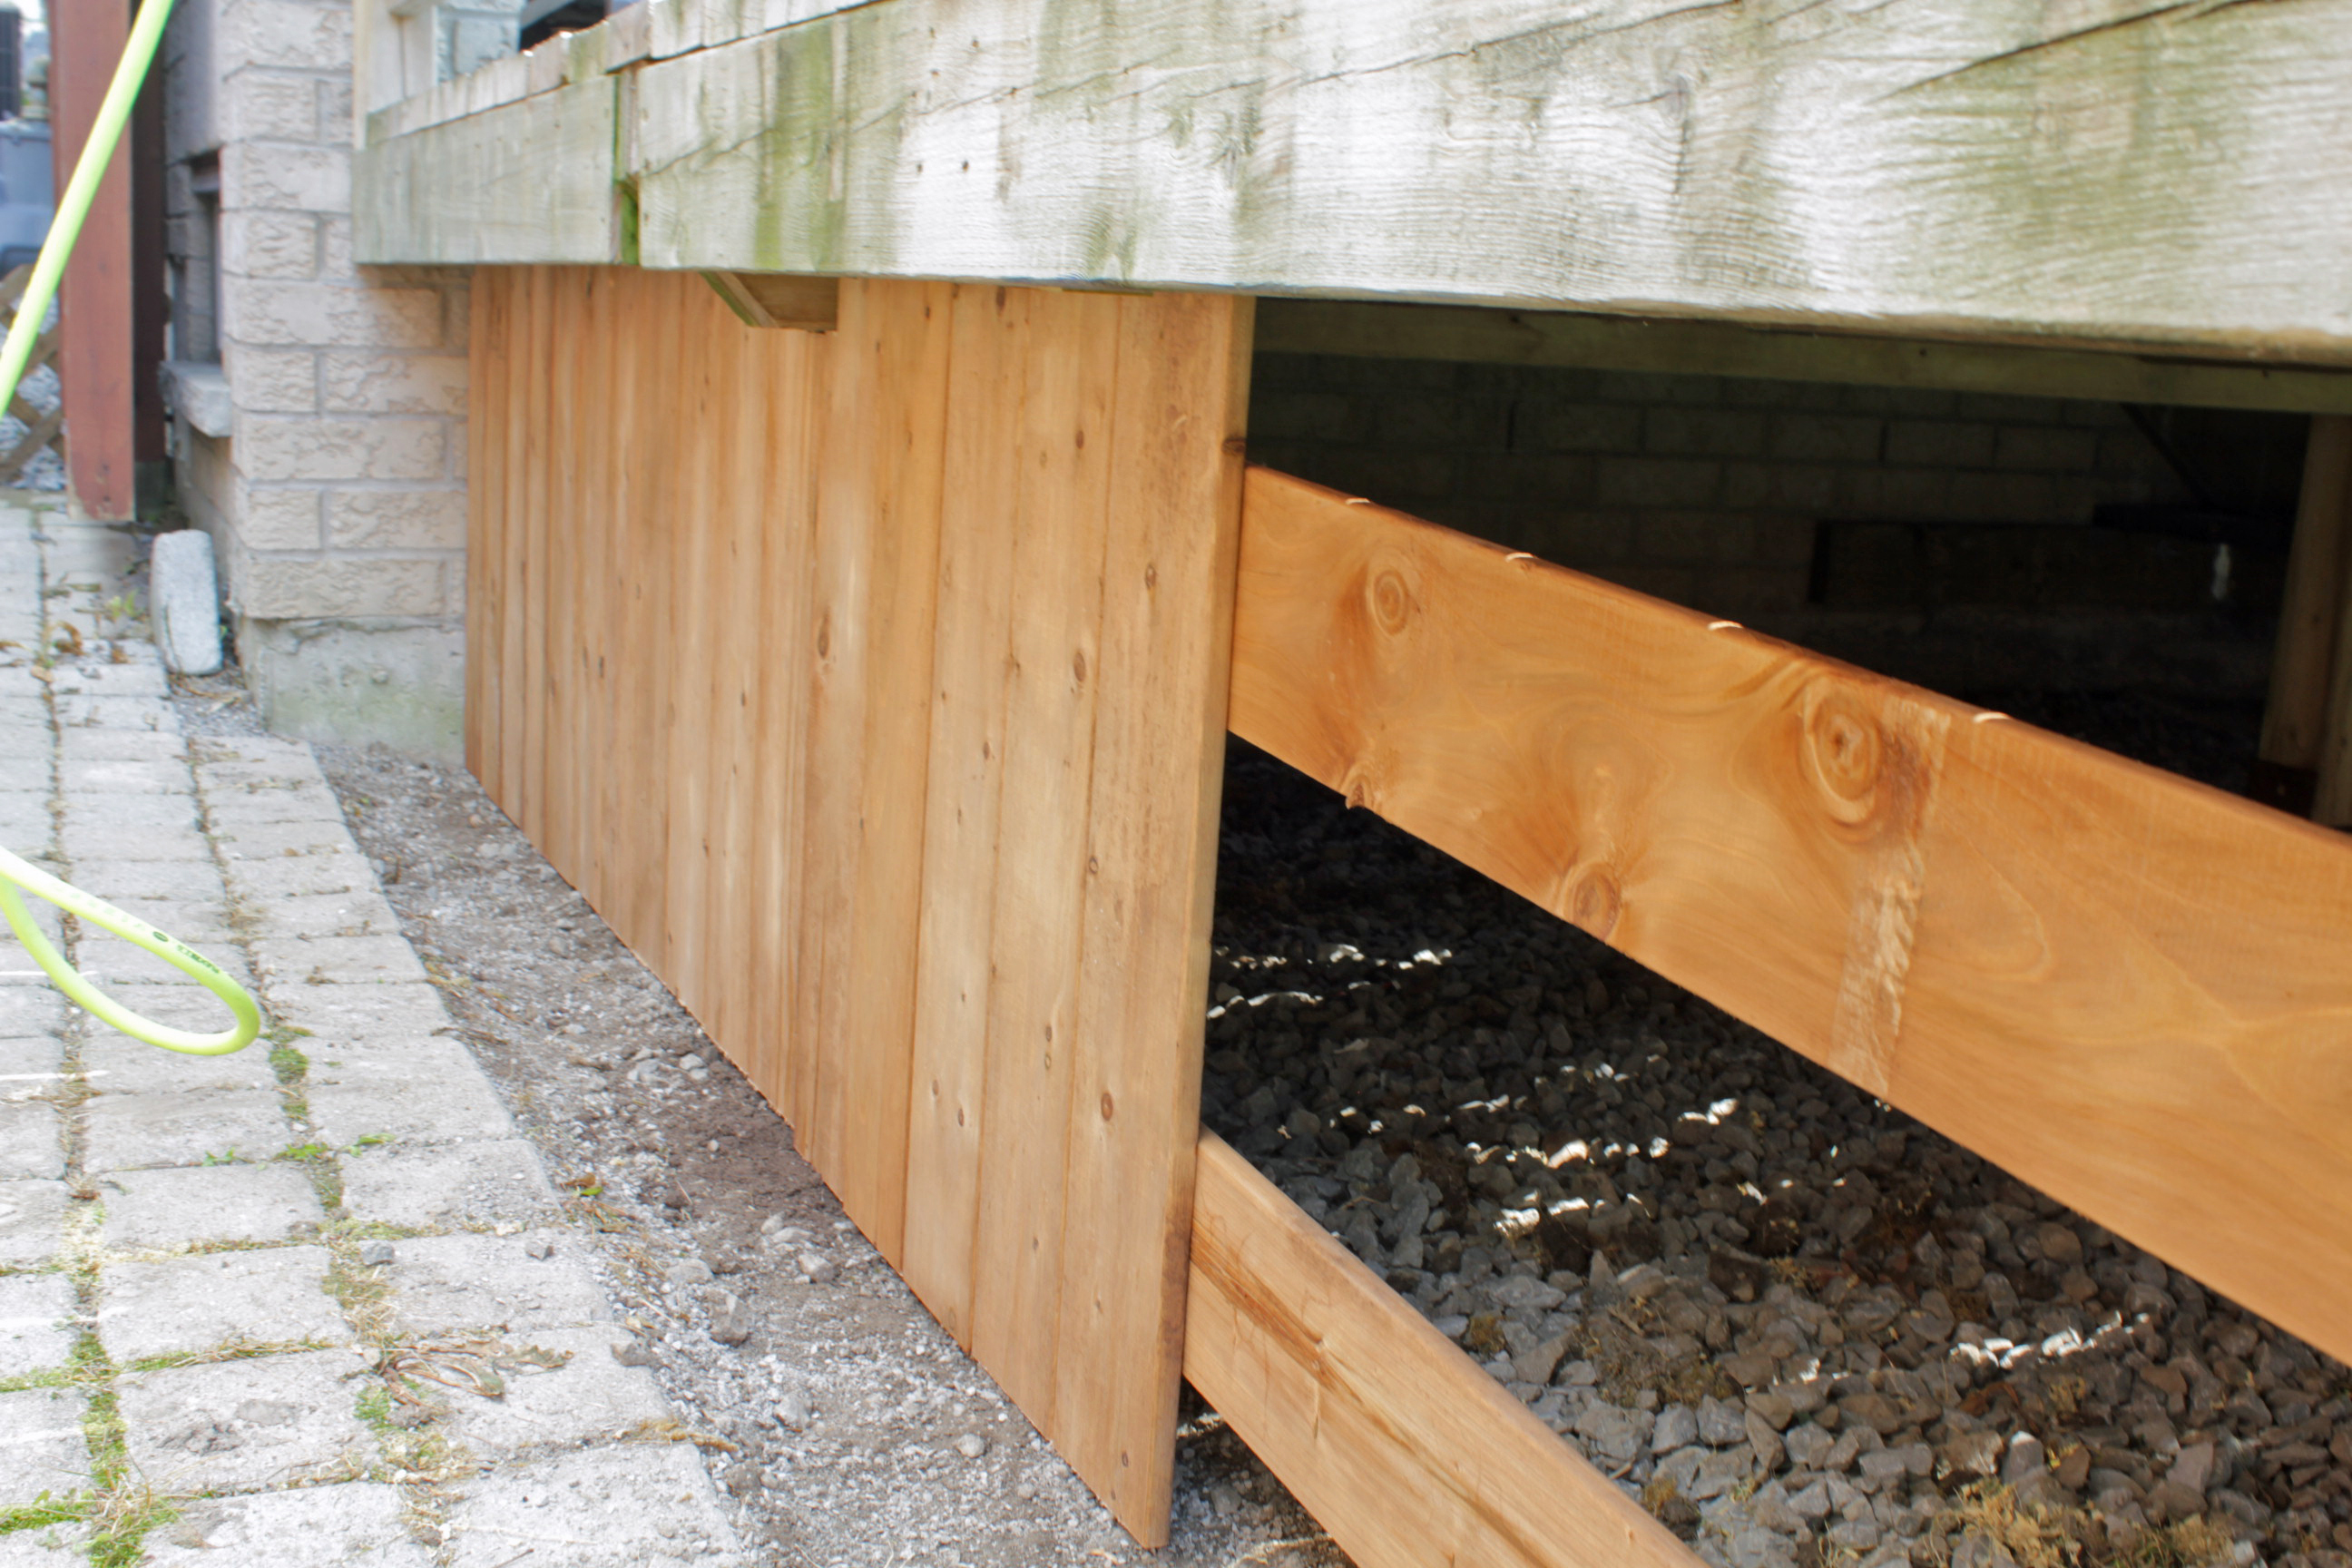
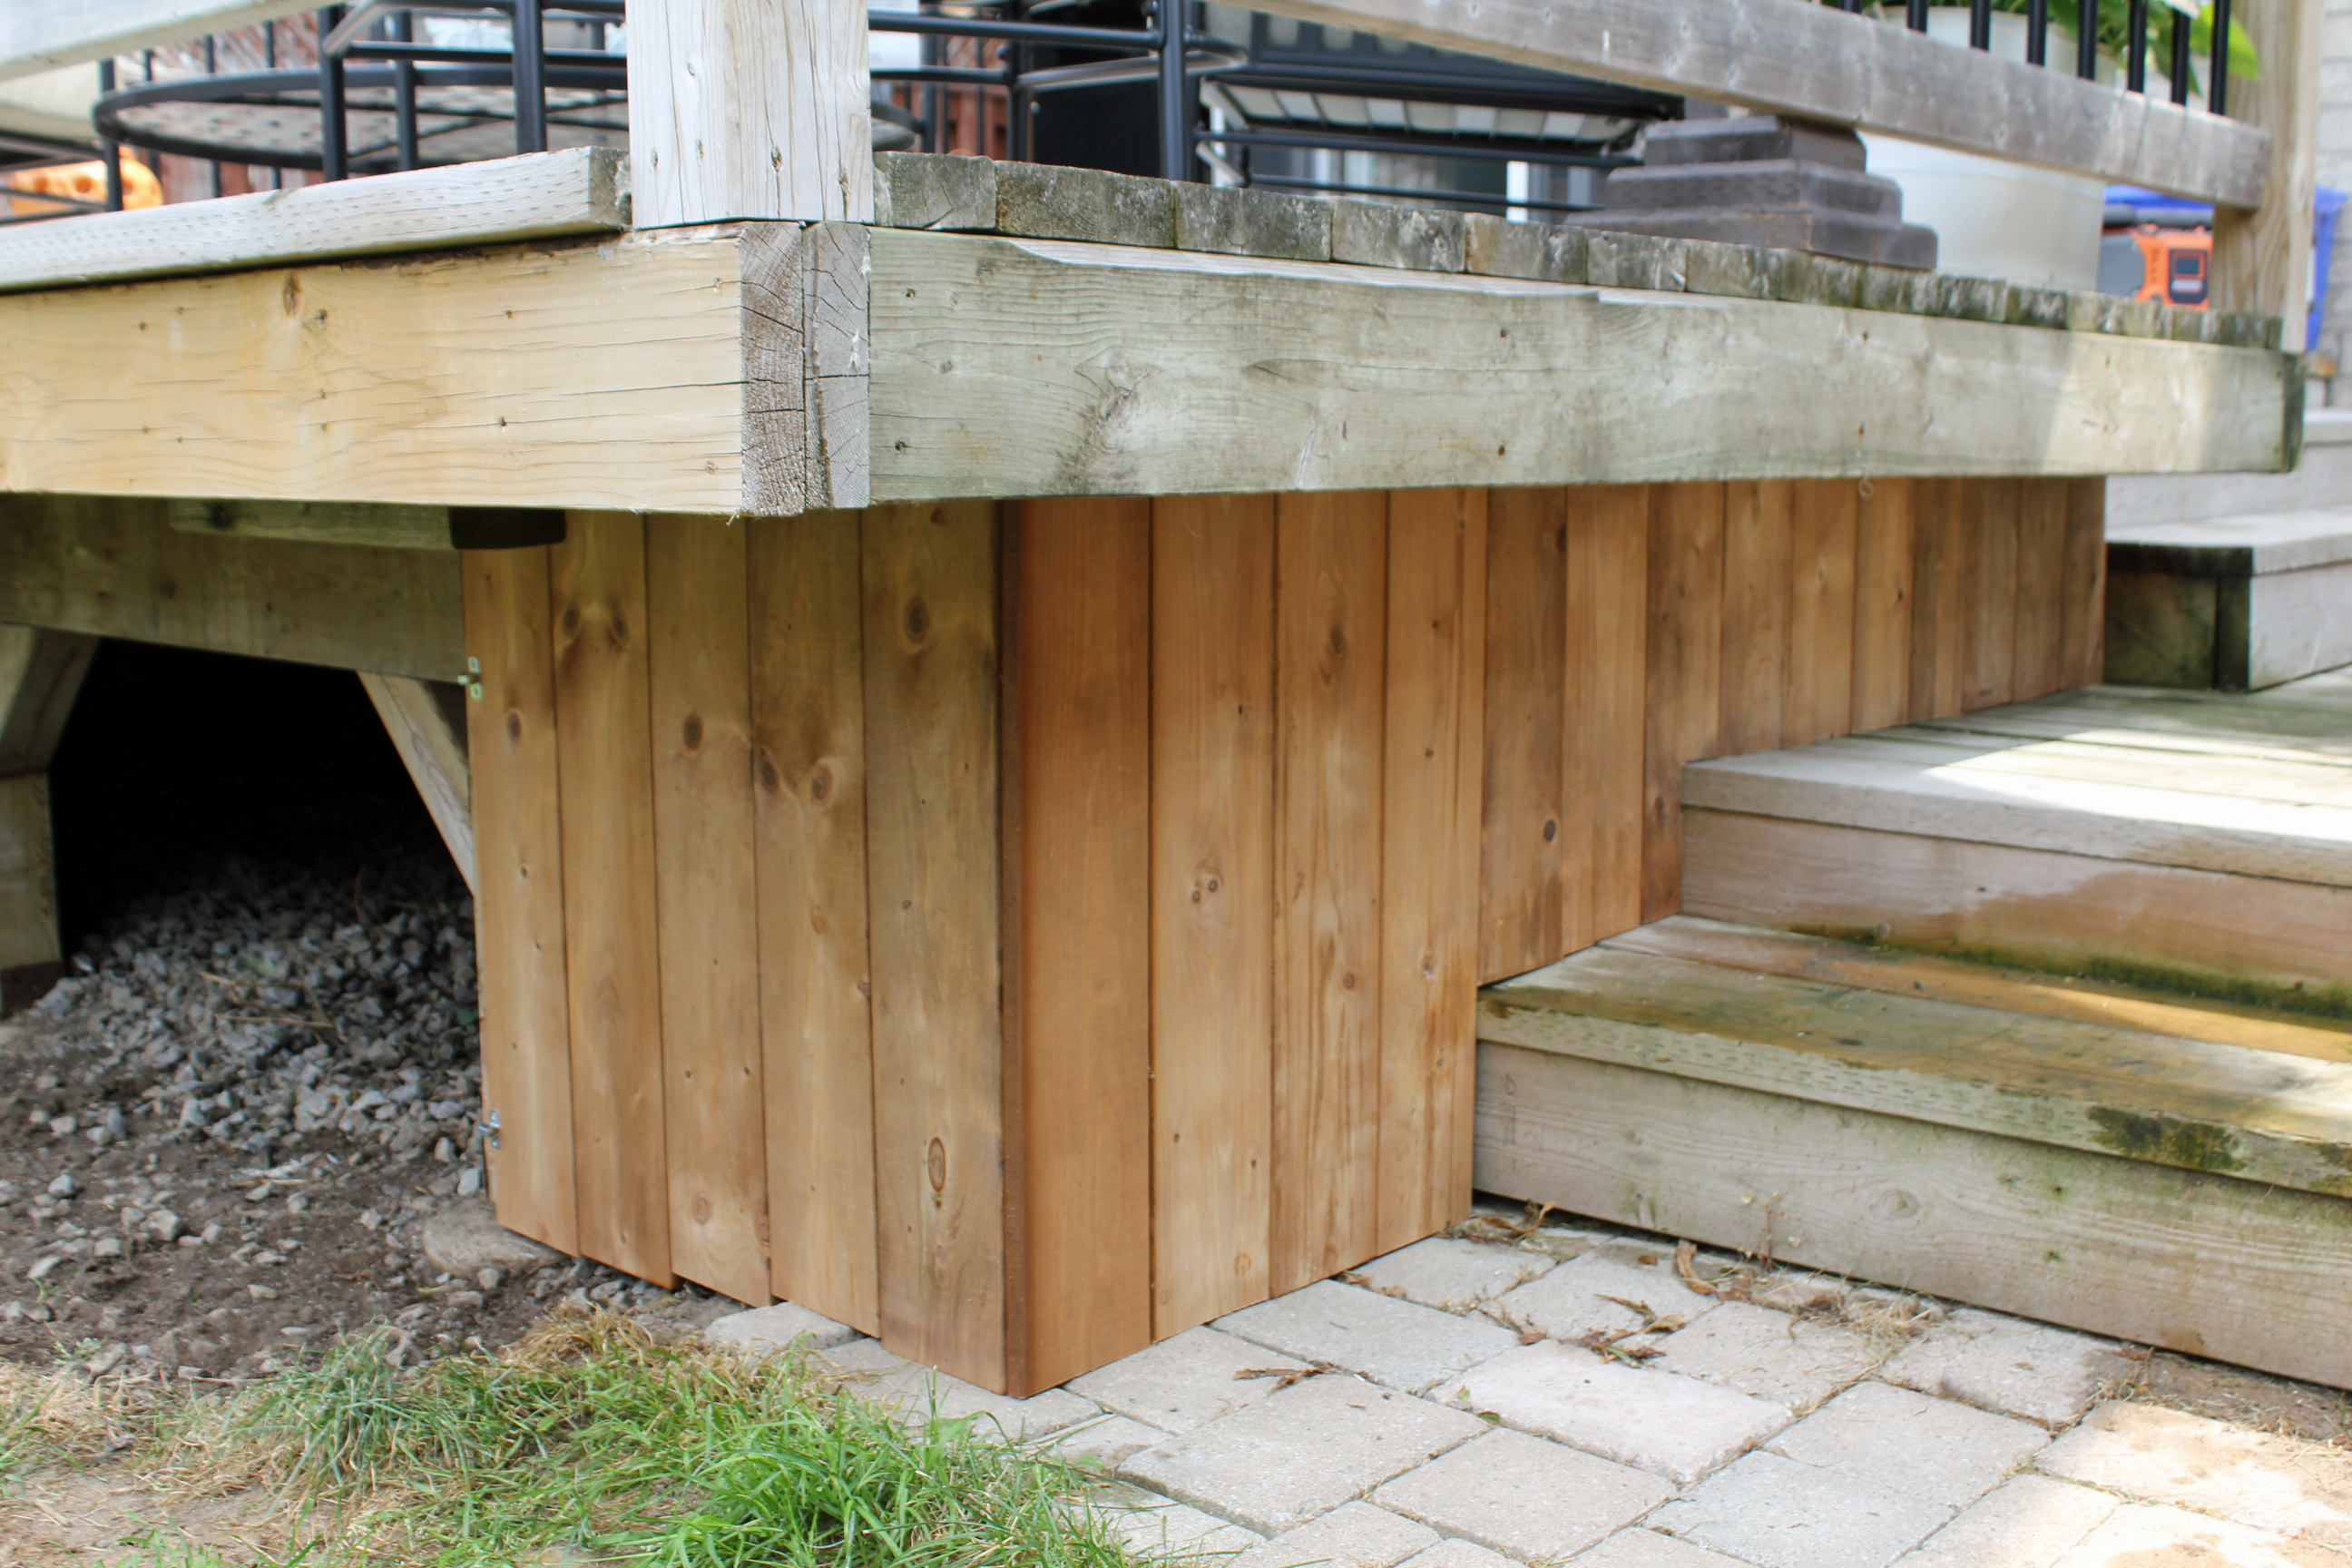
The vertical boards were then attached to the framework beginning at the house and working to the corner. Each board had to be measured individually because of the slope of the yard. In some spots Tom had to notch out the tops of the boards to fit around the deck beams above.
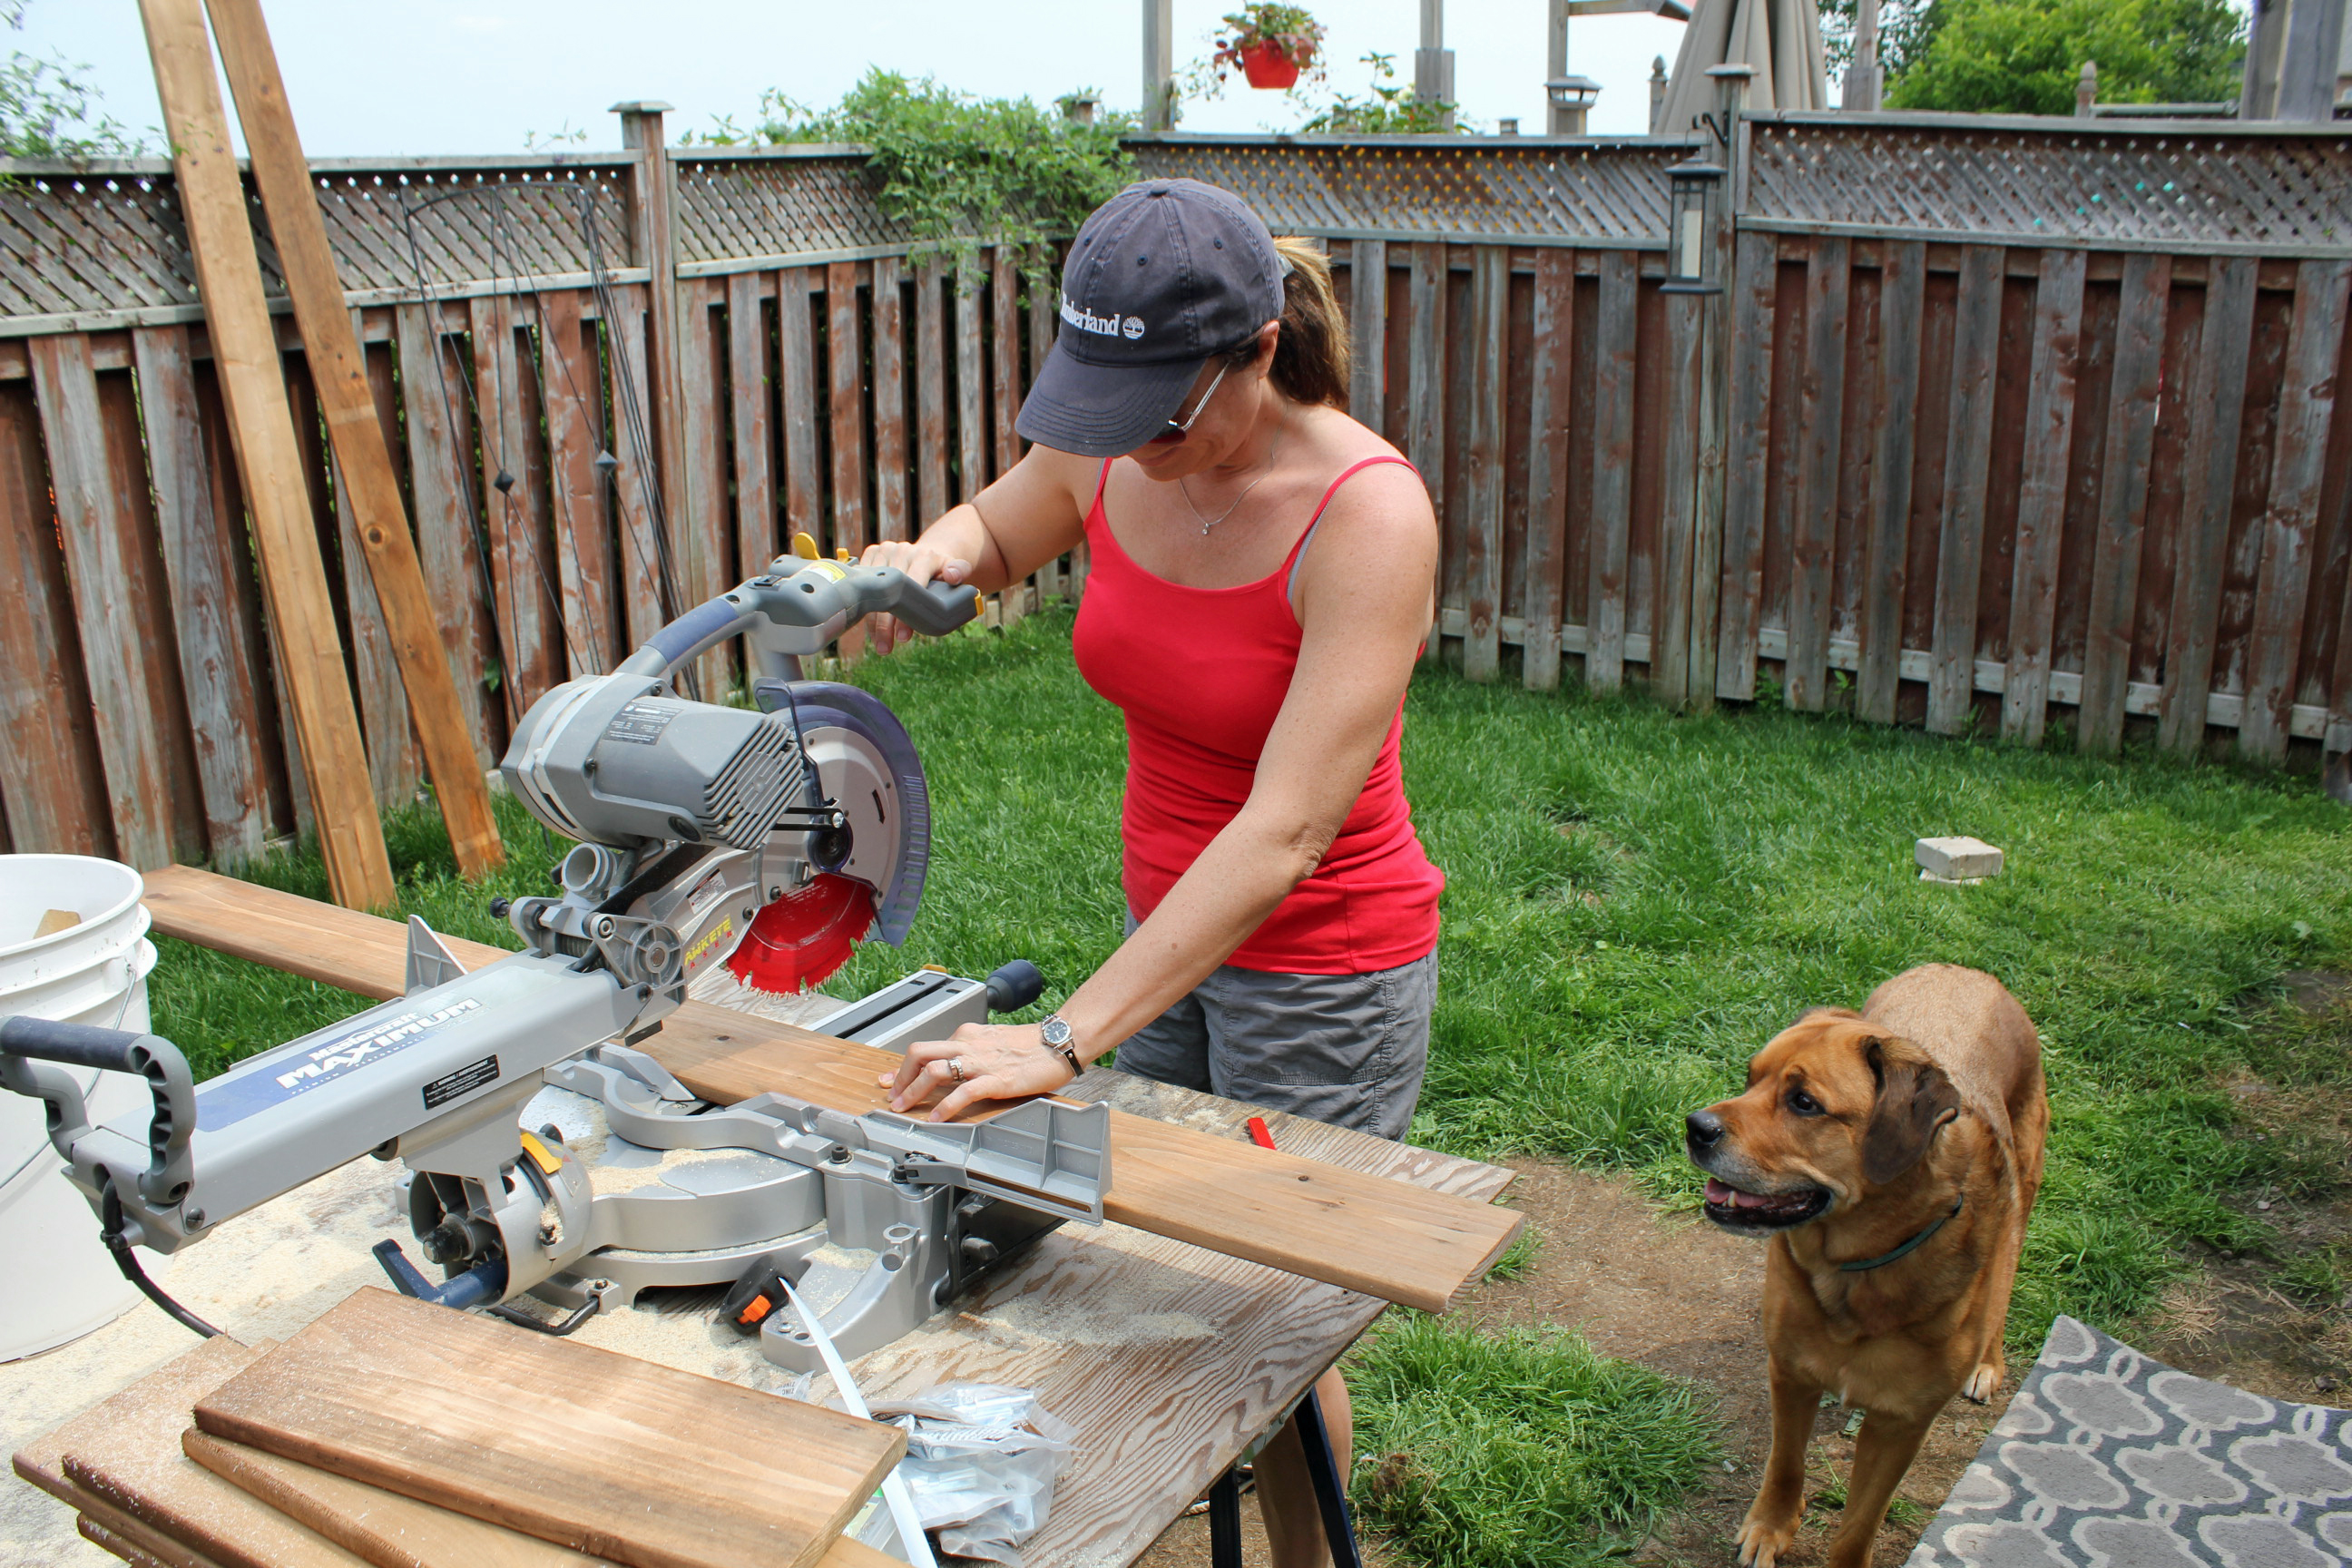
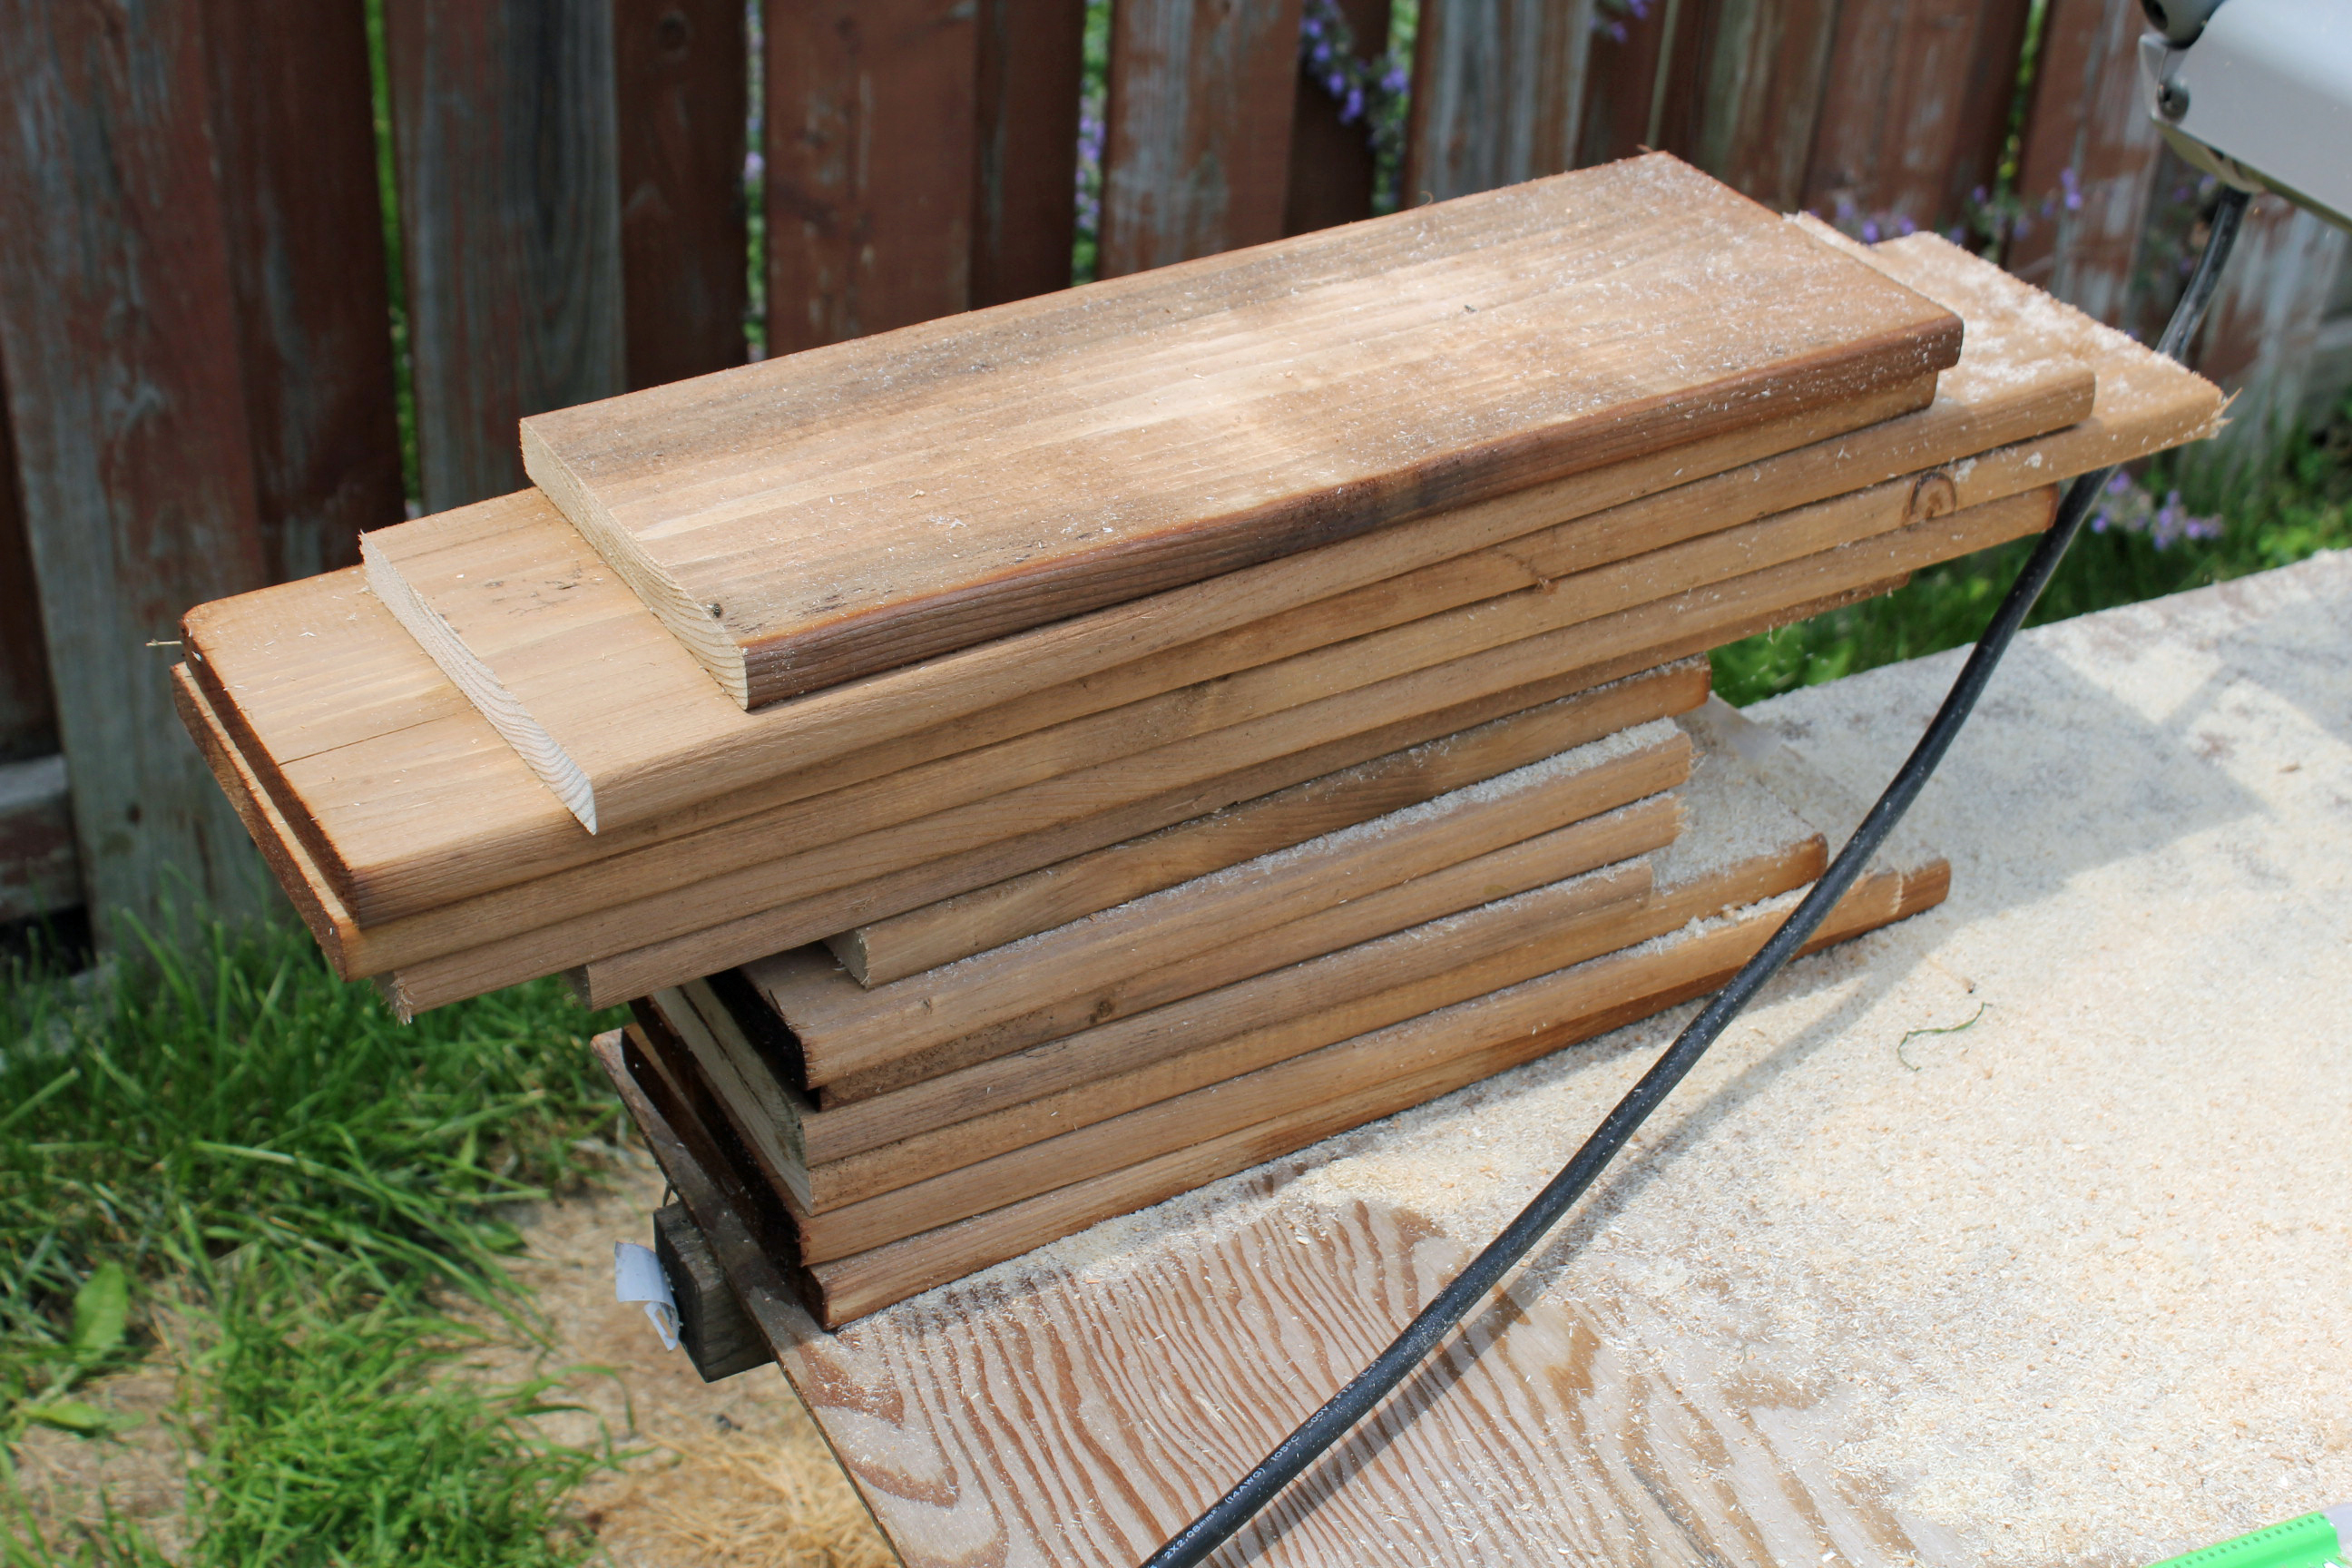
Master saw operator and her trusty sidekick:
The upper deck overhangs the lower deck a little bit, so we screwed a 2x4 into the lower deck along the edge and Tom built a framework out from that 2x4 and also out from the post at the front, having it meet where we wanted the corner to be.
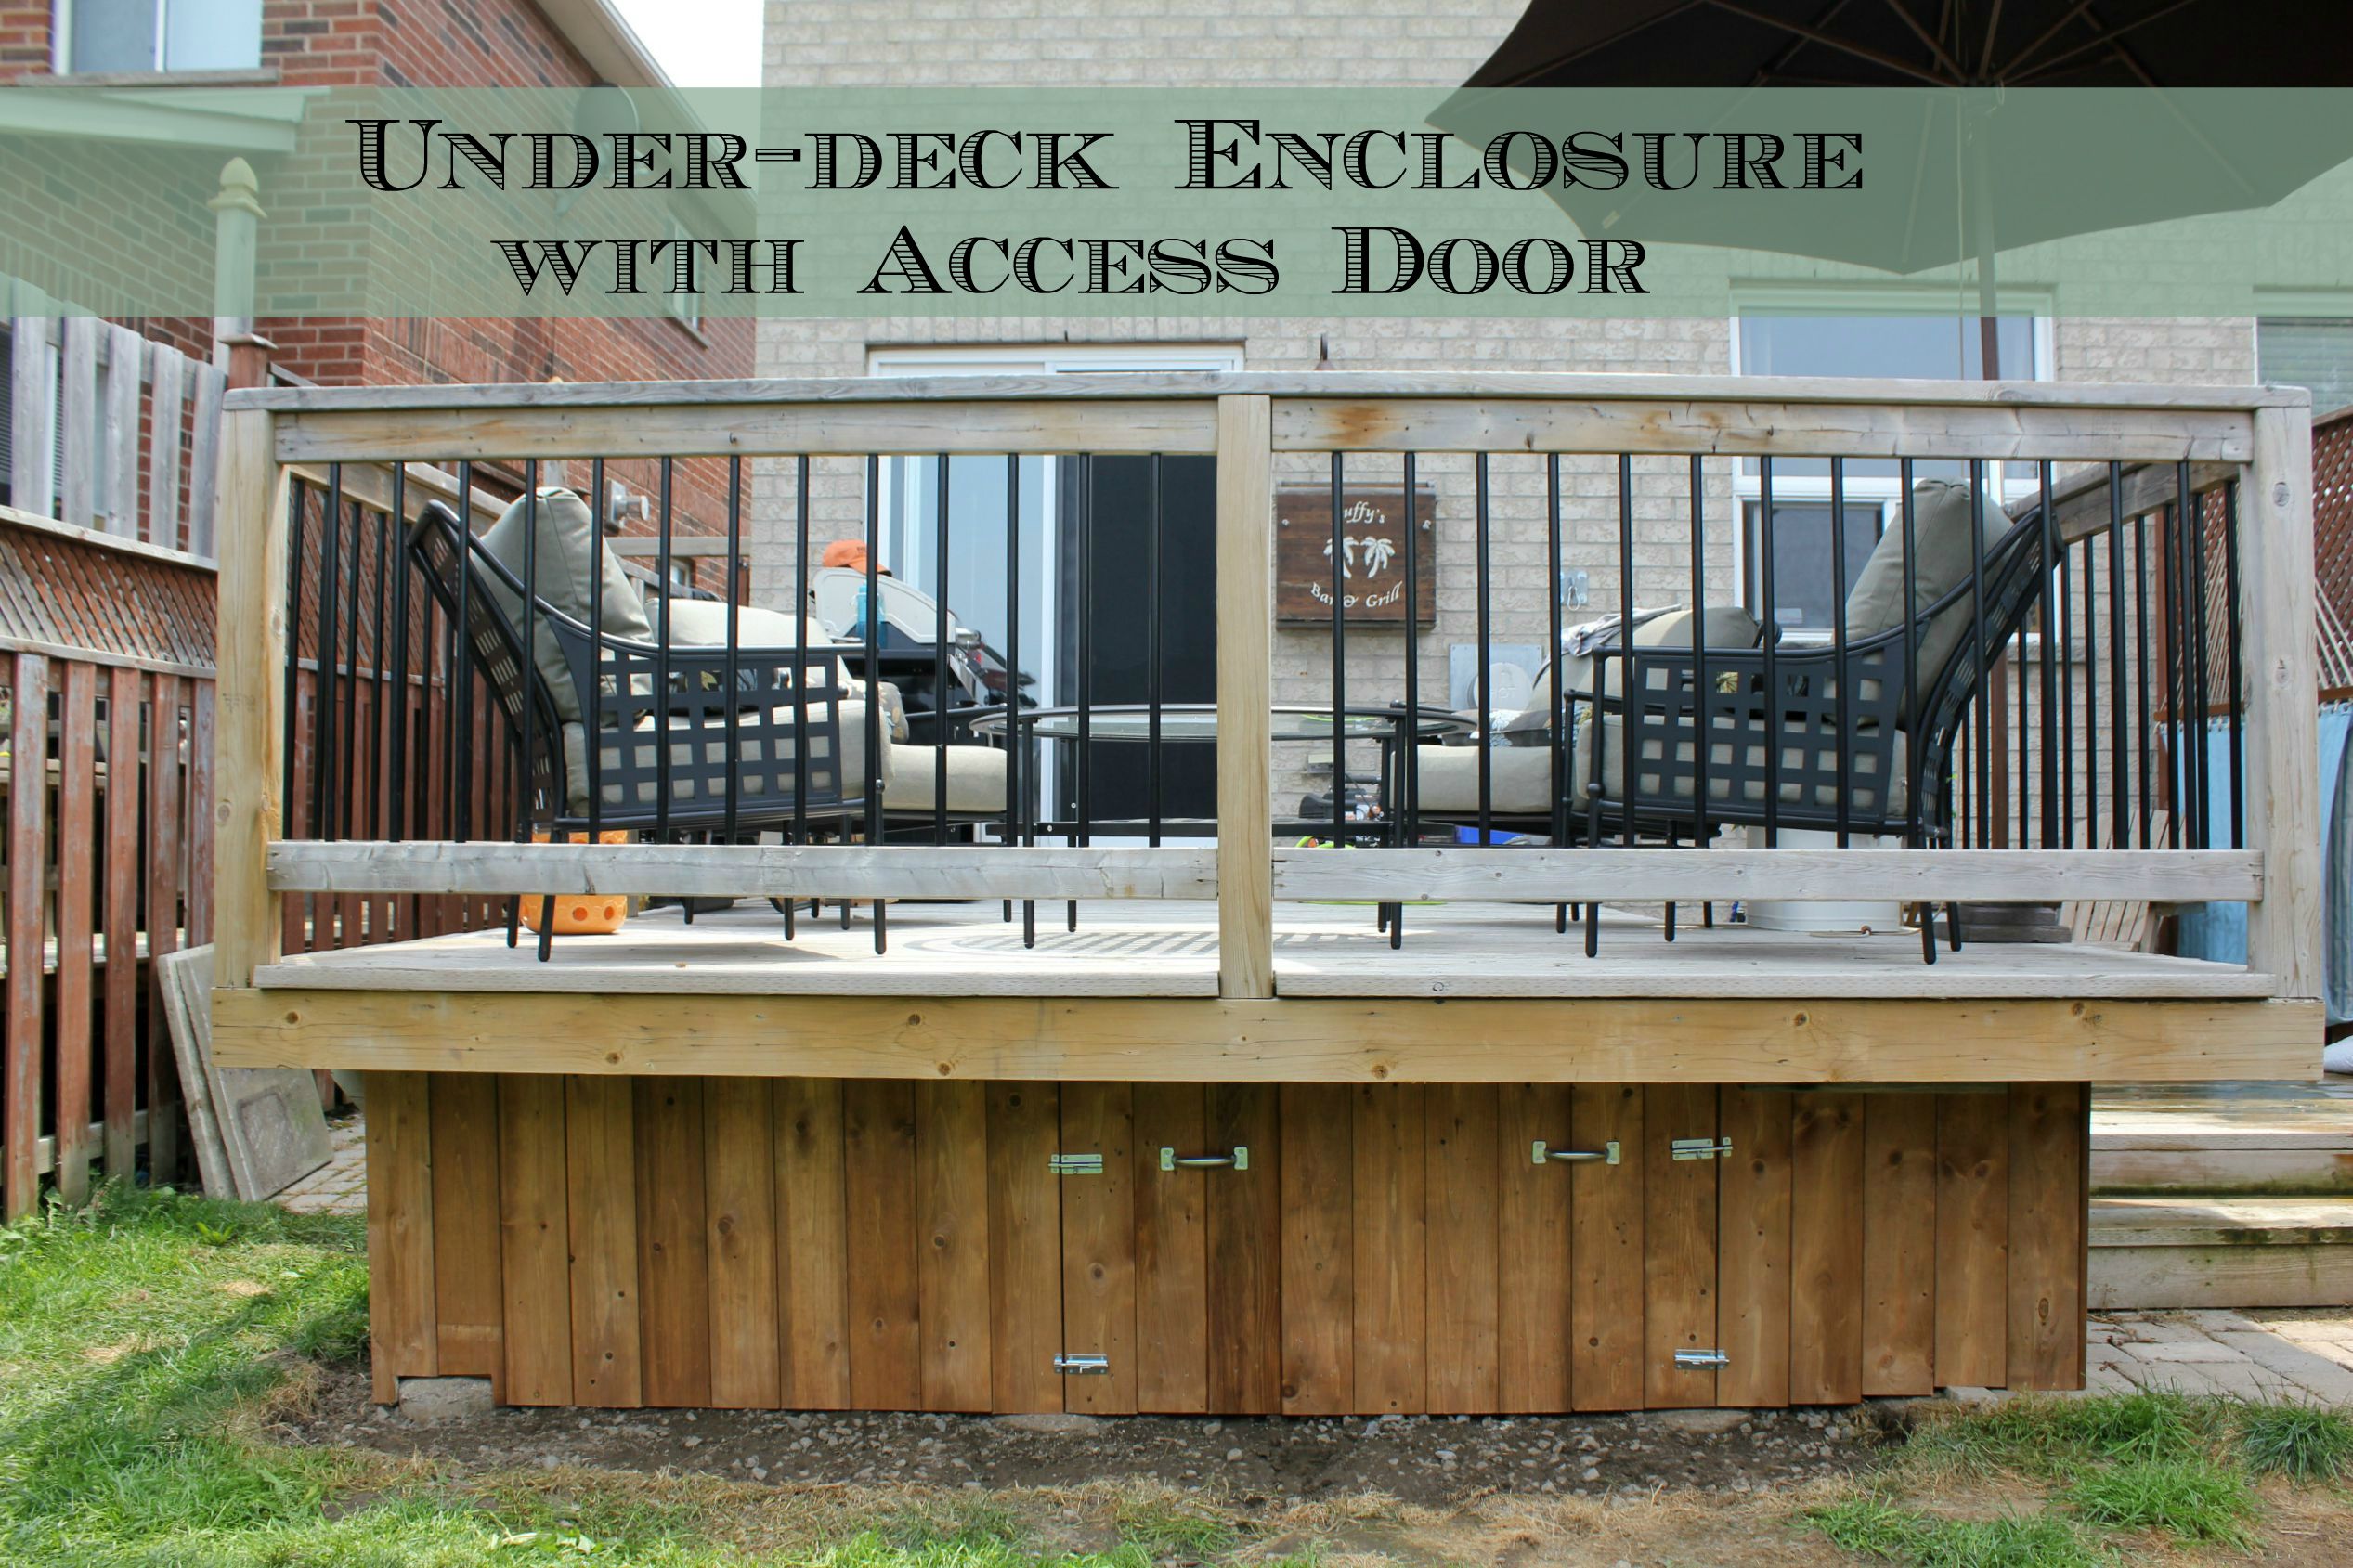
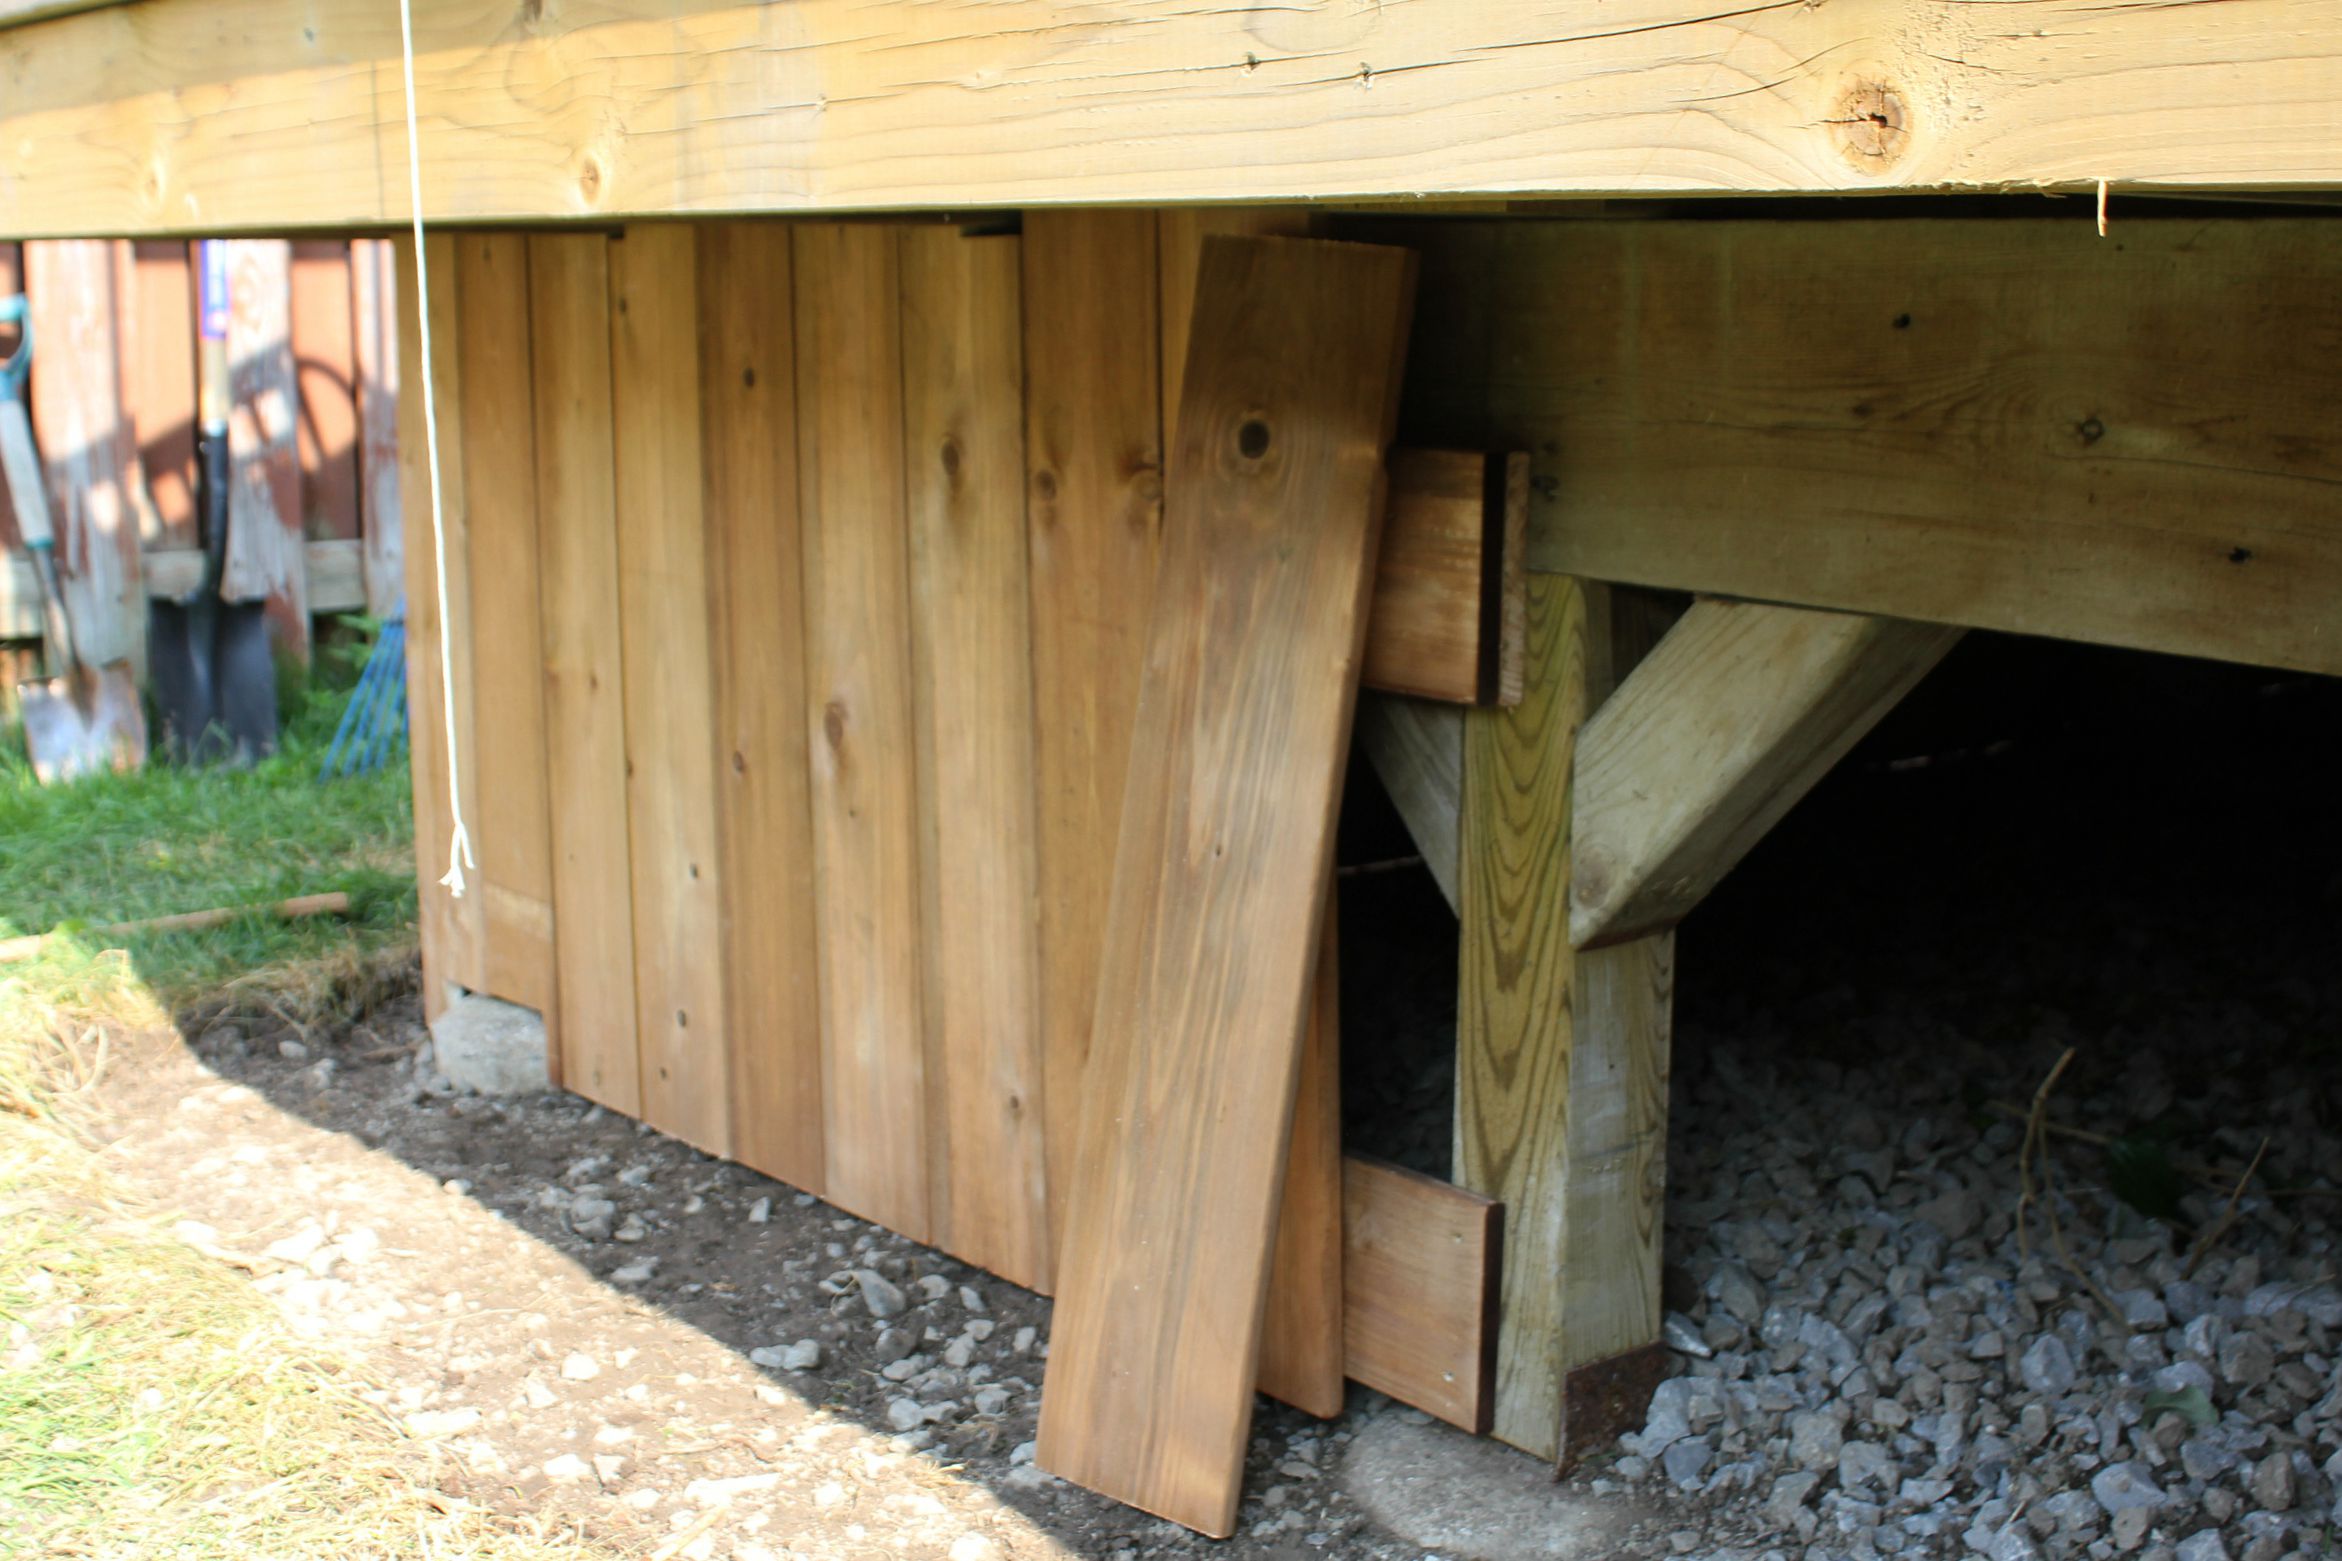
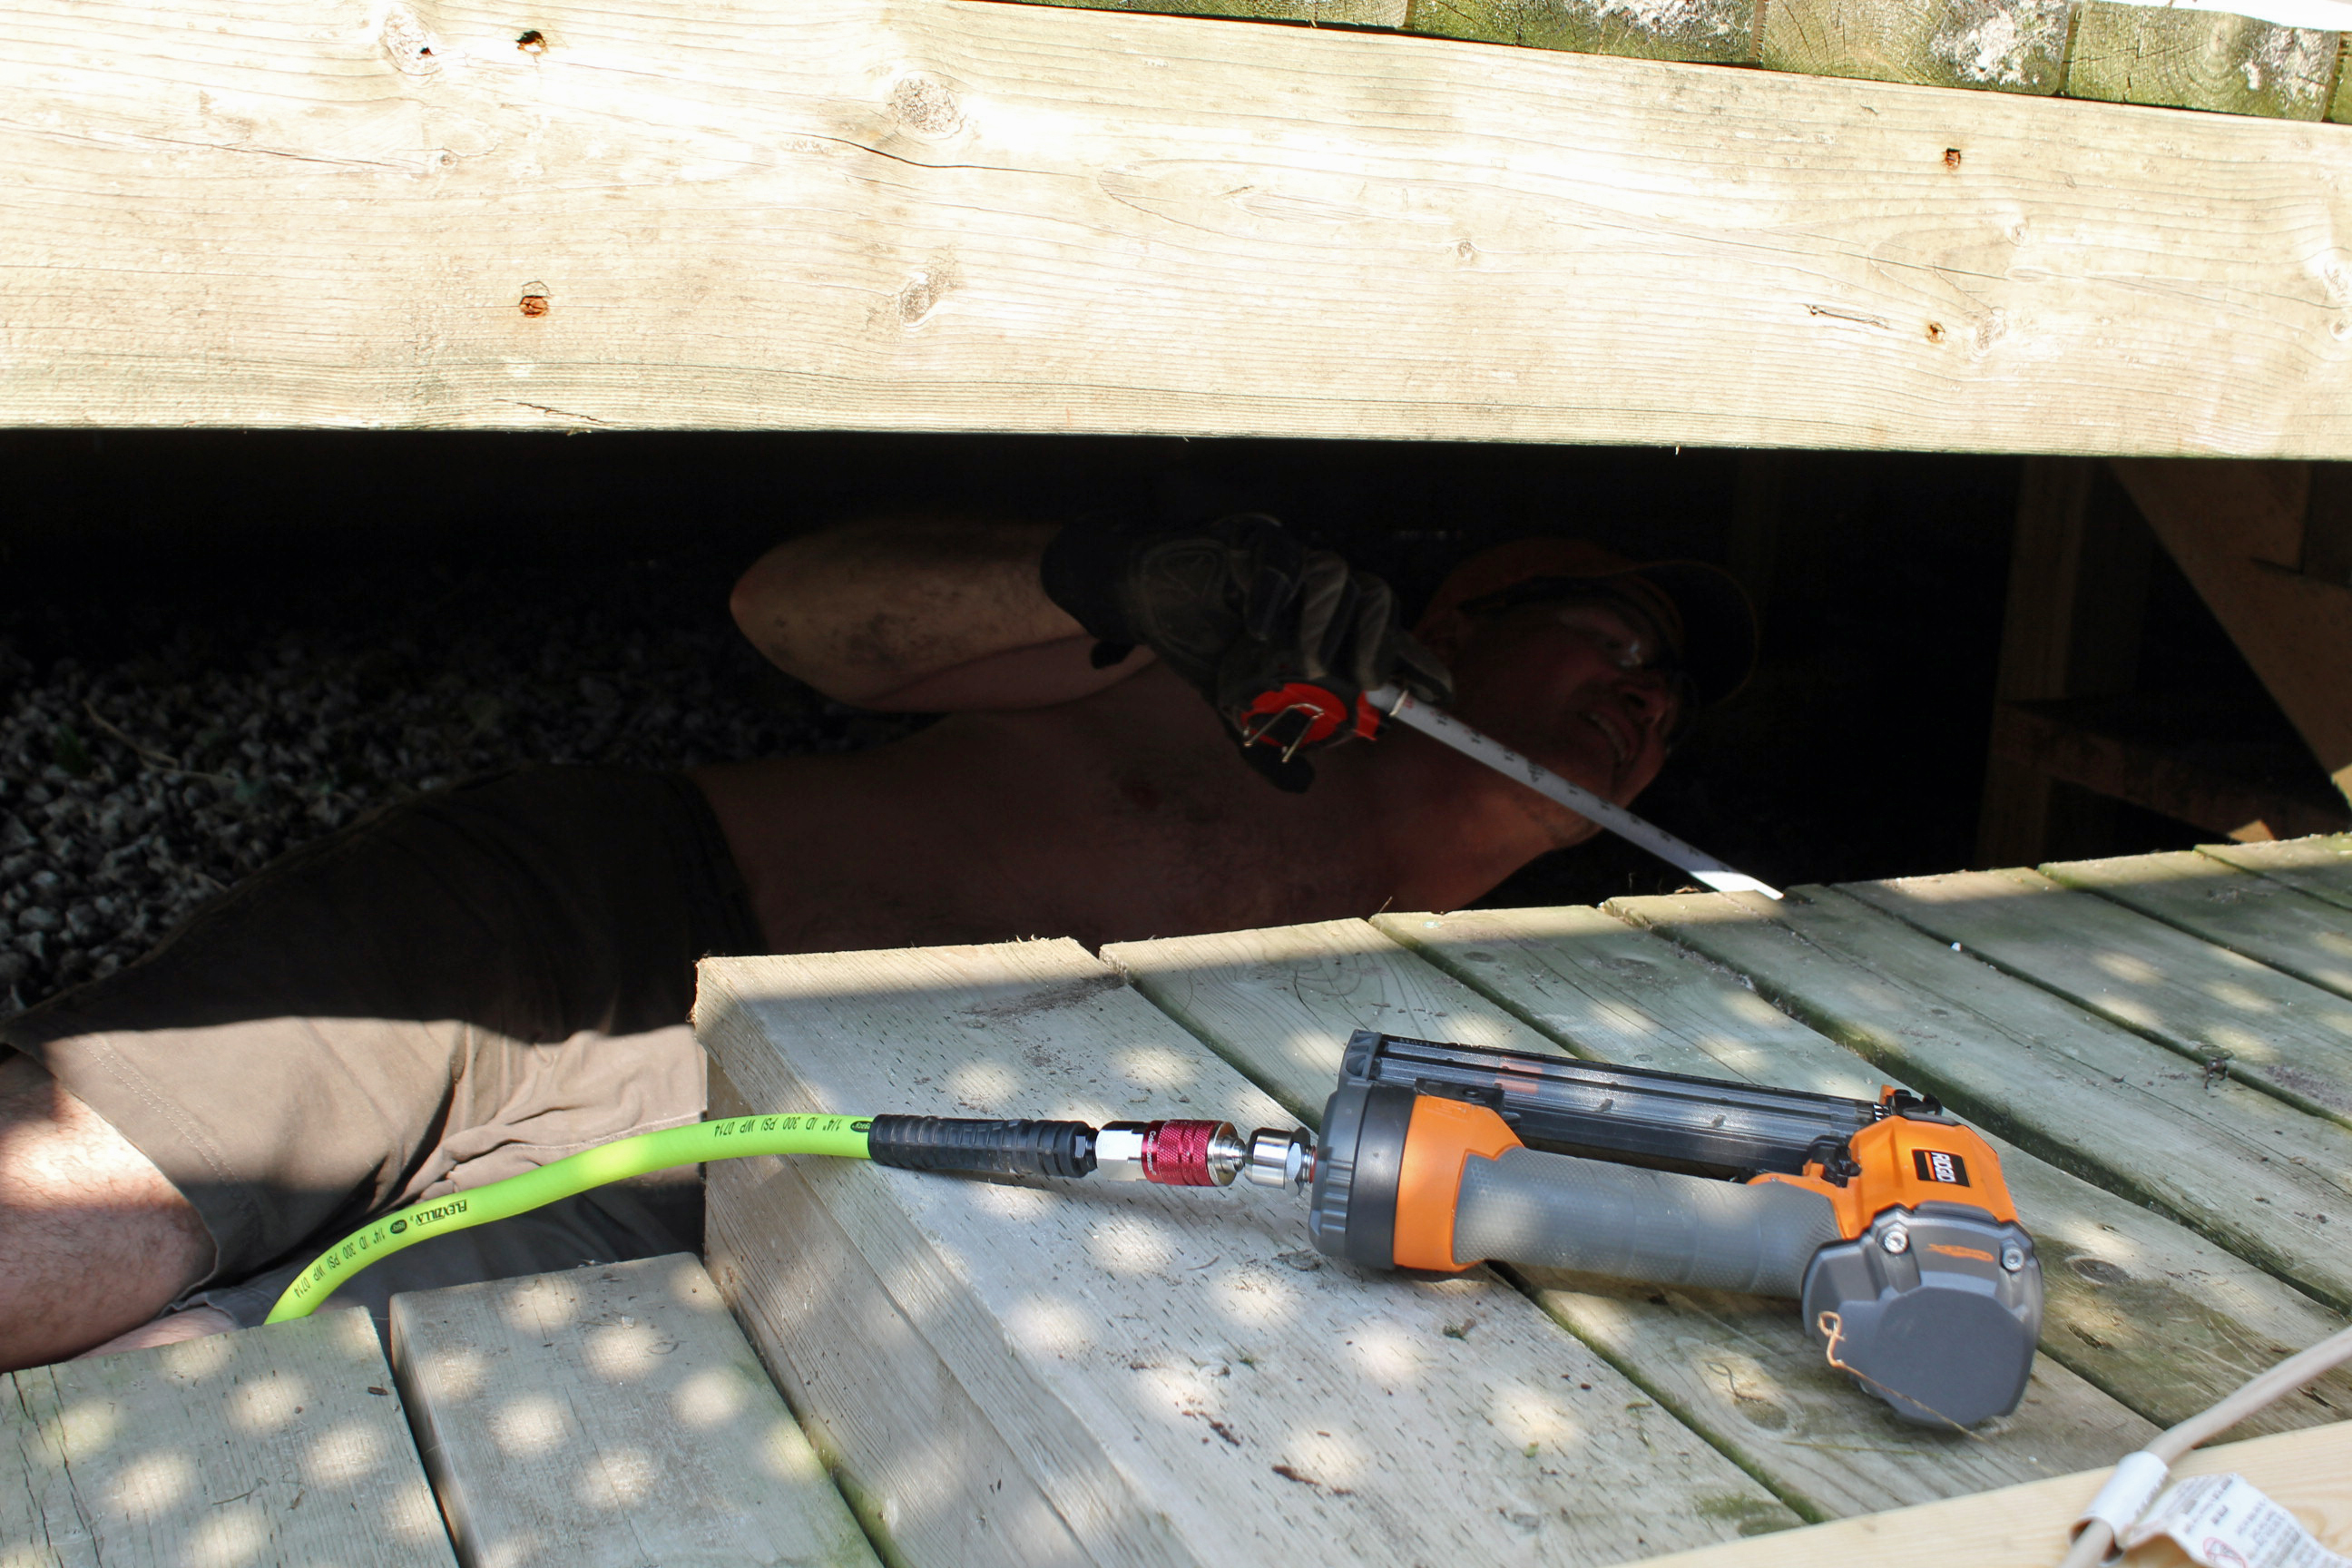
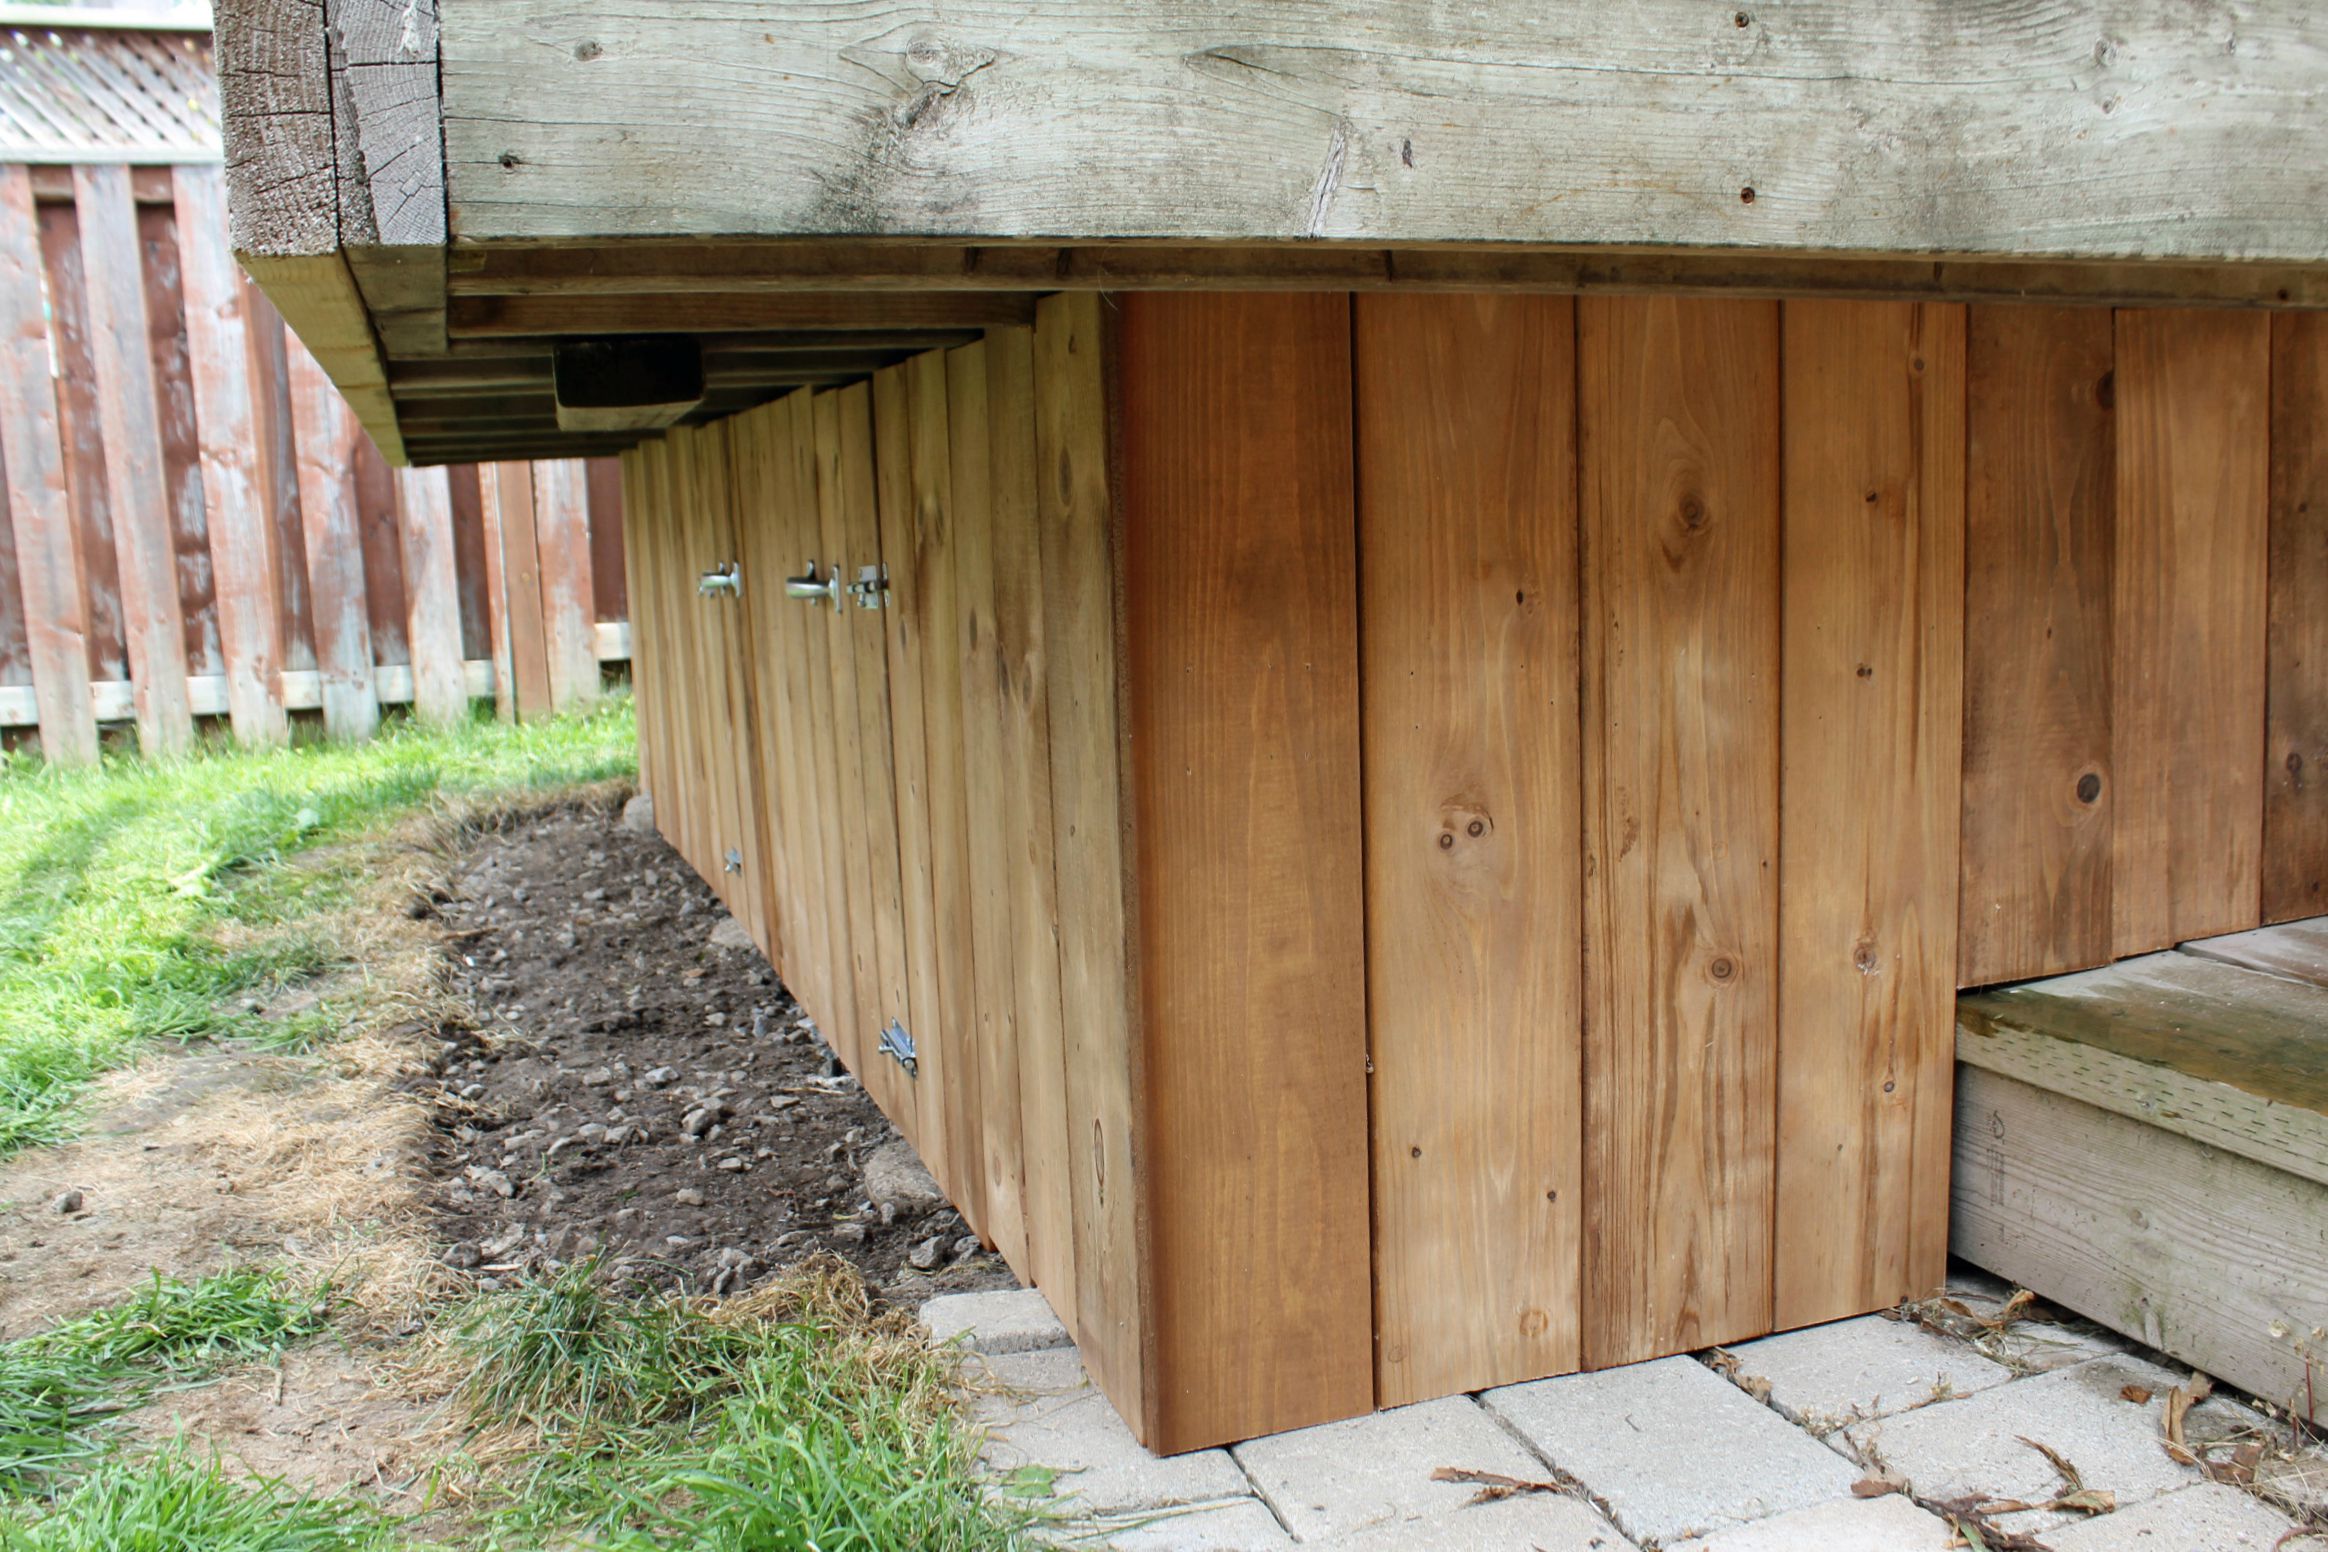
We could then attach the vertical boards along the side to the joists on the underside of the deck and to the 2x4. This one took a bit of work because we had to go down the steps as well as cutting out around the beams. Tom spent a fair amount of time lying under the deck, working in the near dark, with me trying to direct him from the outside. Finishing up the front right-hand side was a piece of cake after that.
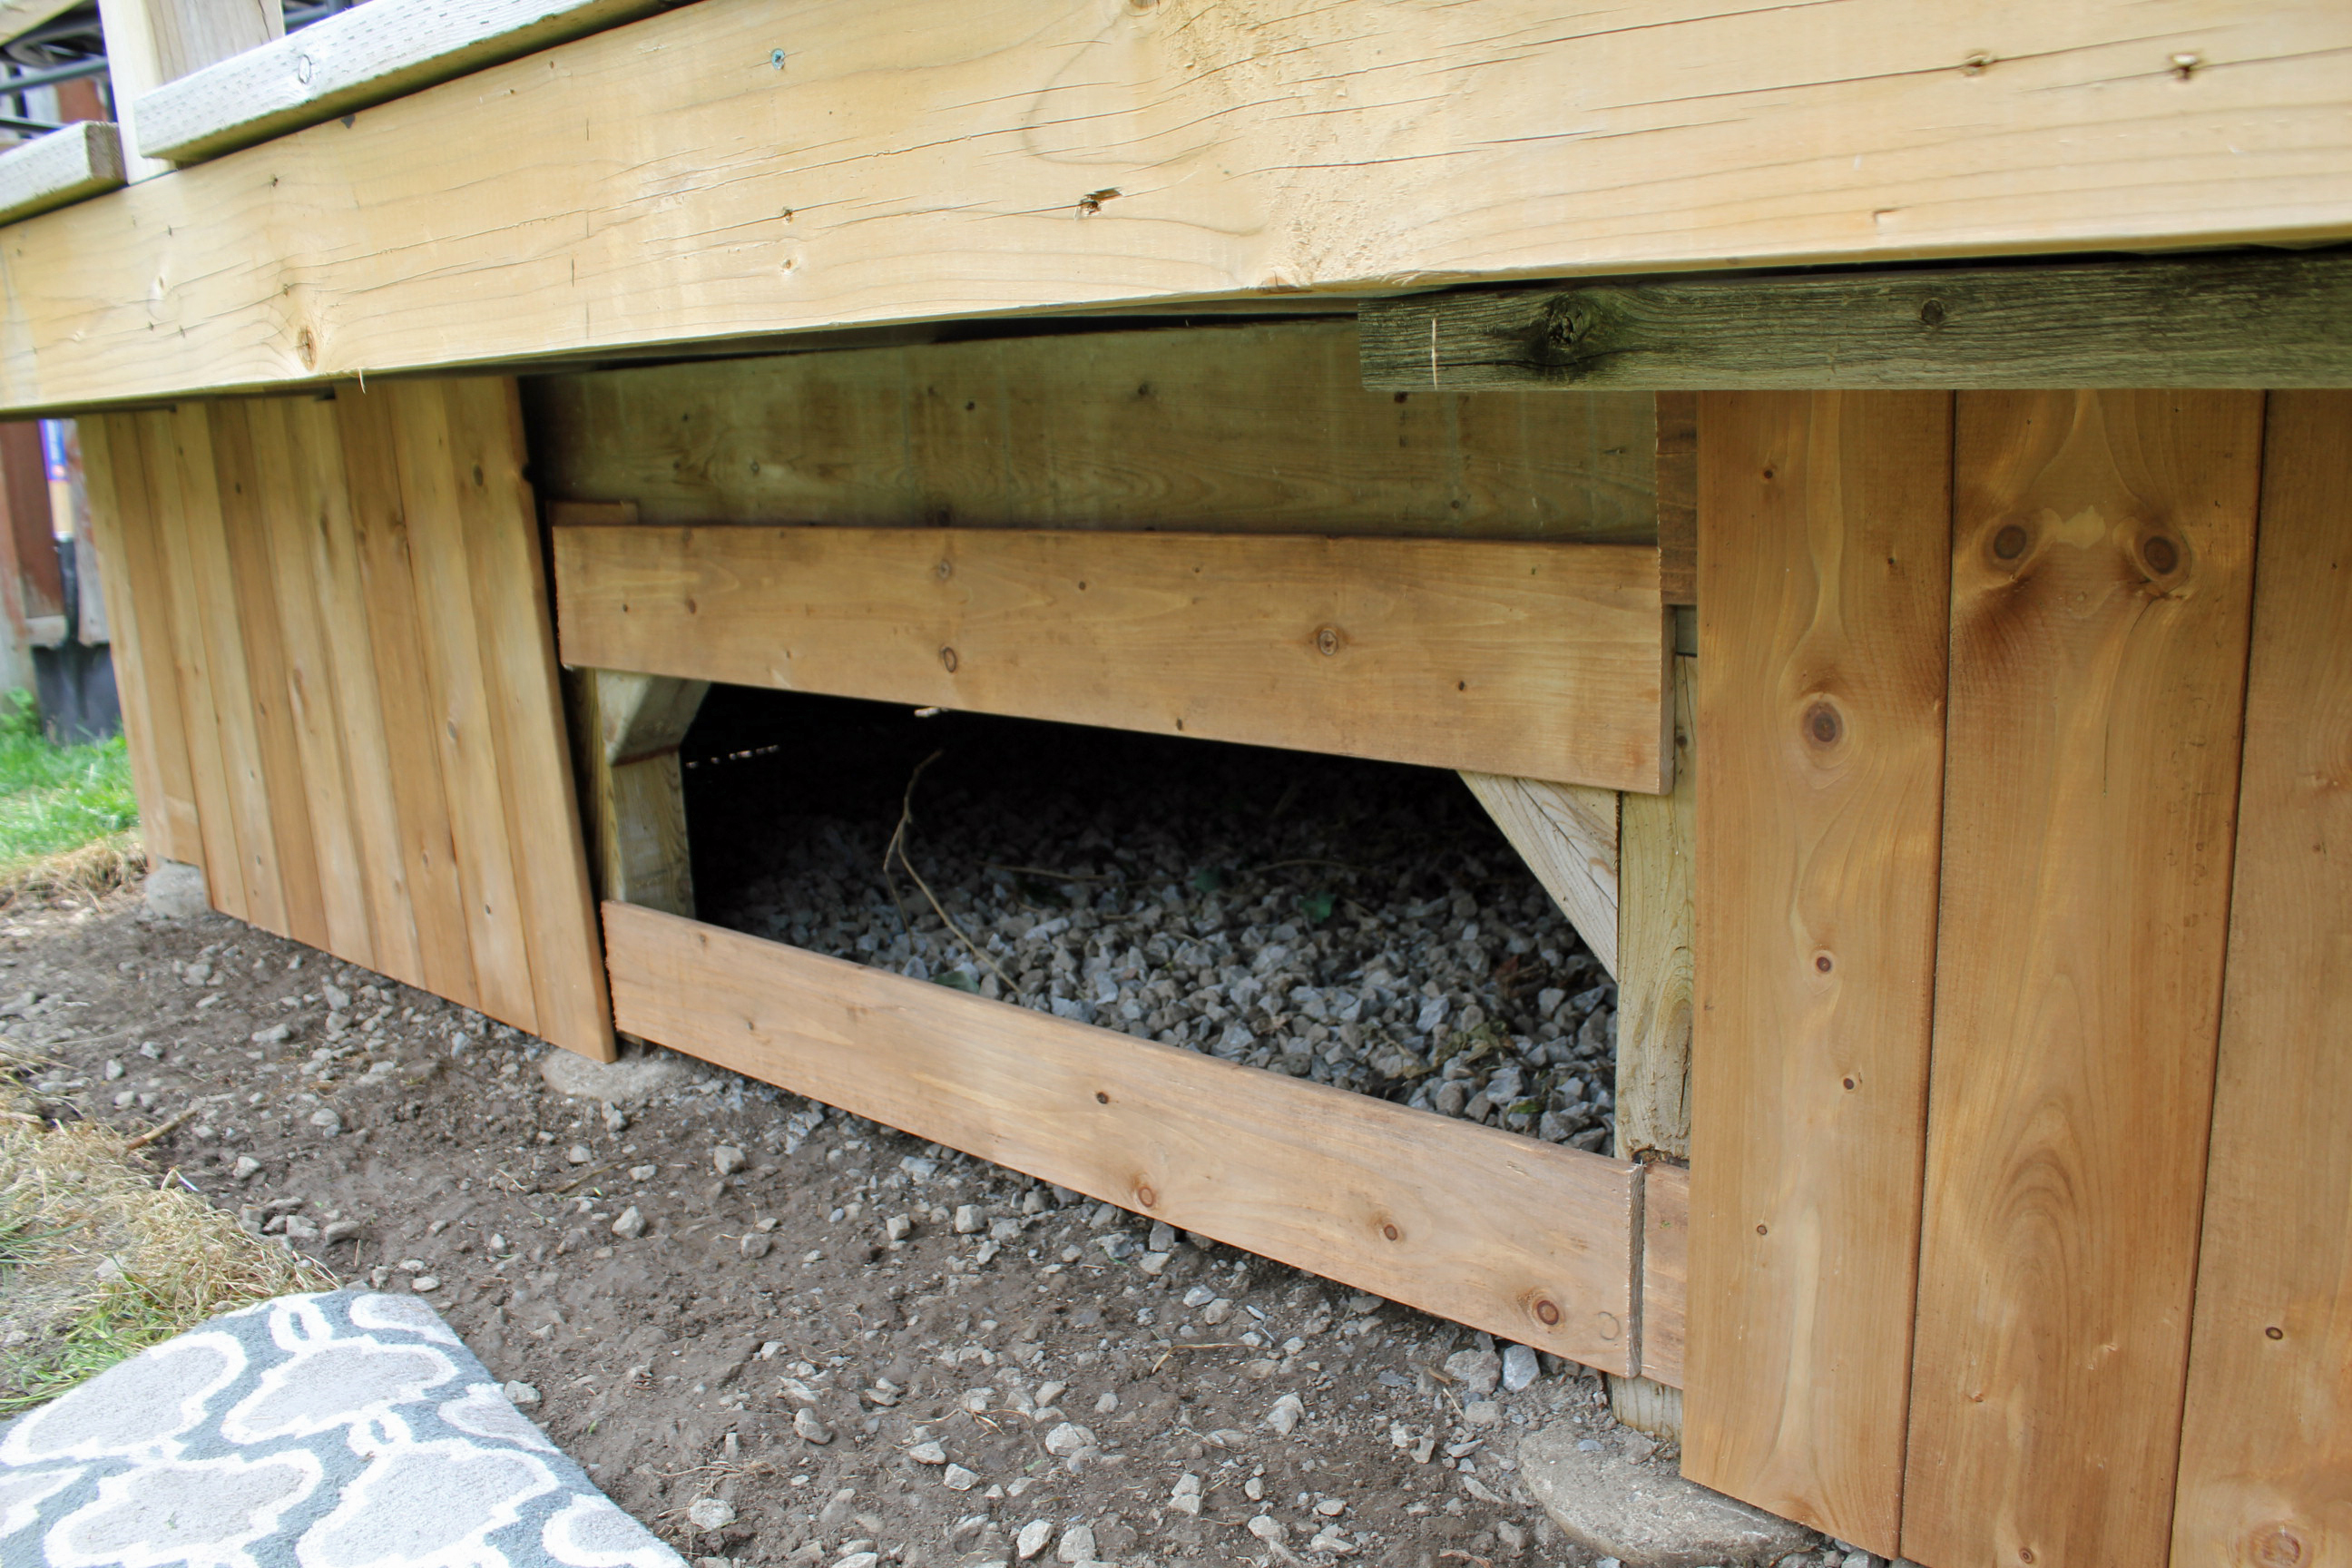
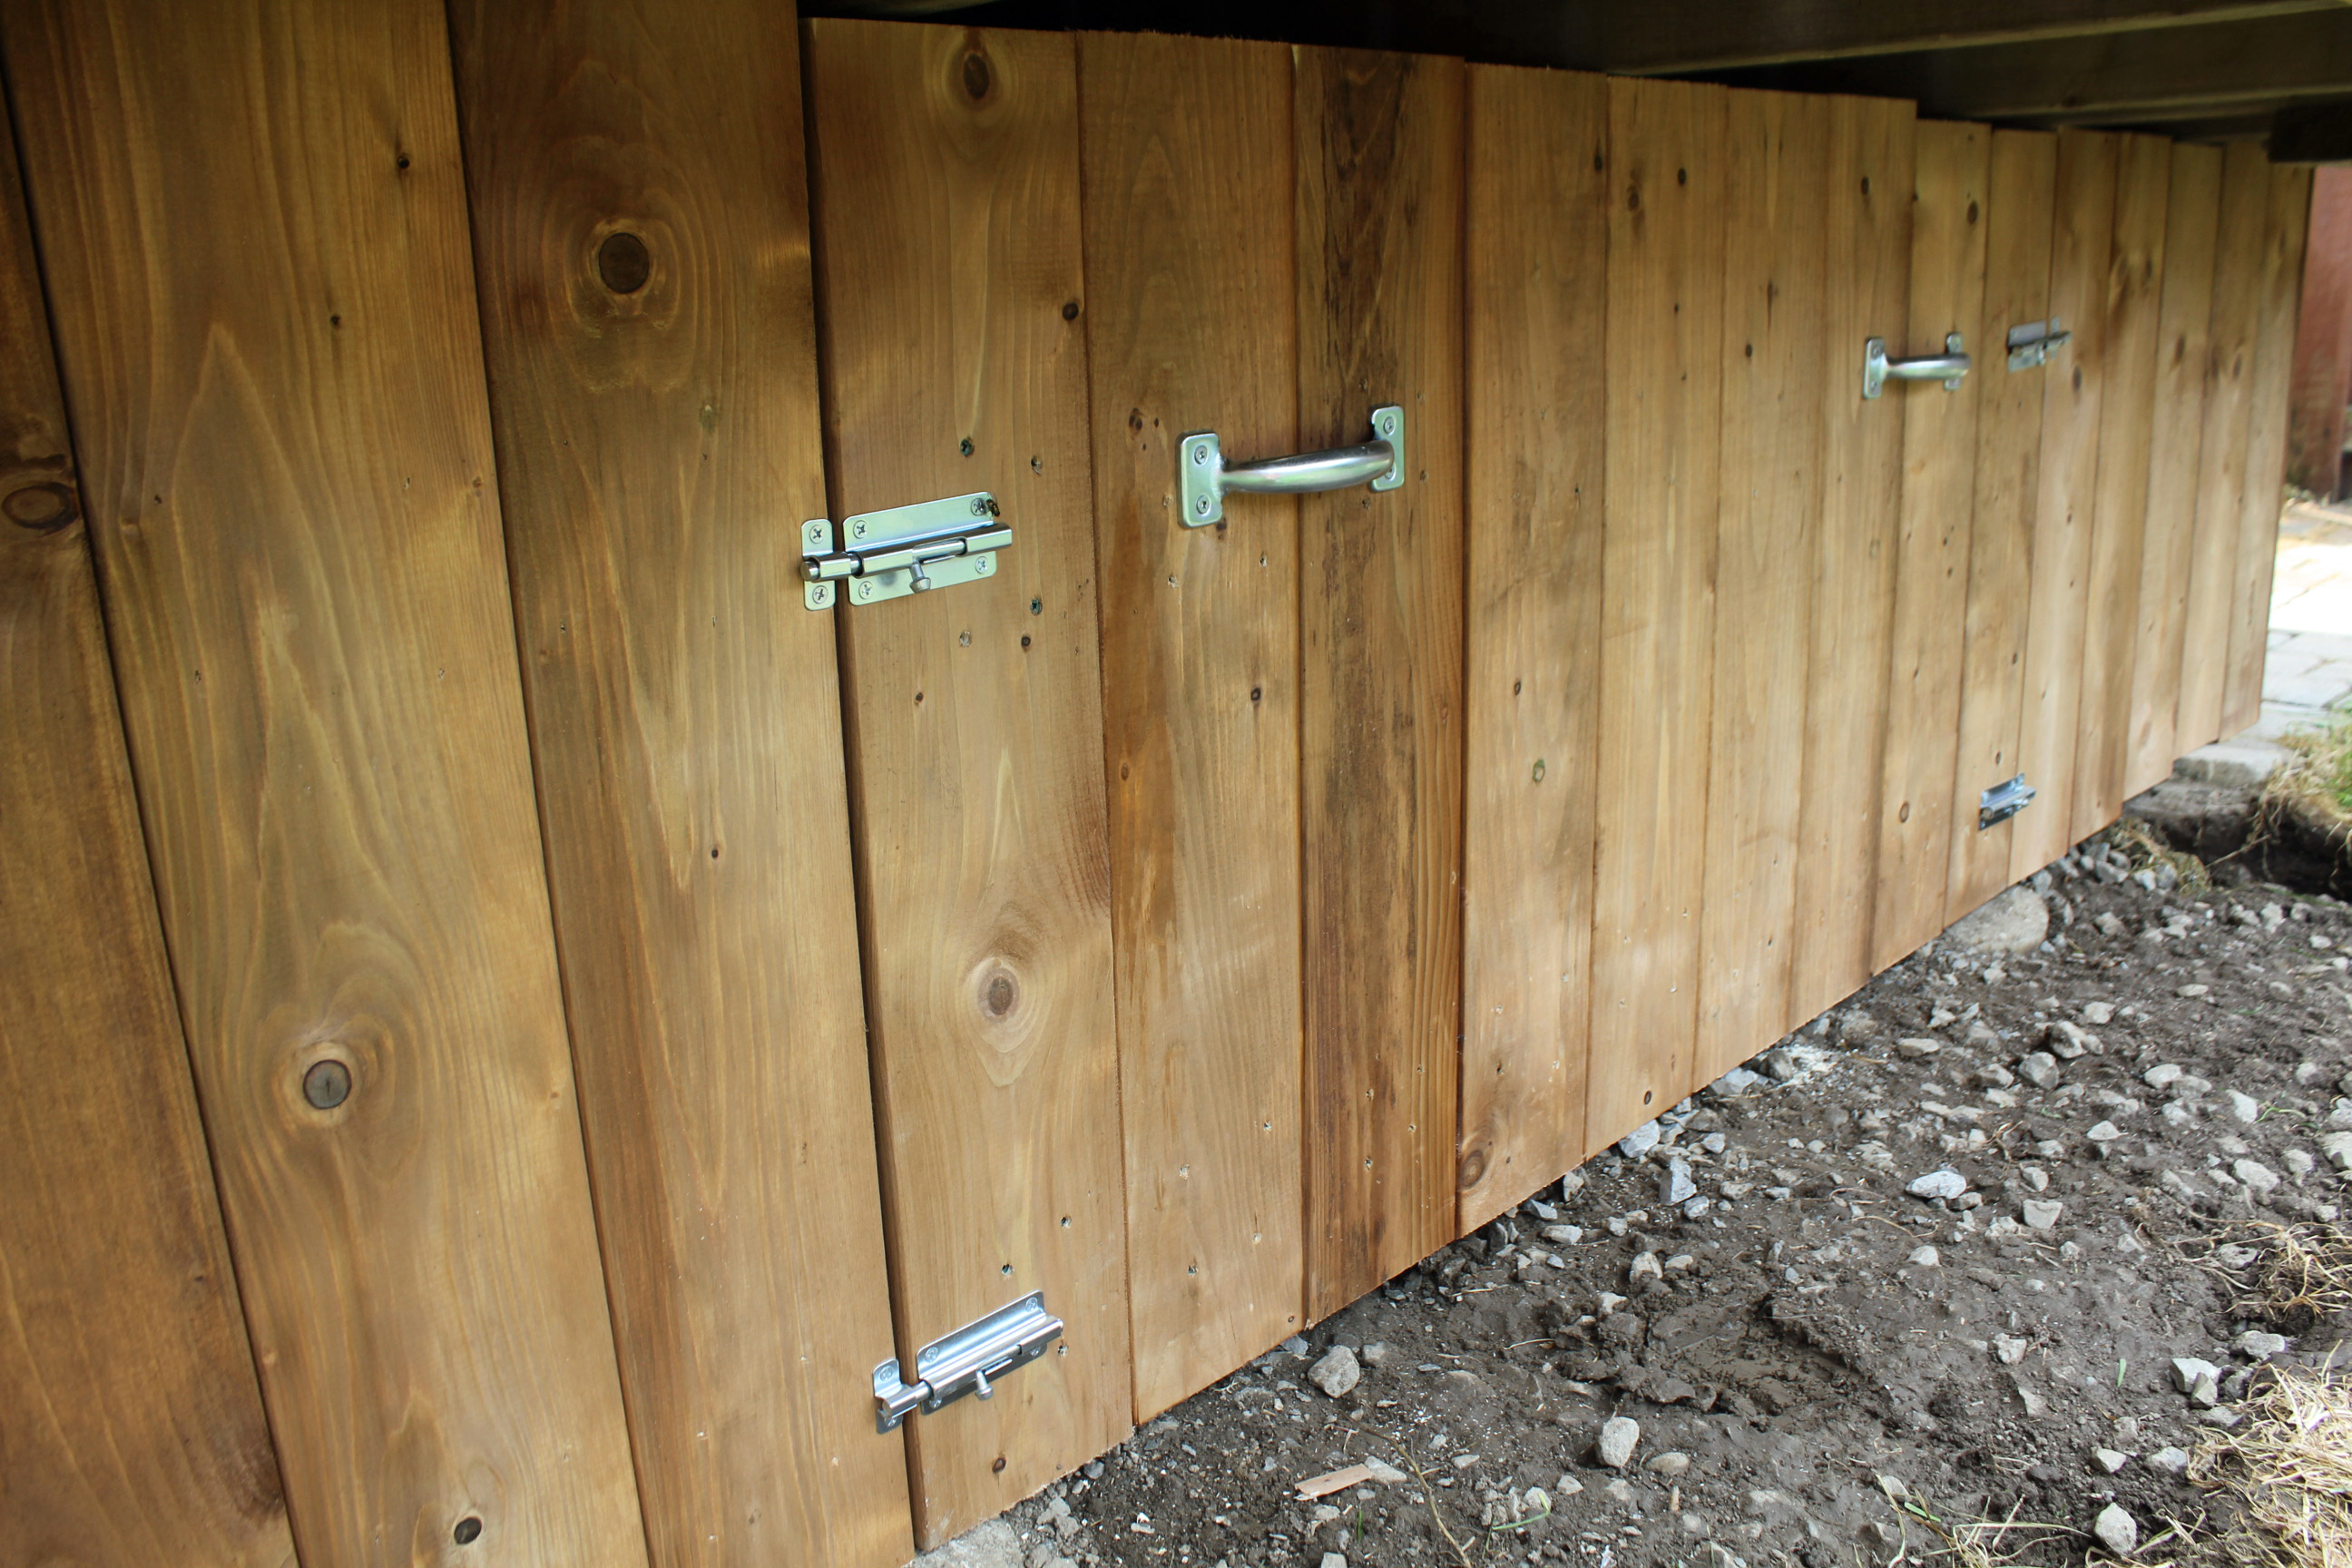
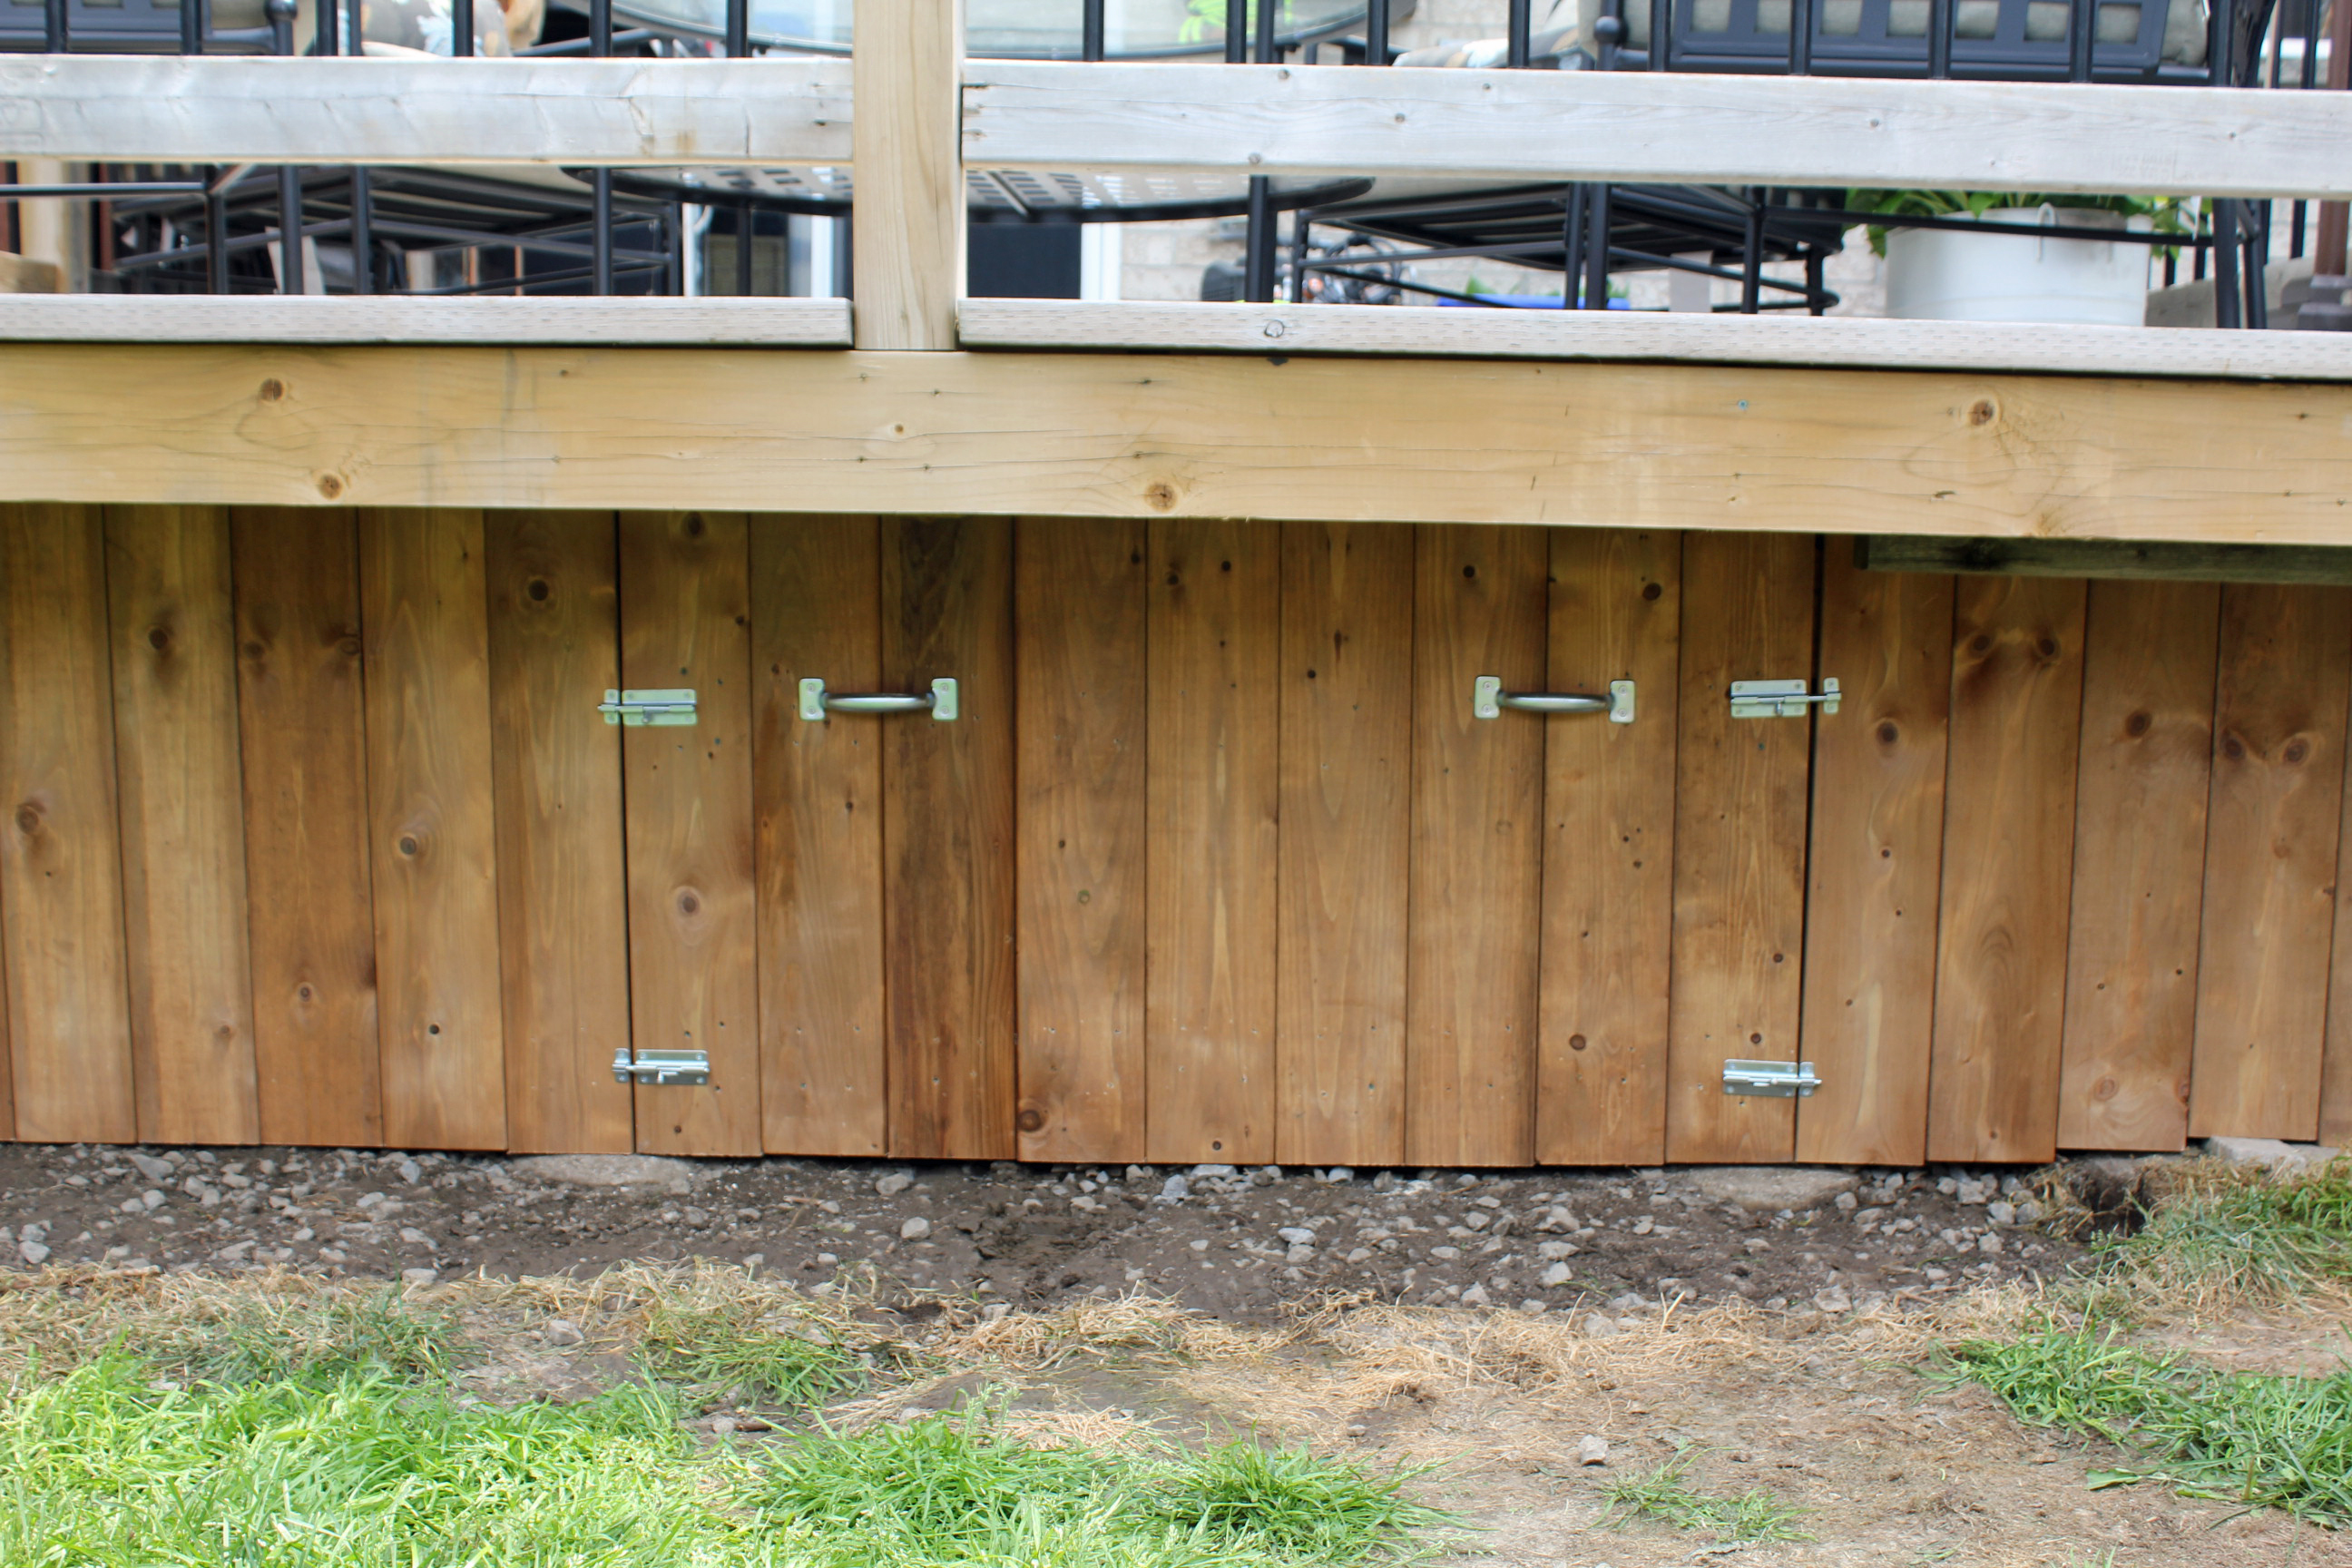
The vertical boards were then attached with screws to the support boards. Four barrel bolts were added - two top, two bottom - between the door and the sides. These bolts will keep the door in place when it's closed.
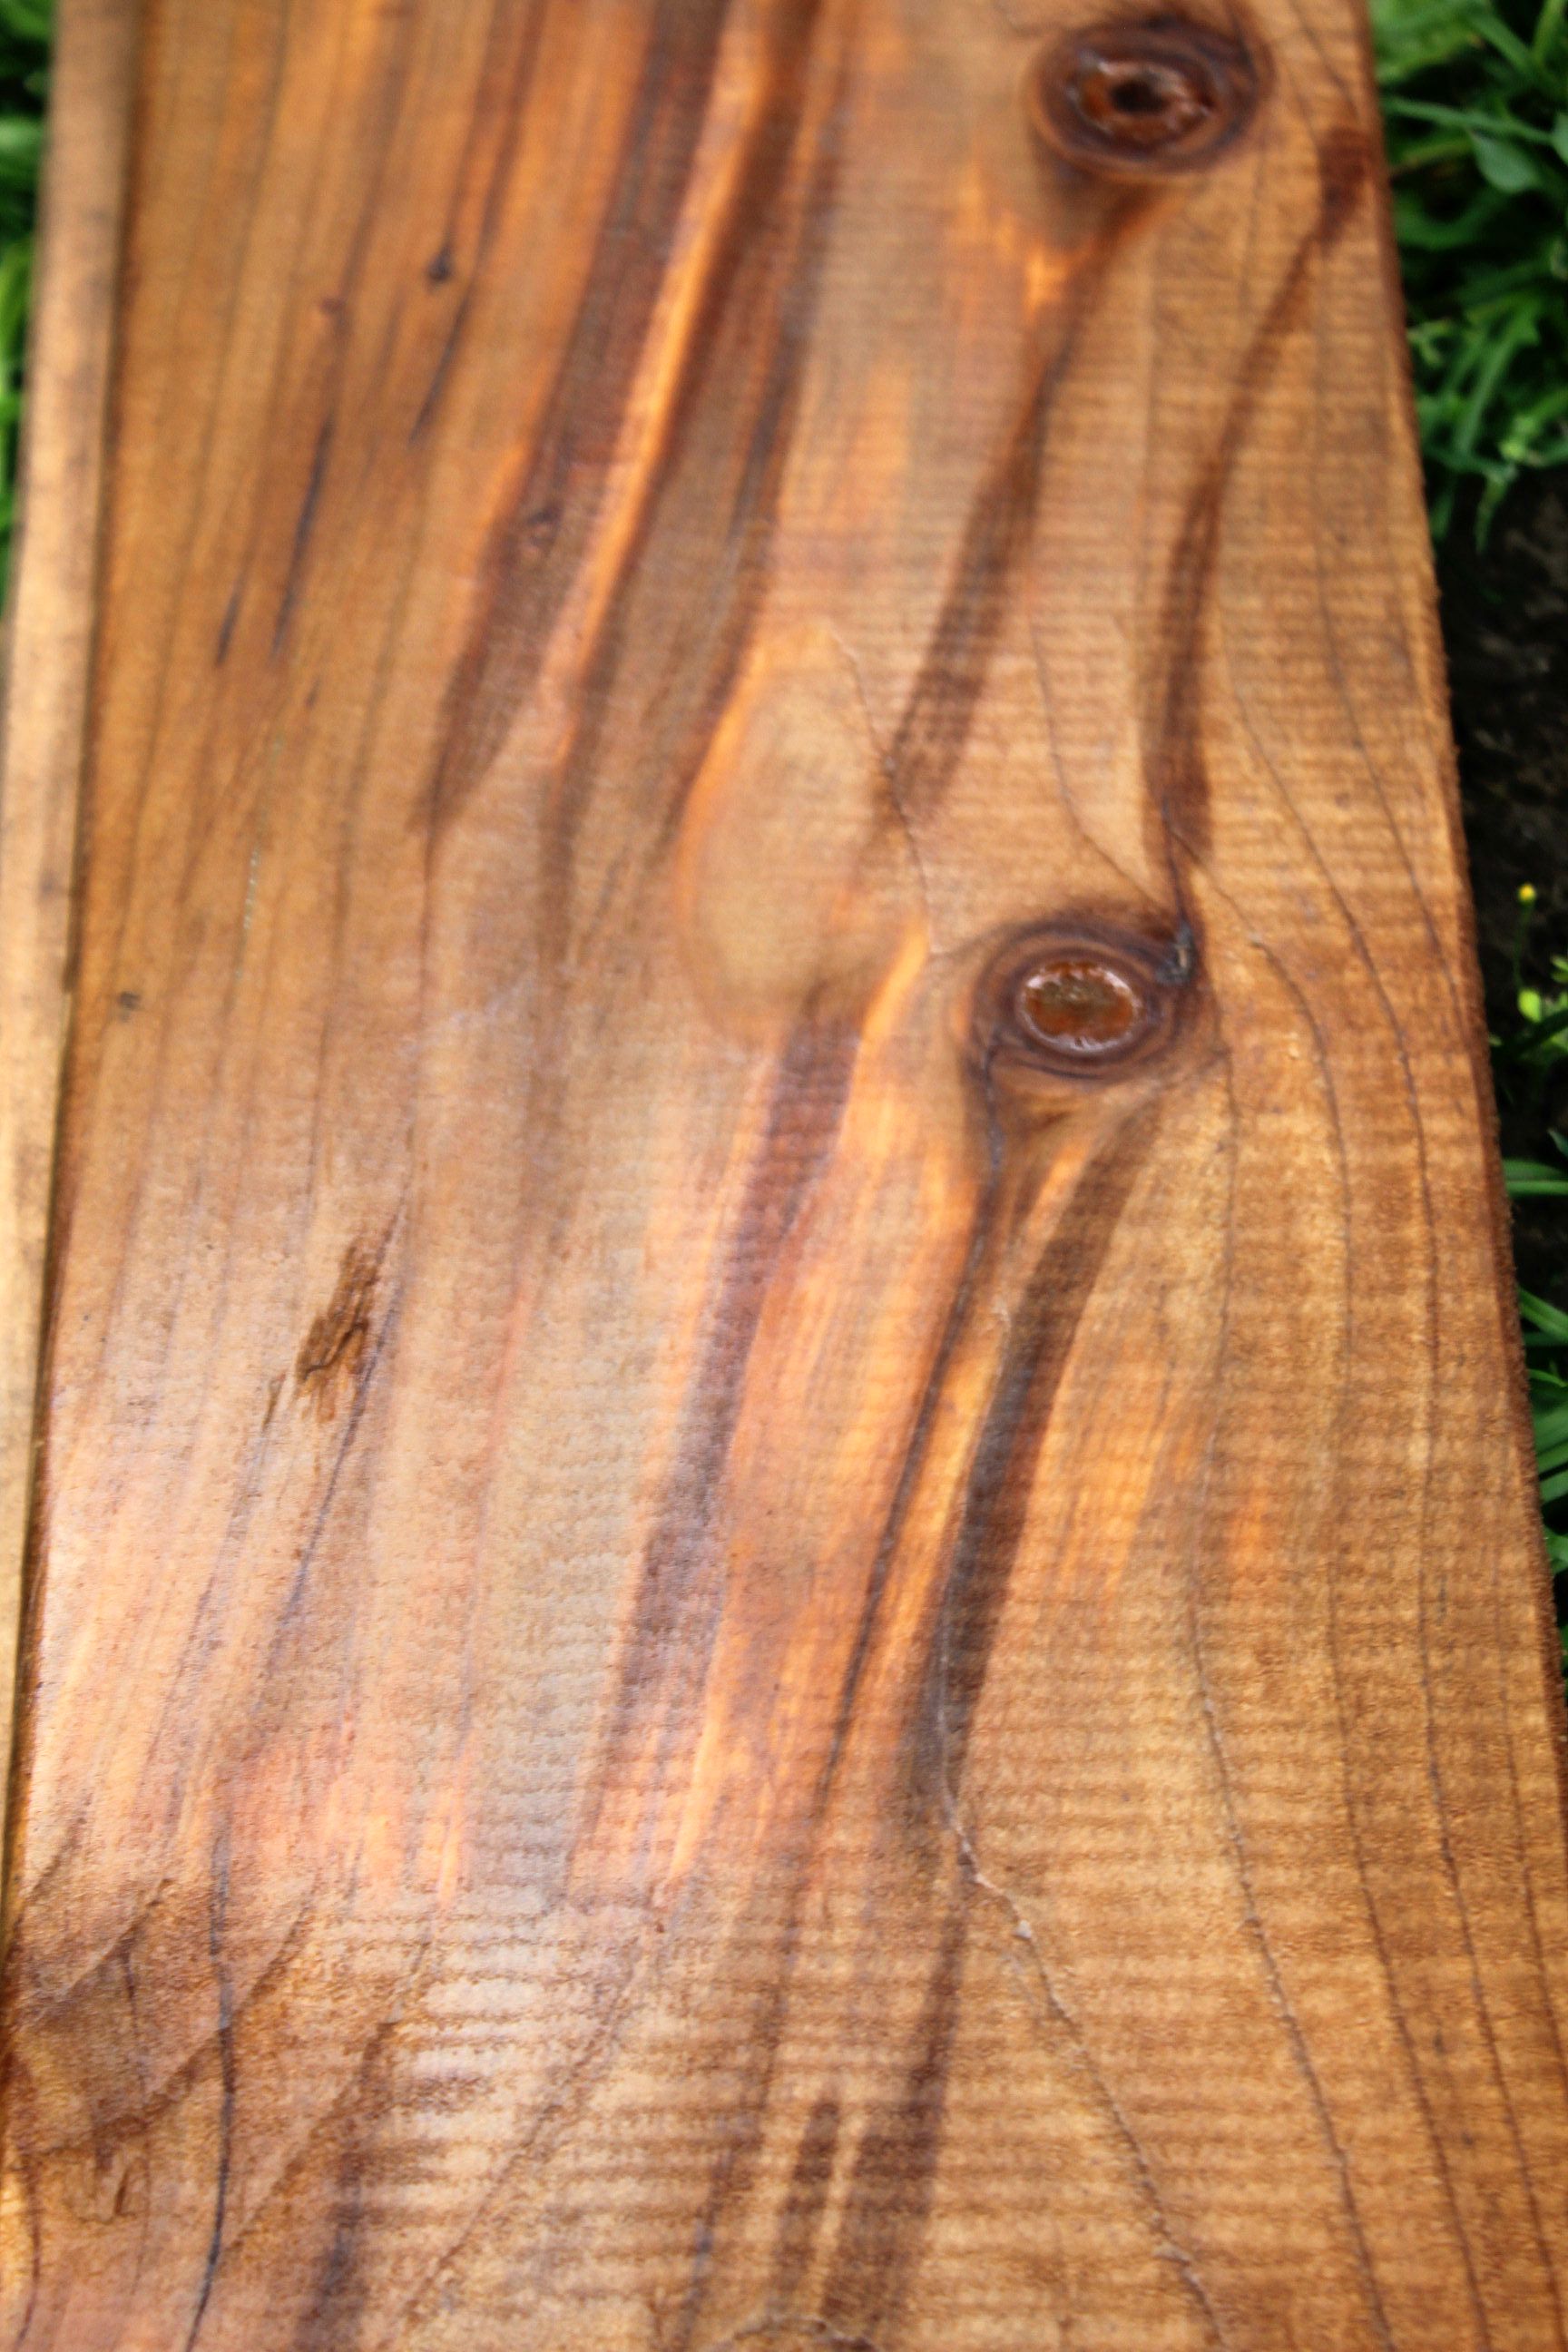
Tom was against this project initially, but even with just the first side done he admitted that the deck looked so much better. The wood we used was MicroPro Sienna, which is a new type of pressure-treated wood that is treated with a more environmentally friendly preservative than traditional green lumber.
I like the redwood stain colour that it comes in - I wish it had been available when we were re-building our deck a few years ago. We might have to stain the upper part now just to match!
We used 1x6x8' boards and calculated that we'd need 32, about $125 total plus $15 in hardware. We ended up taking 5 boards back, and had about 2 full boards worth of wastage - only 1 bad cut! - so all in all, not an expensive project.
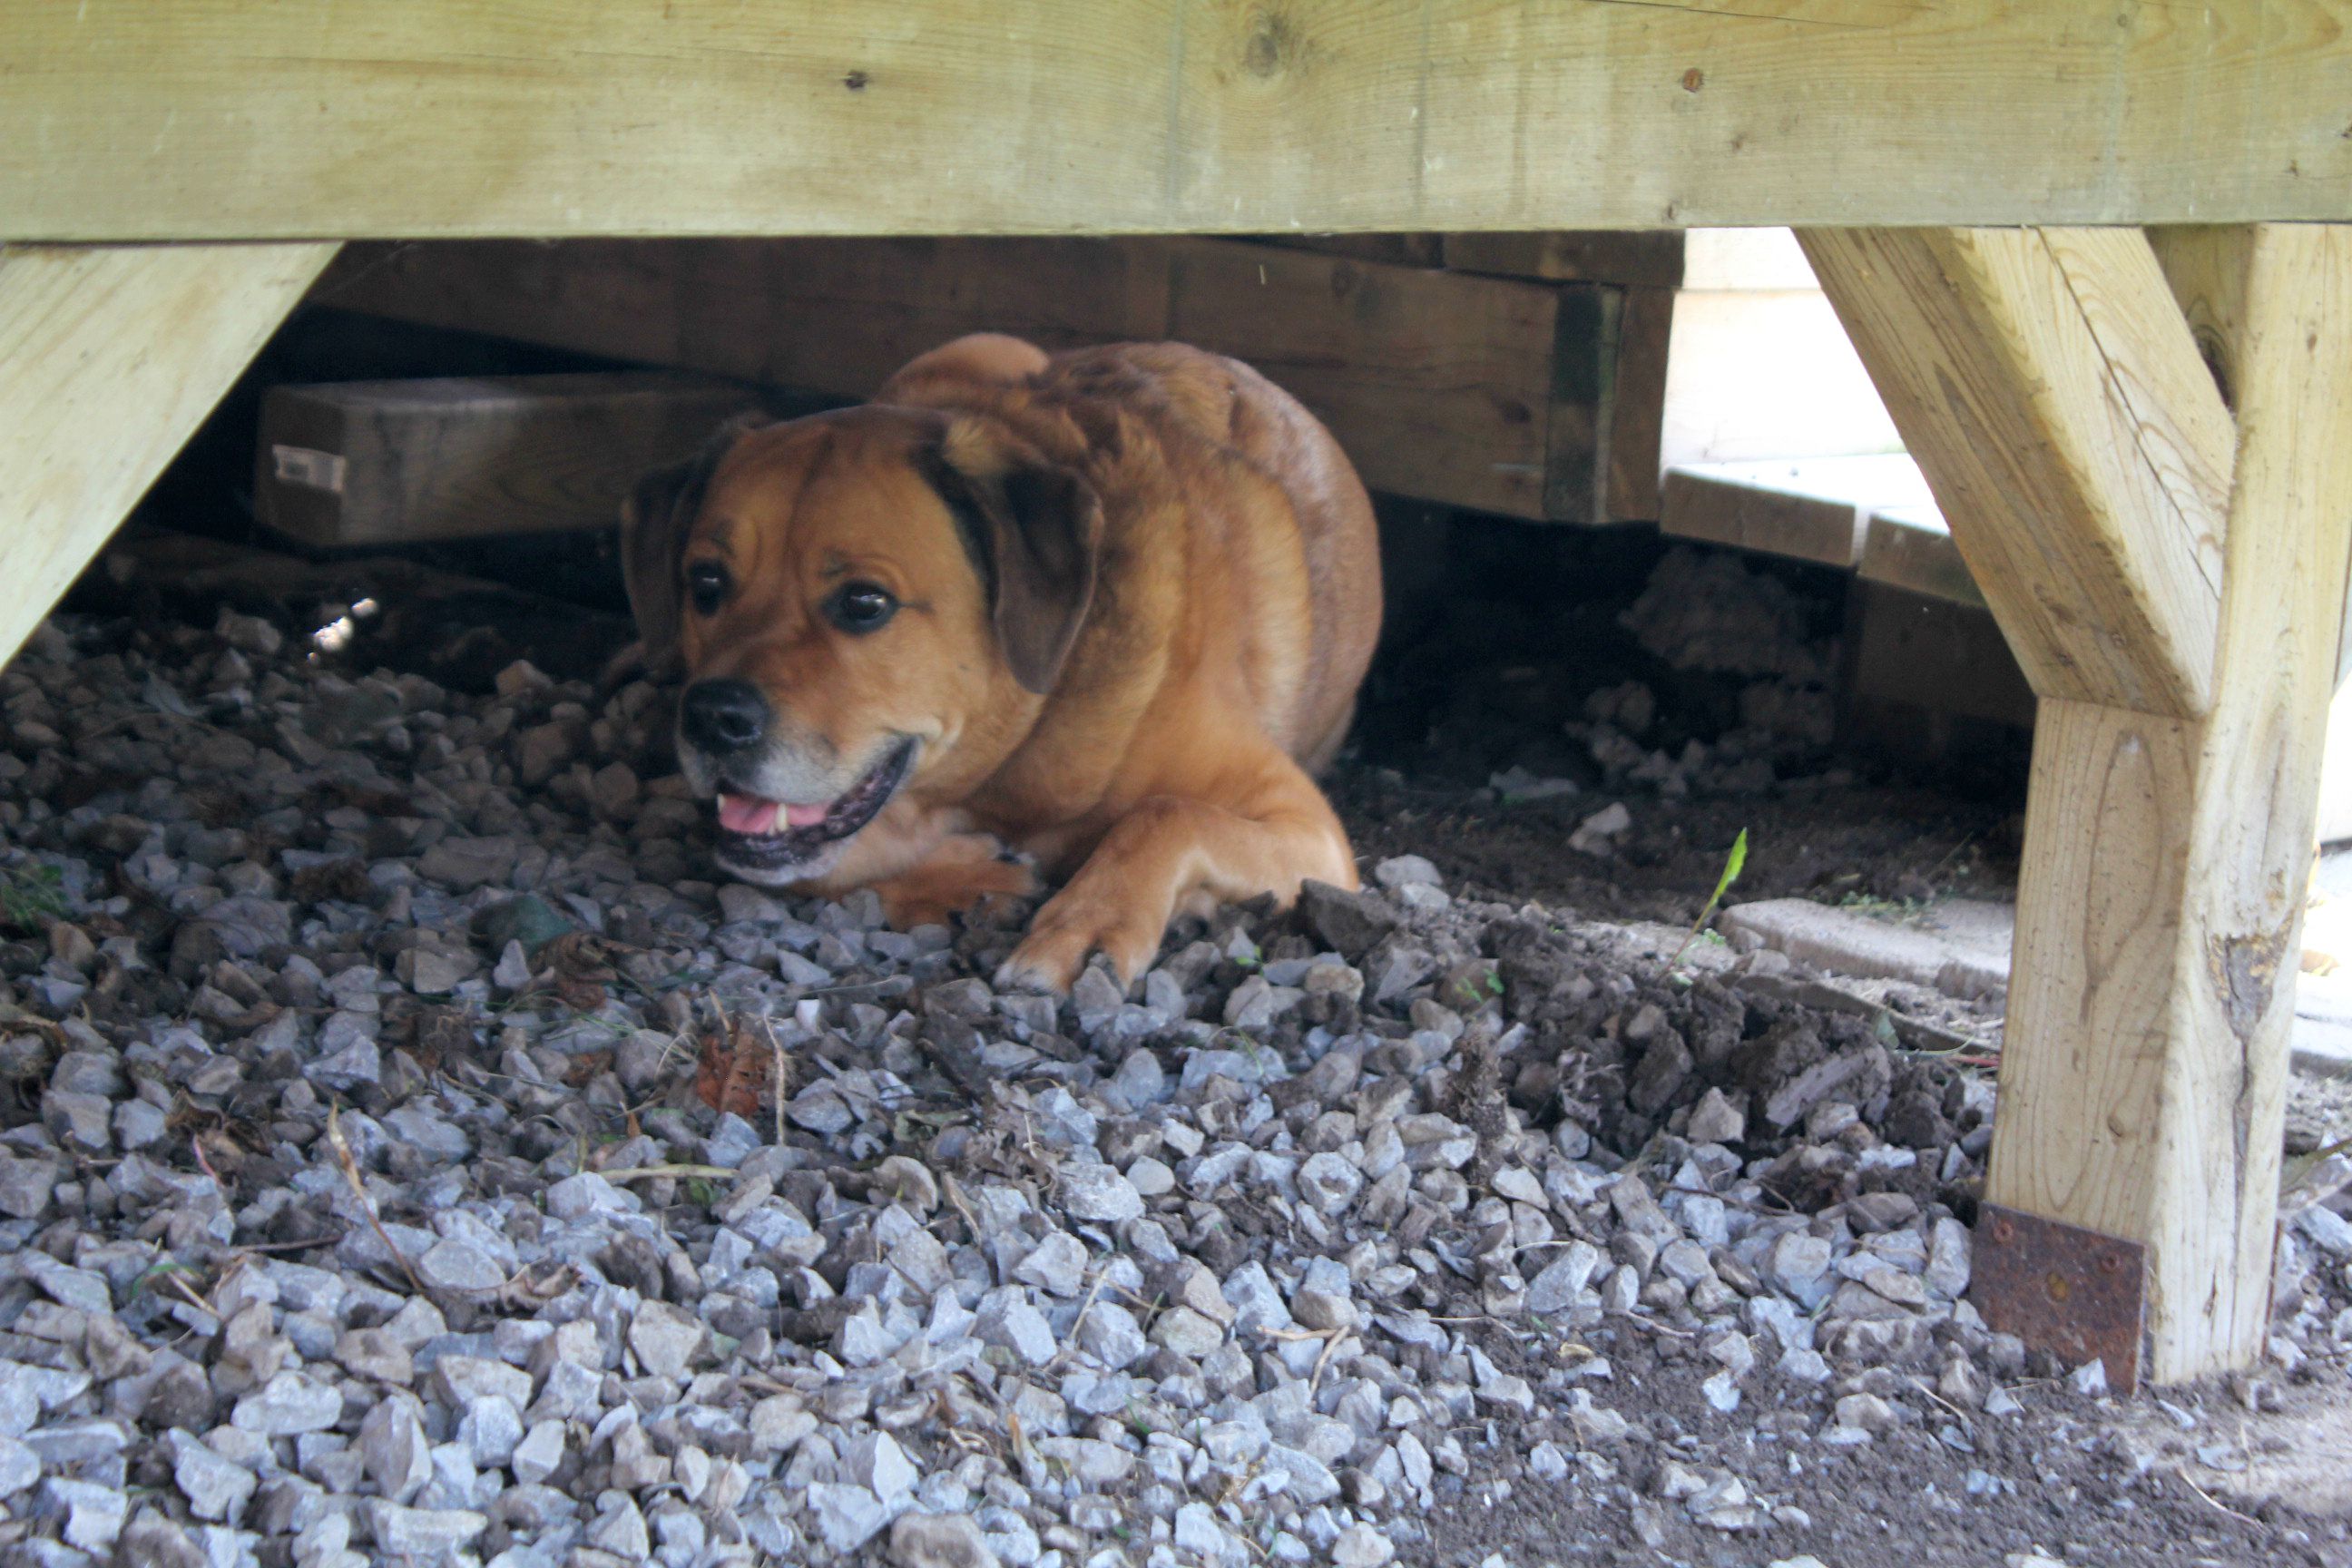
The dogs are a little disappointed that they can't go under the deck, but there's still a slight overhang at the front that Sasha makes sure to use every day. And Chloe hung out under there as much as she could while we were working on it. She probably thought we were building her a doghouse.
The other one spent the day trying to figure out how to get out of the yard. Good thing she's cute because those brains aren't going to take her far.
The new soil is being delivered this week and if we're lucky (ha, ha!) we might even get the sod in place by the end of the weekend.










No comments:
Post a Comment